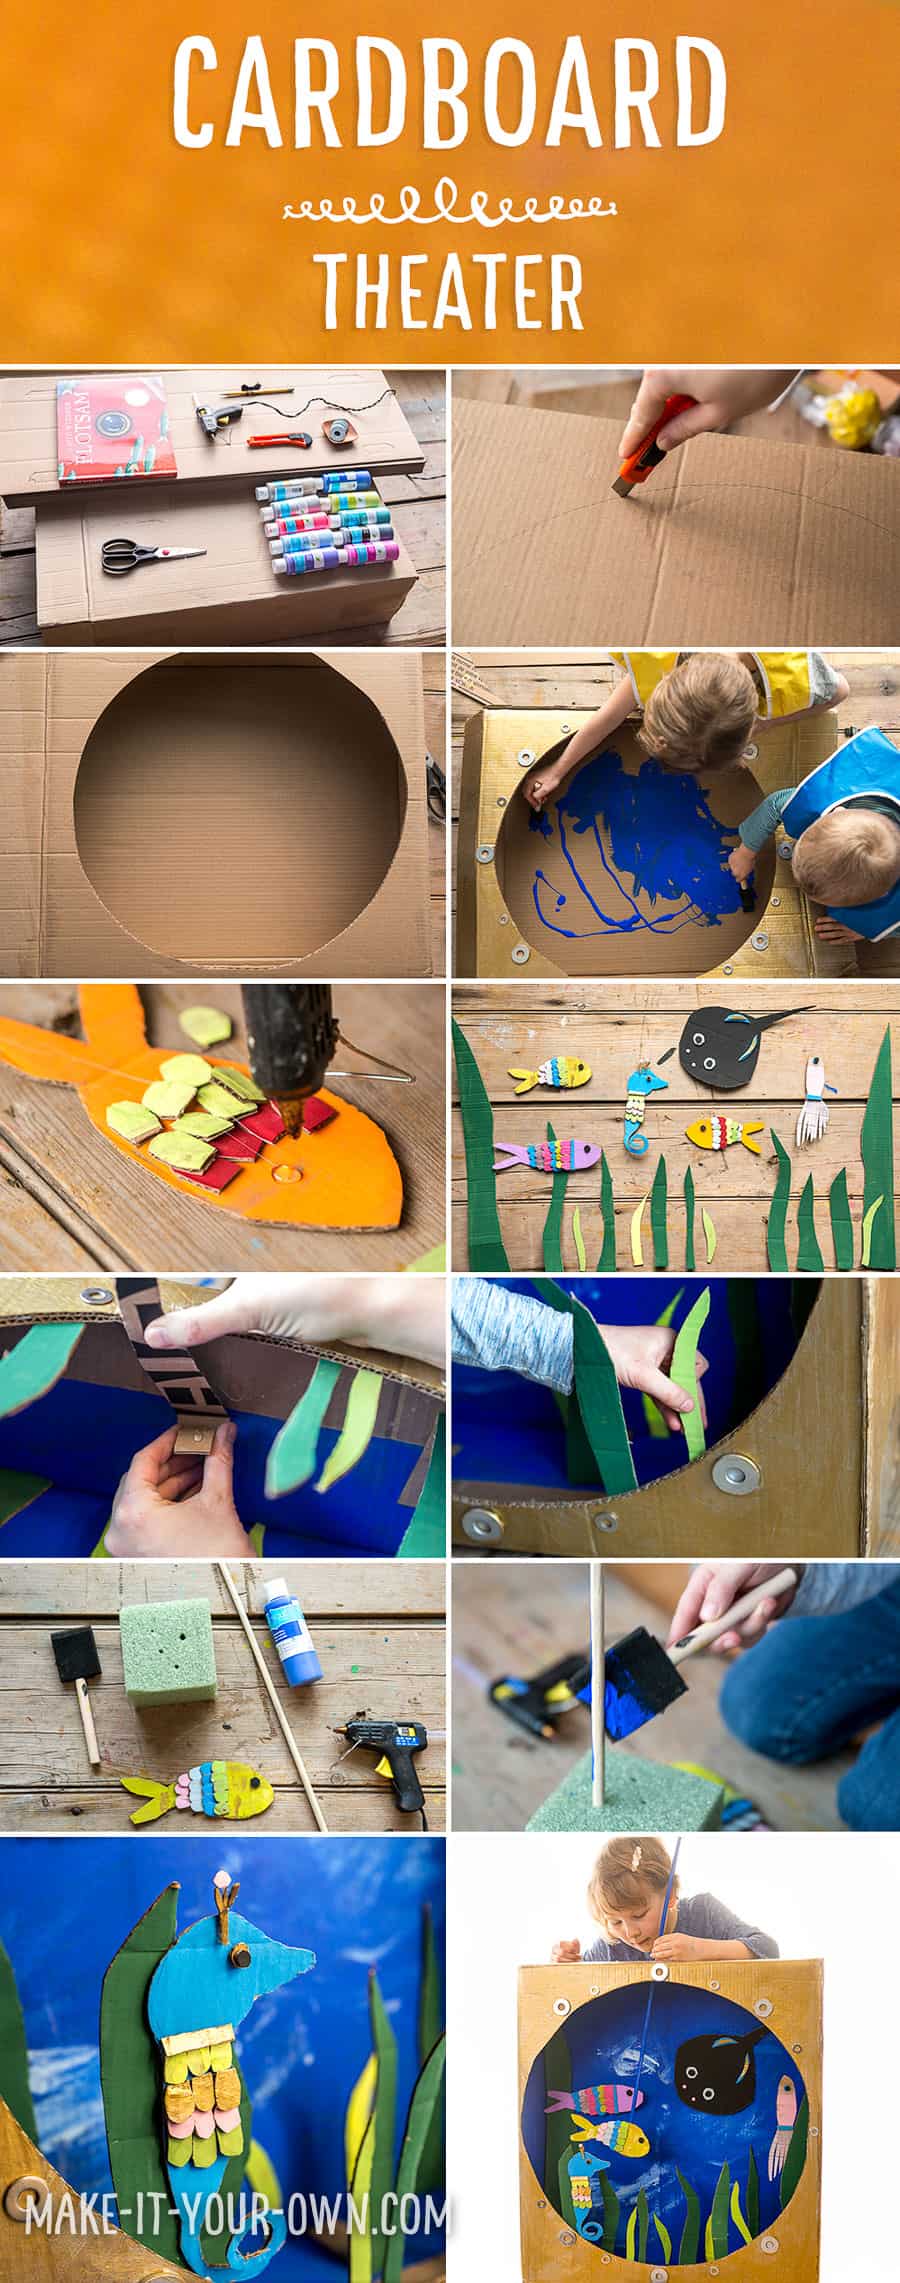
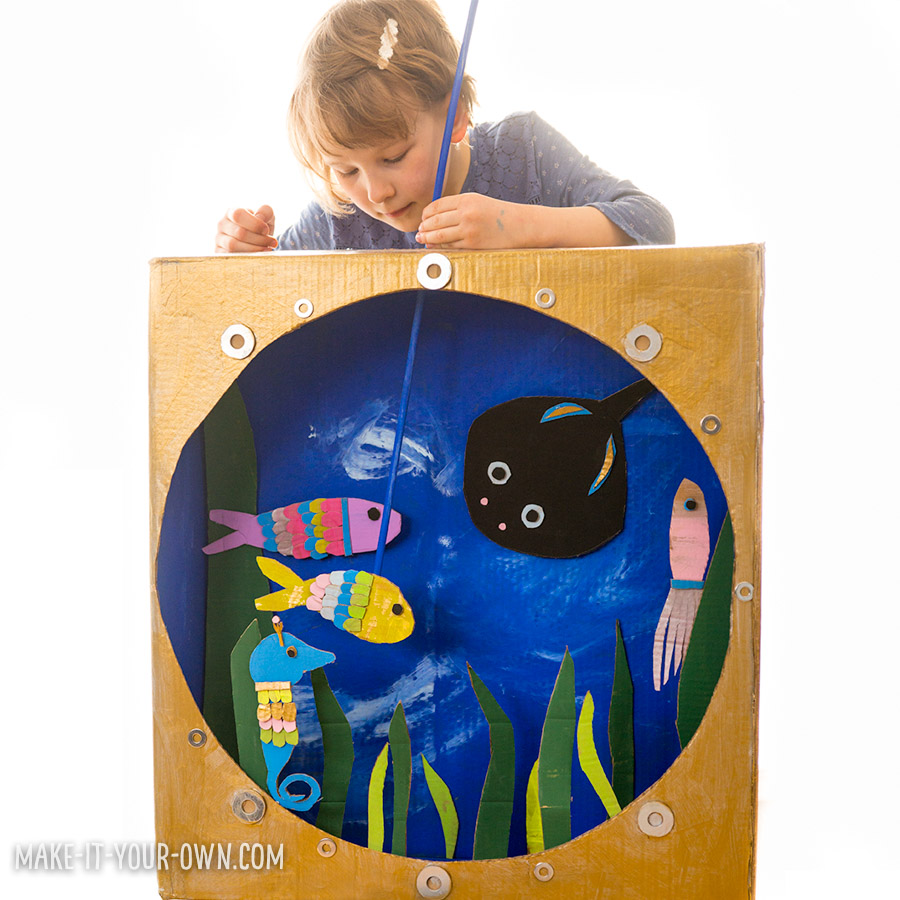
This recycled cardboard theater idea from Make It Your Own will keep your kids entertained all day long.
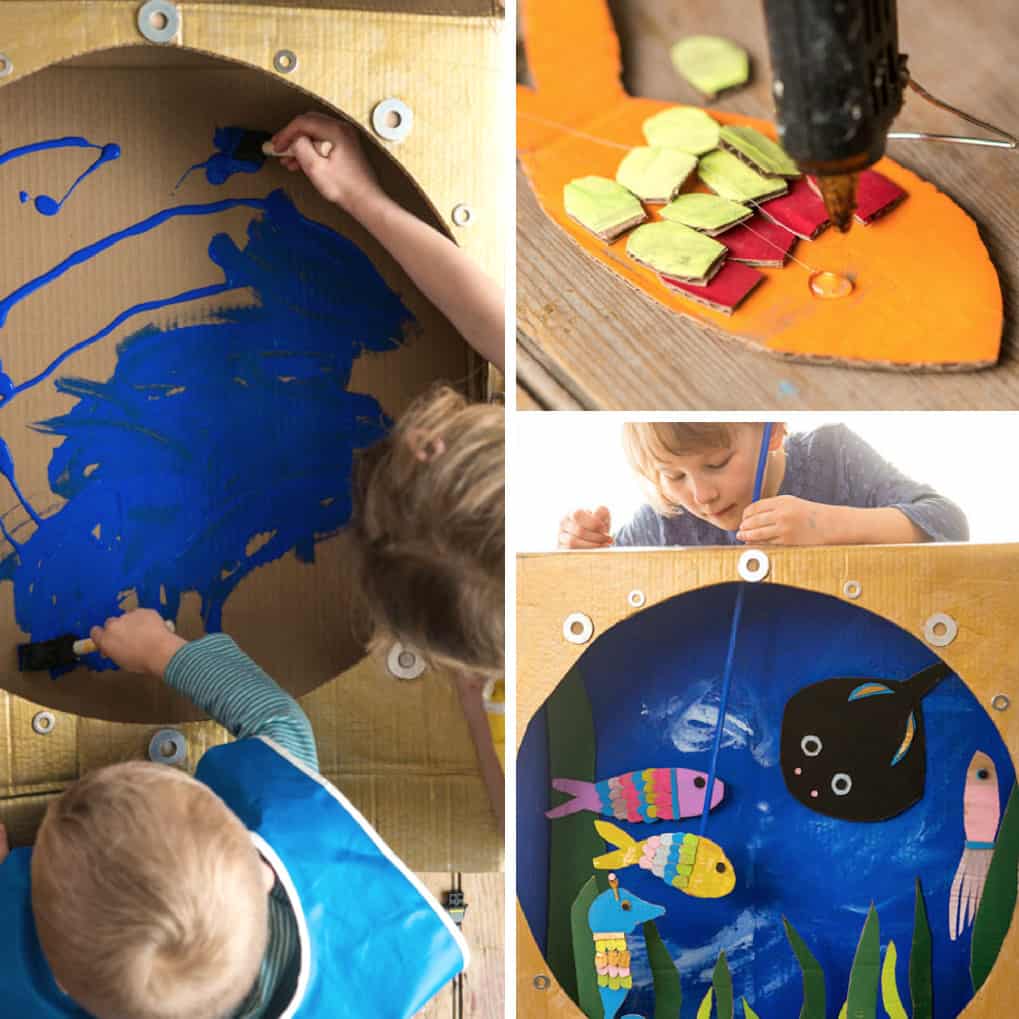
One of our favorite inspiration points is children's literature. The wordless story of "Flotsam" sparked the idea for a porthole which our eldest then wanted to extend into a theater. You could make whatever scene you like for your puppet theater- space, prehistoric times, mermaids, fairies in a forest etc.- go with your child's interests!
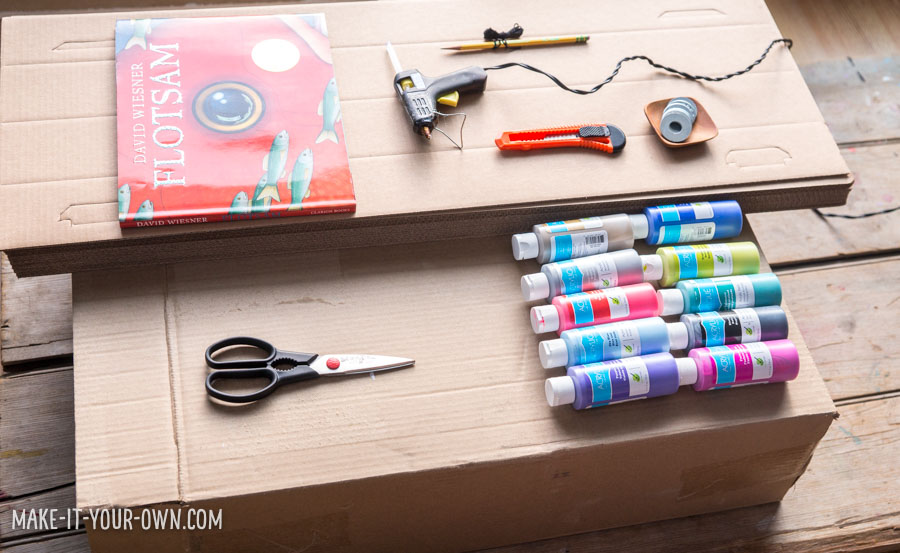
Materials
- Cardboard box
- Cardboard pieces (IKEA makes a thinner, easy to cut cardboard)
- Pencil/eraser
- Yarn
- Cardboard
- Acrylic paint
- Paint brushes
- Utility knife
- Glue gun/glue
- Scissors
- Packing tape
- Additional embellishments (e.g., we used washers)
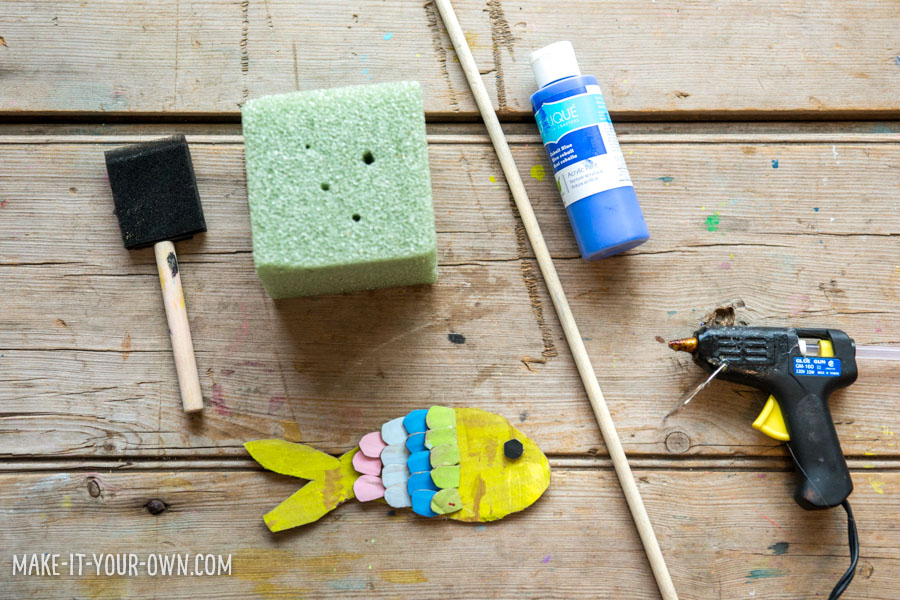
Puppet supplies
- Dowel
- Glue gun/glue
- Paint
- Paint brush
- Floral foam
We always find these items helpful too: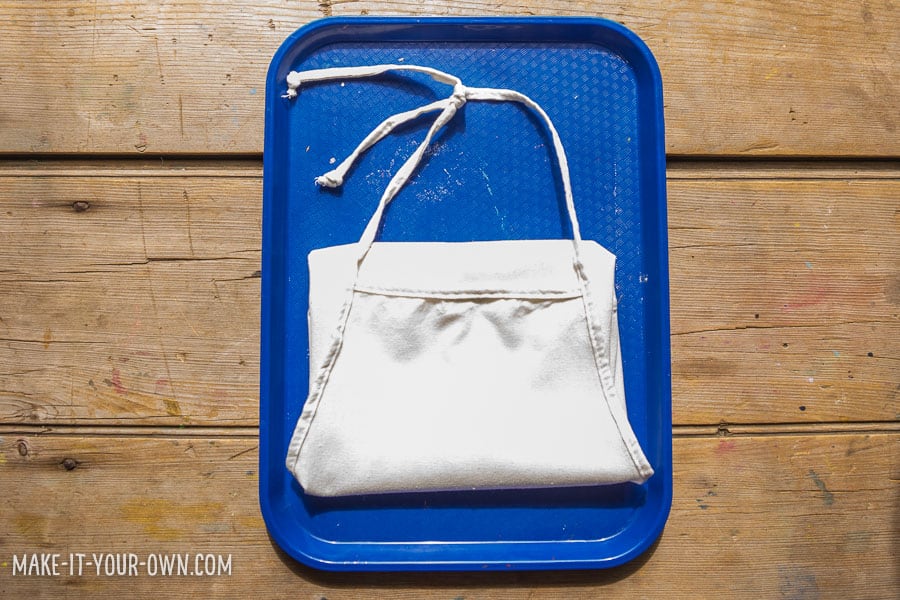
- Smock
- Craft tray
Directions
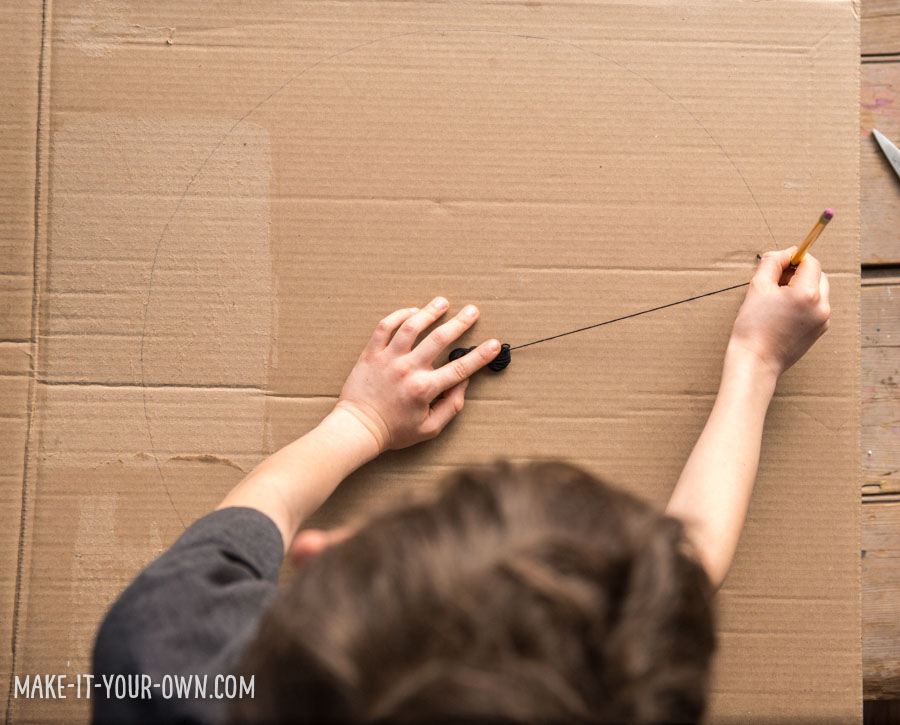
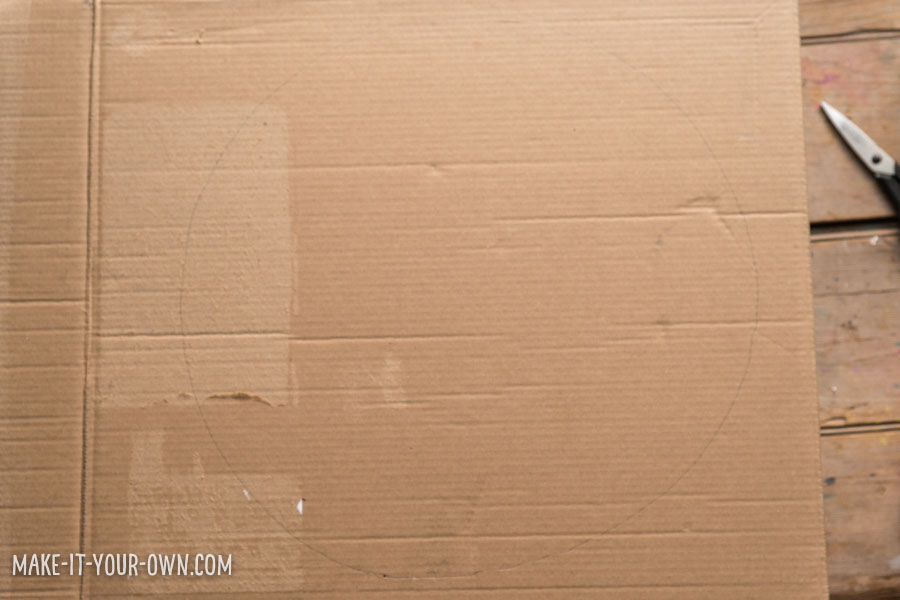
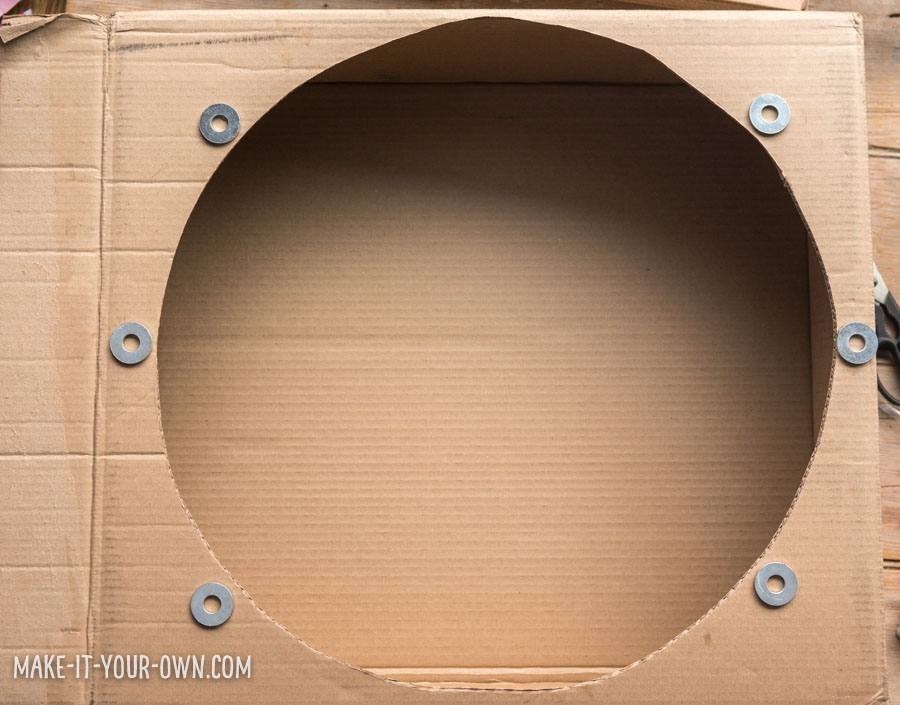
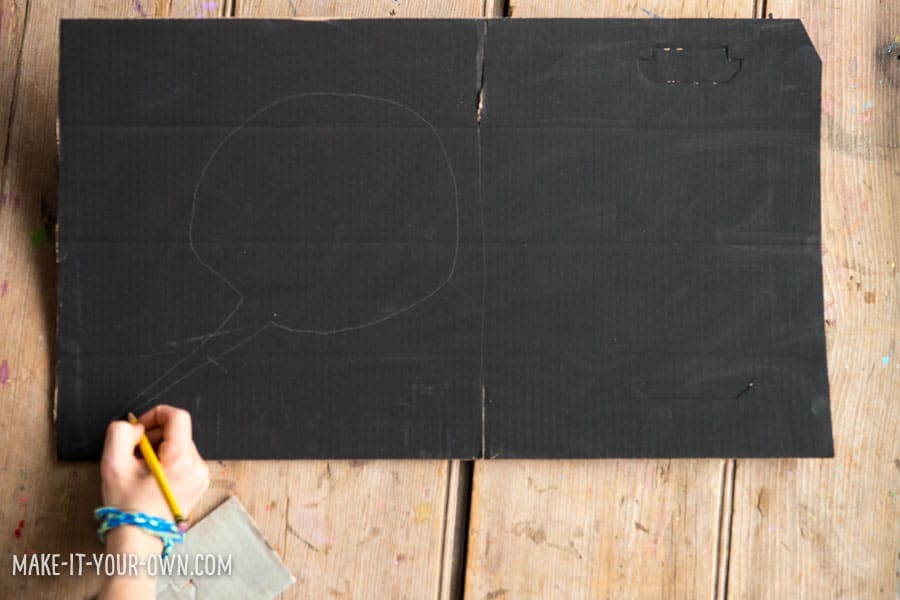
Aside from tracing around an object, this is an easy trick for making a circle. Tie your yarn or floss onto a pencil. Take the other end and pick your centre point. Hold it there and then make your yarn taut to create your circle. You may need to experiment a bit with the length of the yarn or the centre point before you find the right spot and then apply your pencil as form the circumference. You could design any shape to cut out for the theater.
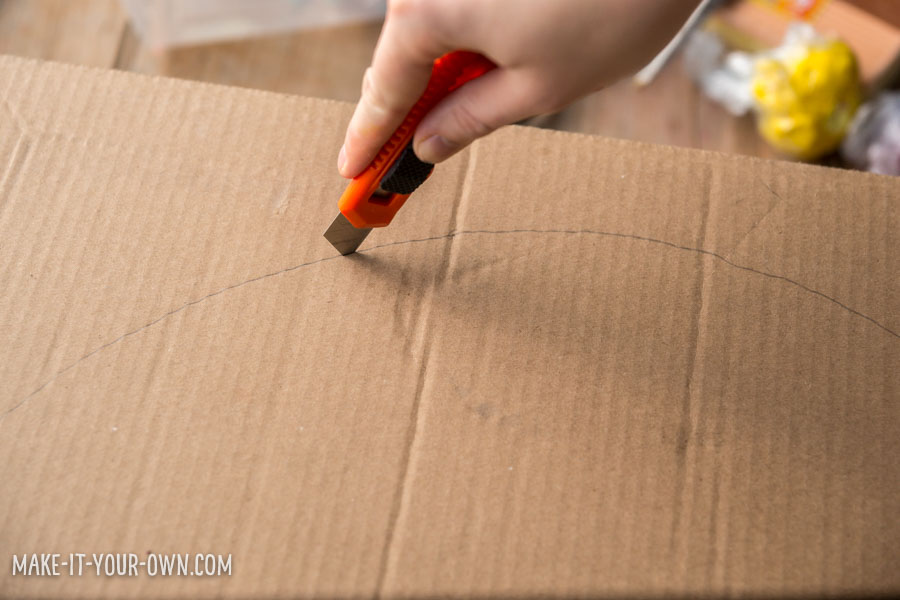
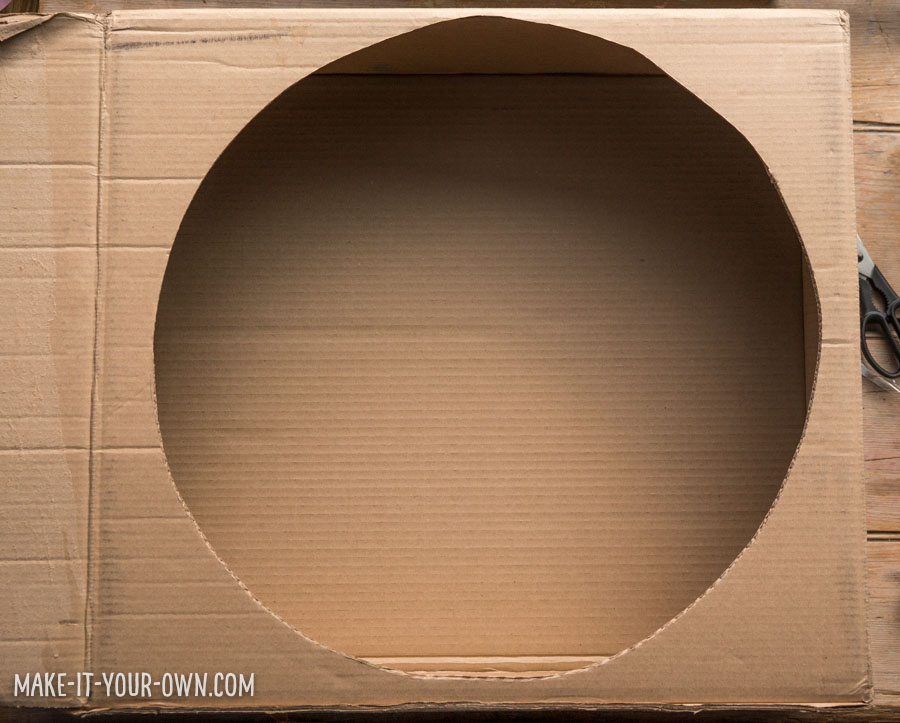
Have an adult cut out your circle or other shape for you.
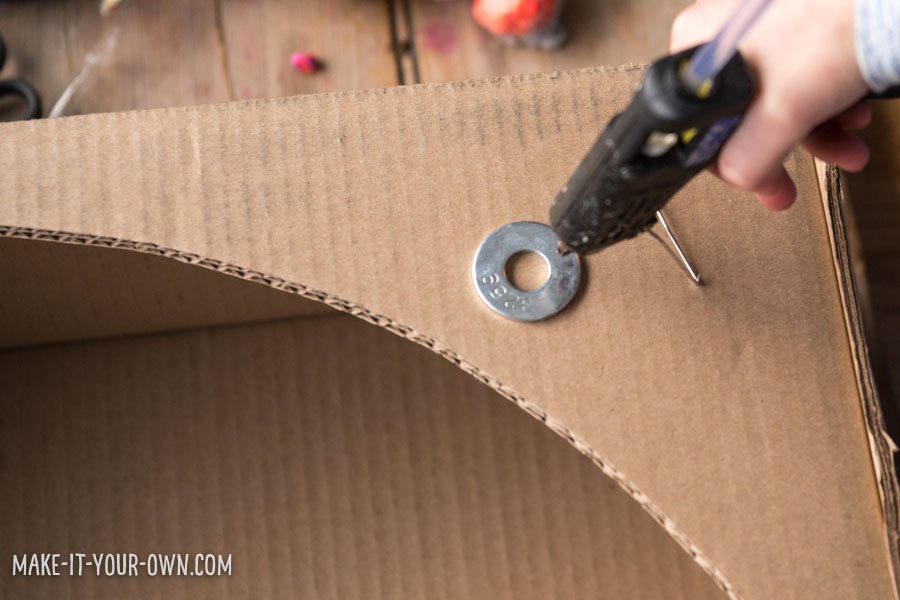
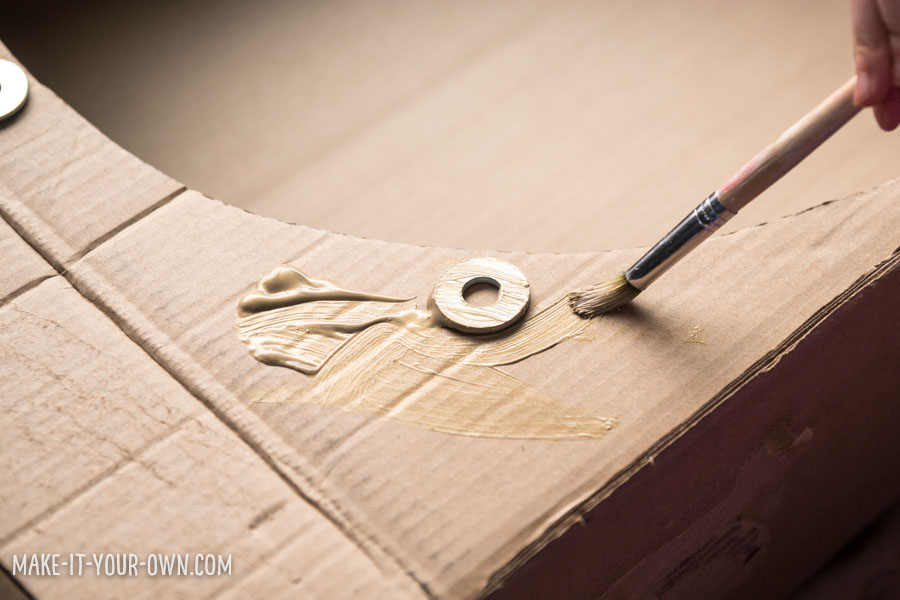
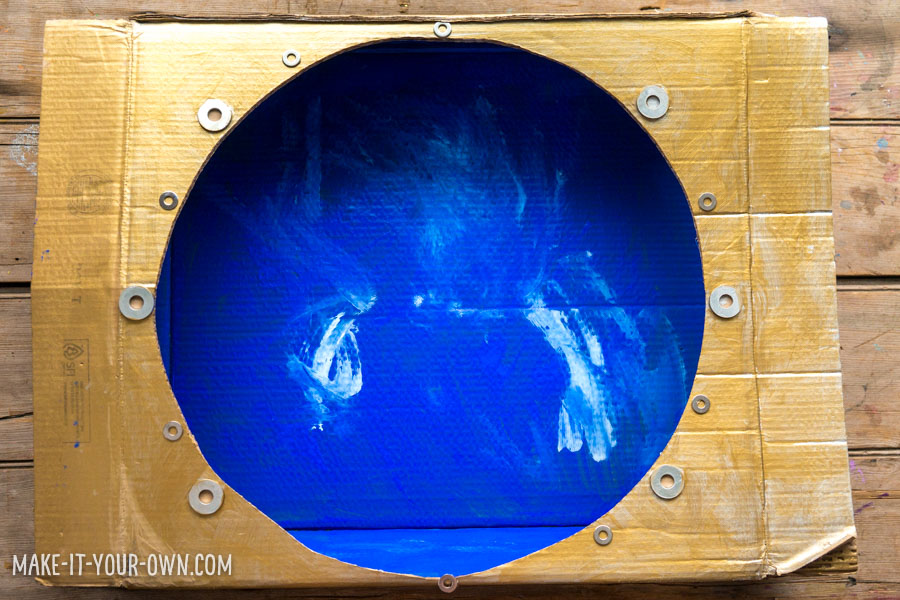
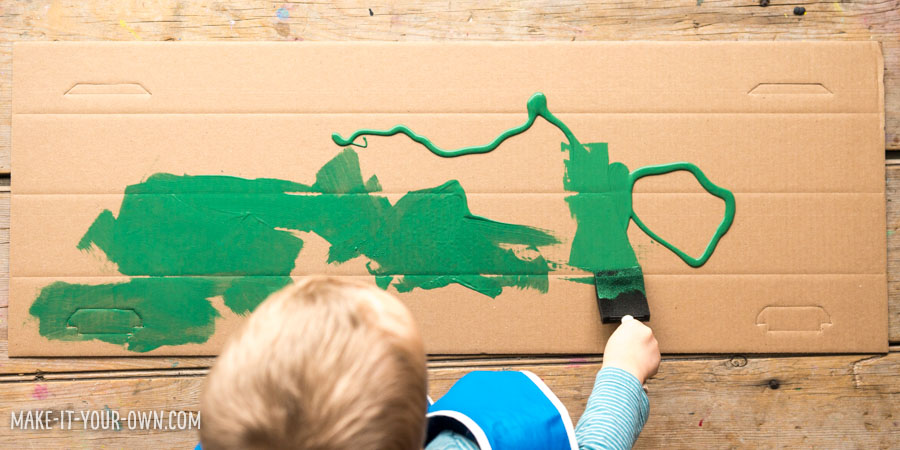
Don your smock. Paint the exterior of your box. We then glued on washers to create the look of a porthole, but you could use thick rope or paint to create an edge design. Add things related to your theme. Allow to dry overnight.
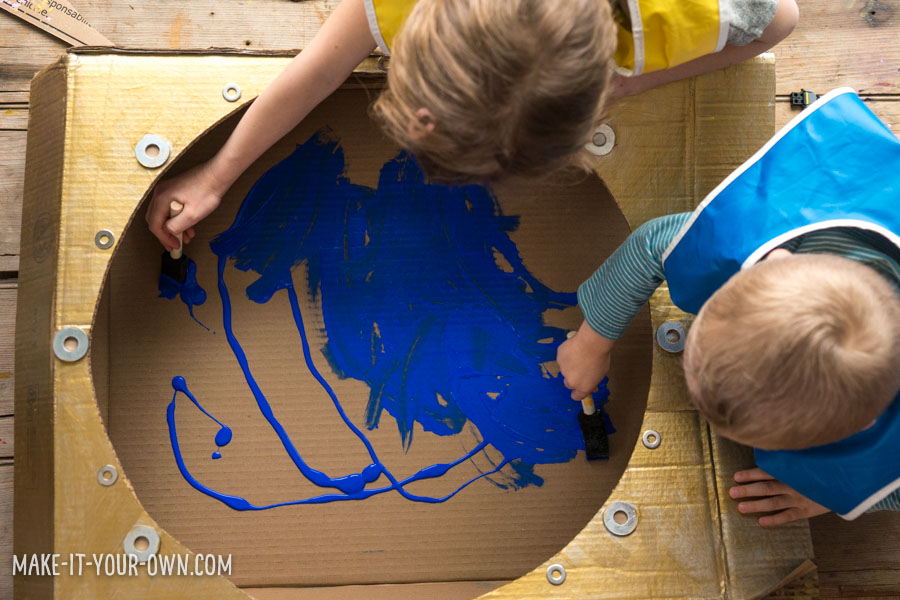
Paint your background in the interior of box. Allow to dry.
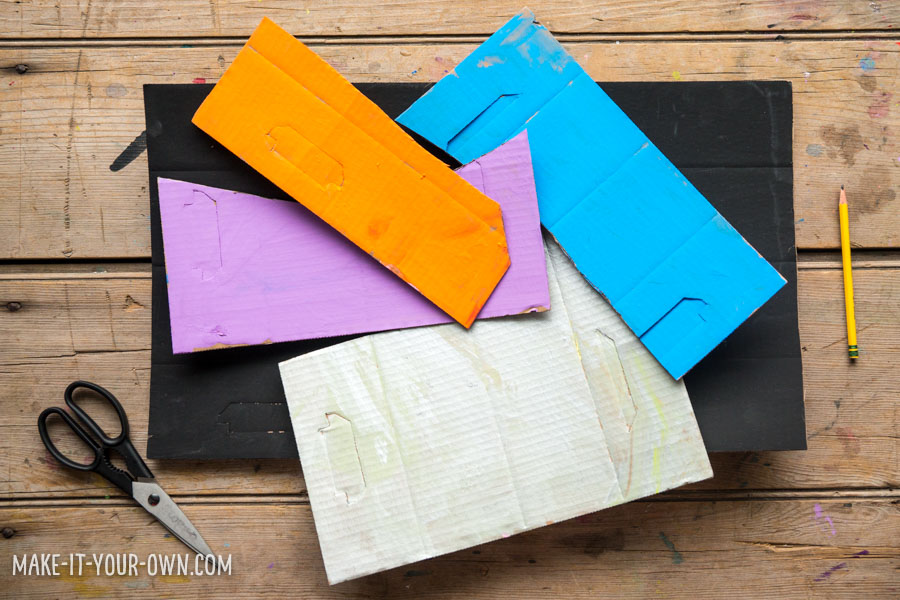
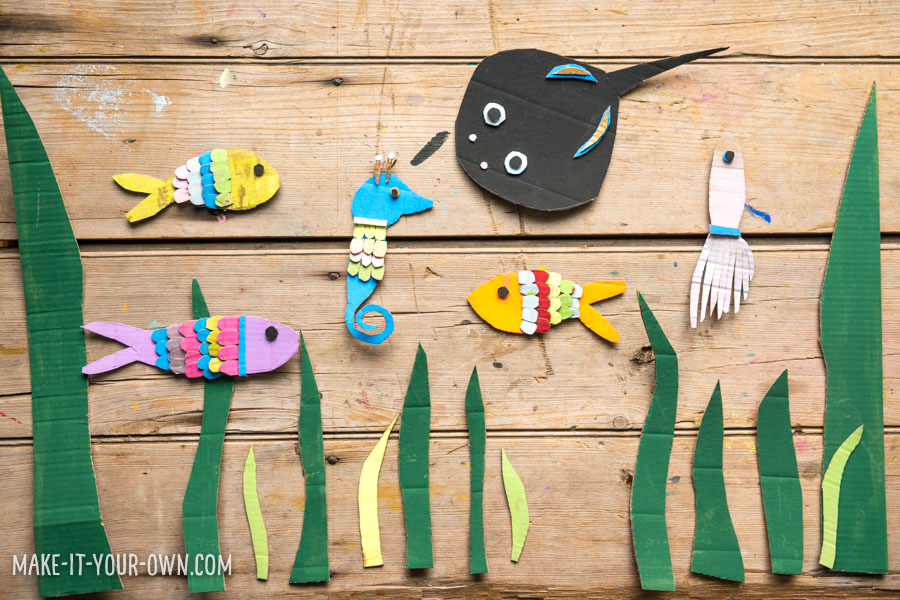
Paint your cardboard pieces in the colours you would like to use for your creatures and their setting (in our case we went with sea creatures and vegetation). Allow to dry.
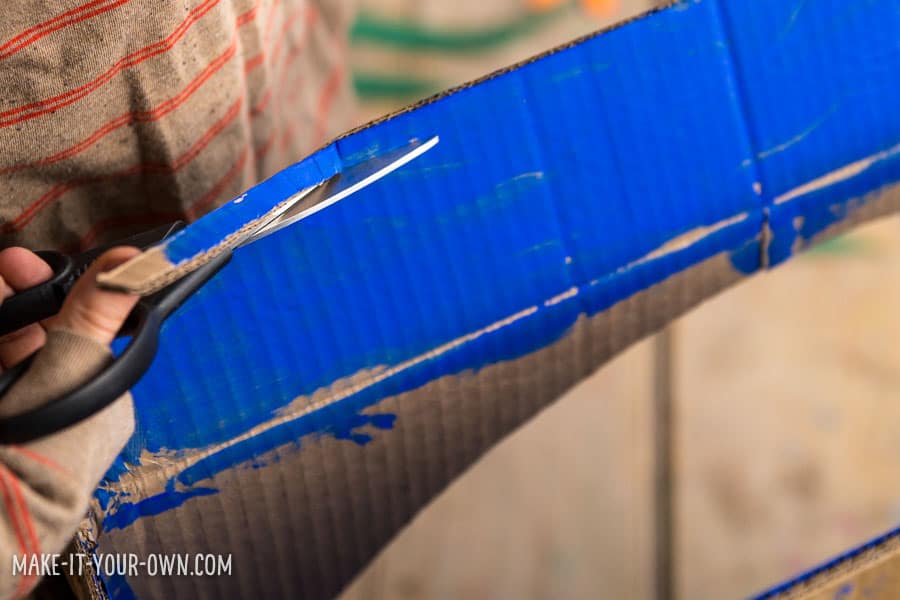
Sketch out the creatures you would like and cut them out with a good pair of scissors.
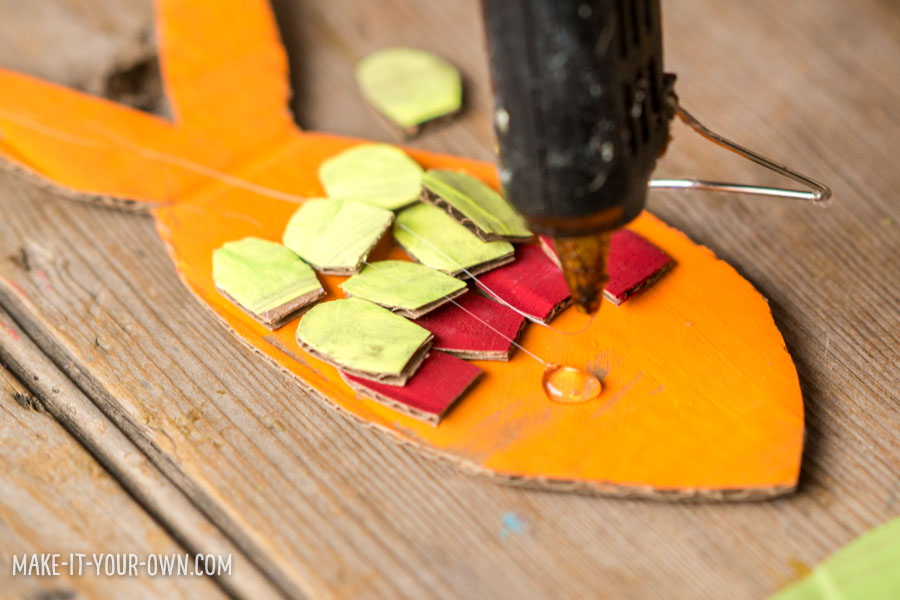
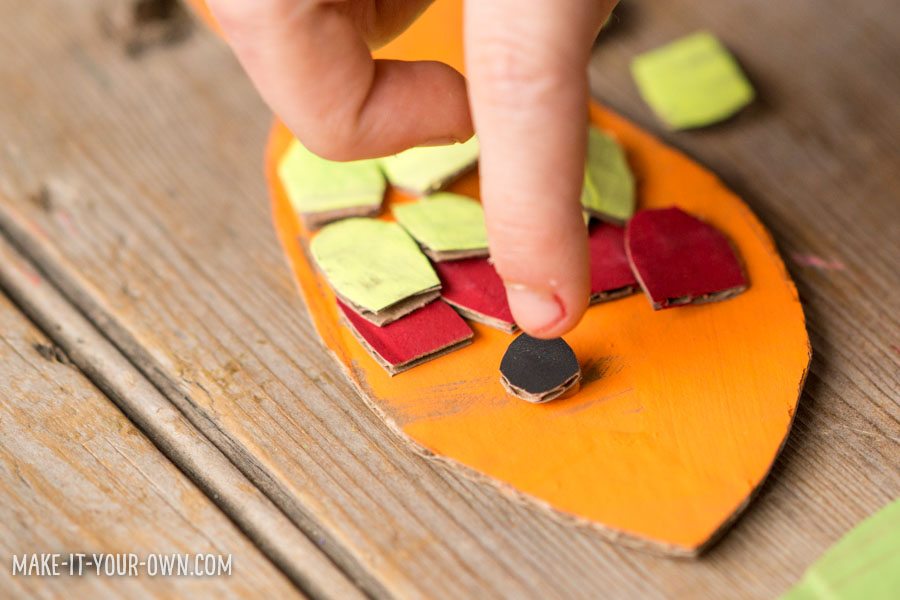
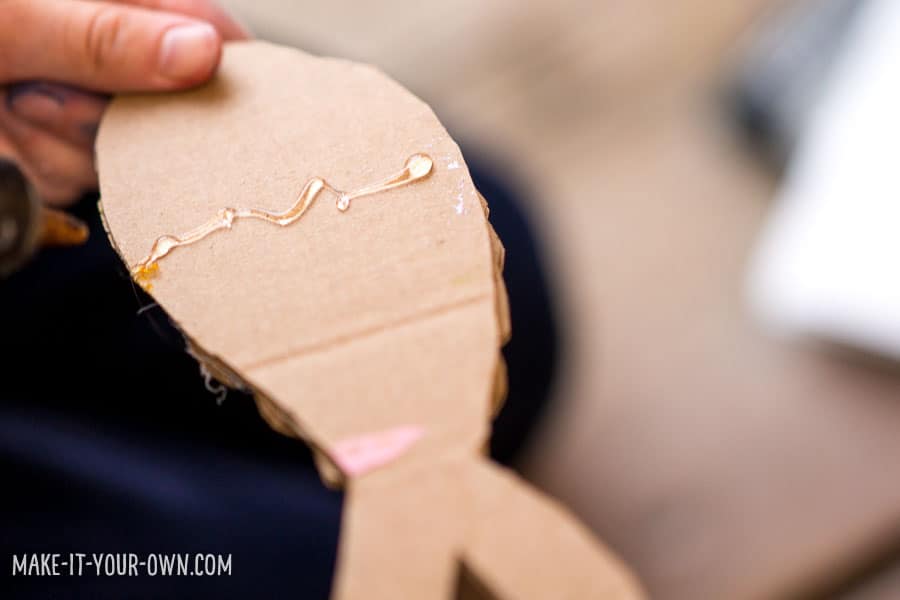
Sketch out the details to bring your creatures to life, cut them out and glue them on. 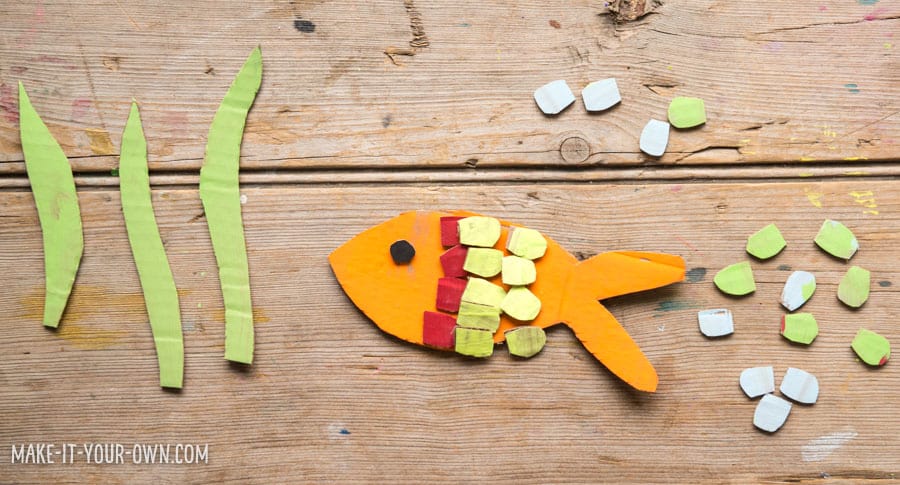
Lay out/play/plan out/arrange your ideas for your background.
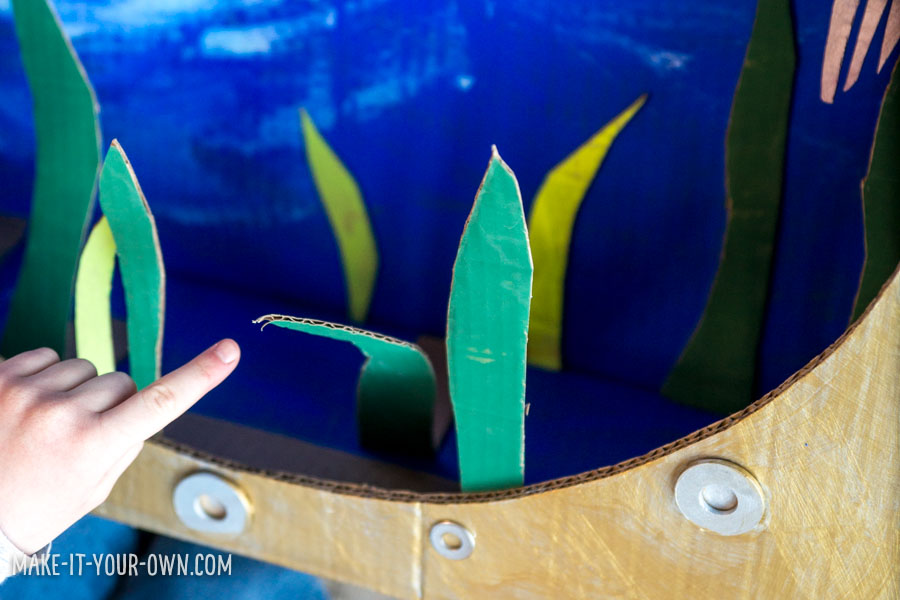
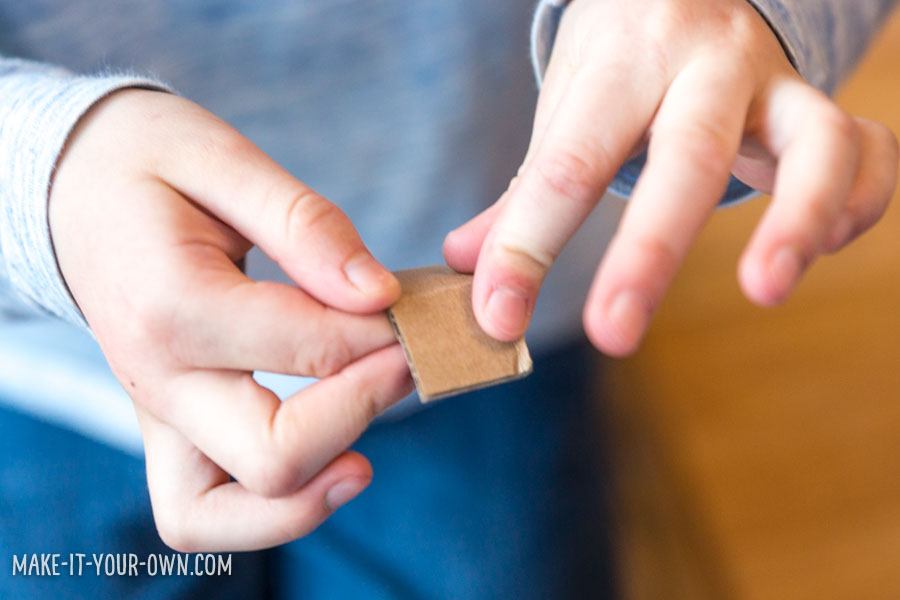
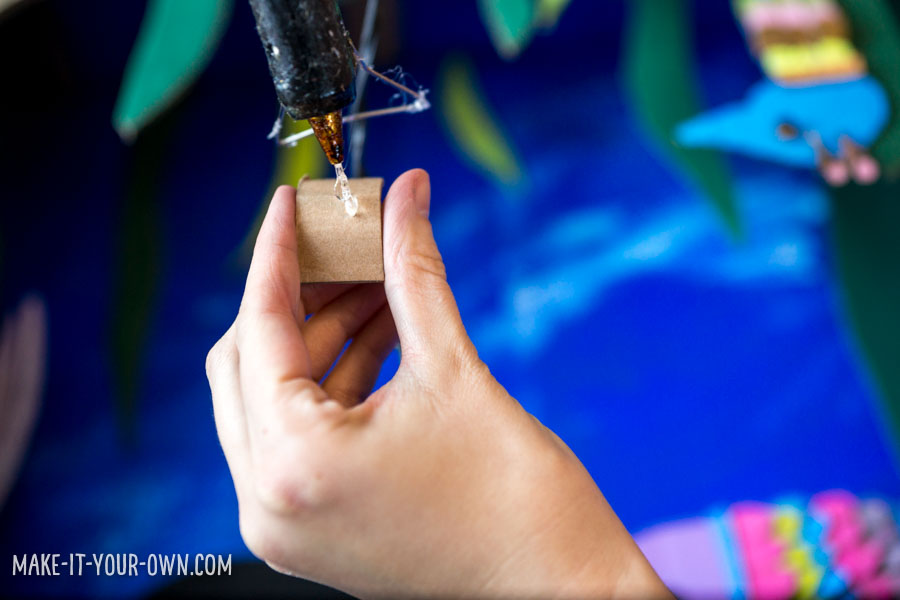
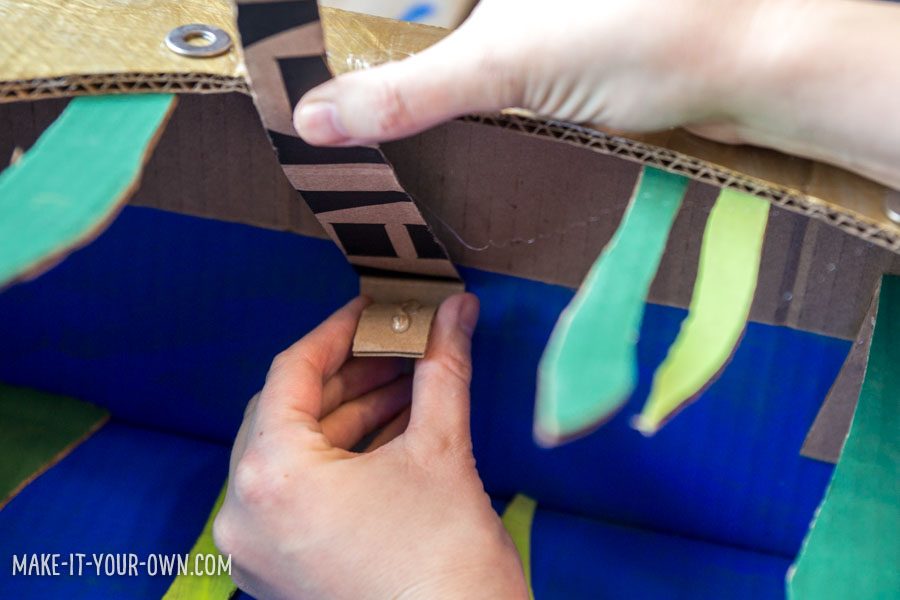
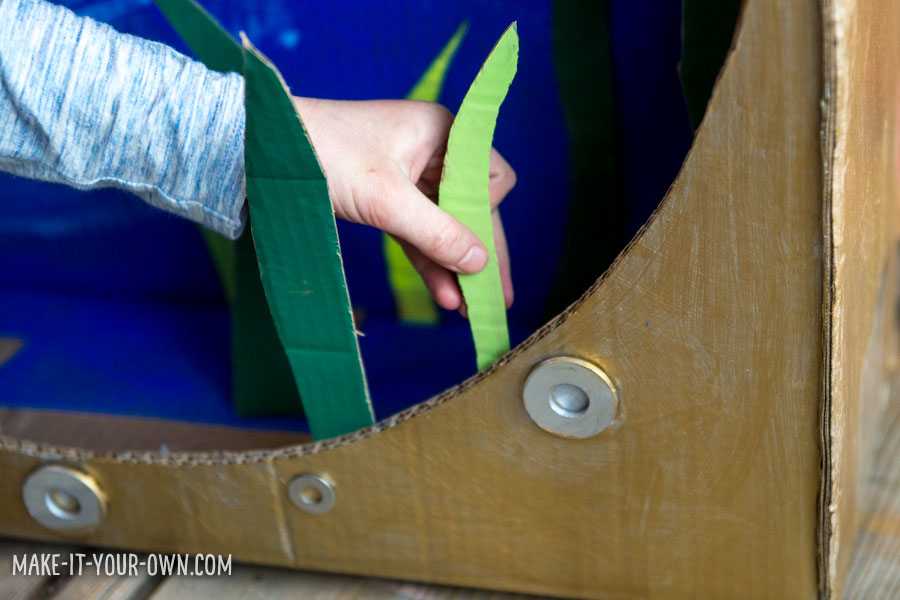
Glue your items onto the back of your box to create your background. If you want items to stand up in middle and foreground here are a few tips: 1) With the sea weed we folded a bit of the bottom back and then glued this to the bottom of the box. However, you might find that this still tips forward. If so, bend a piece of cardboard around two of your fingers and then glue this bent piece to the bottom folded piece of the seaweed (in our case) and then seaweed itself. Hold in place until the glue has set. 2) We glued the seaweed that was in the foreground onto the front inside panel of the box (as shown). Try to stand back and look before you glue pieces so that they will create layers and not hide each other!
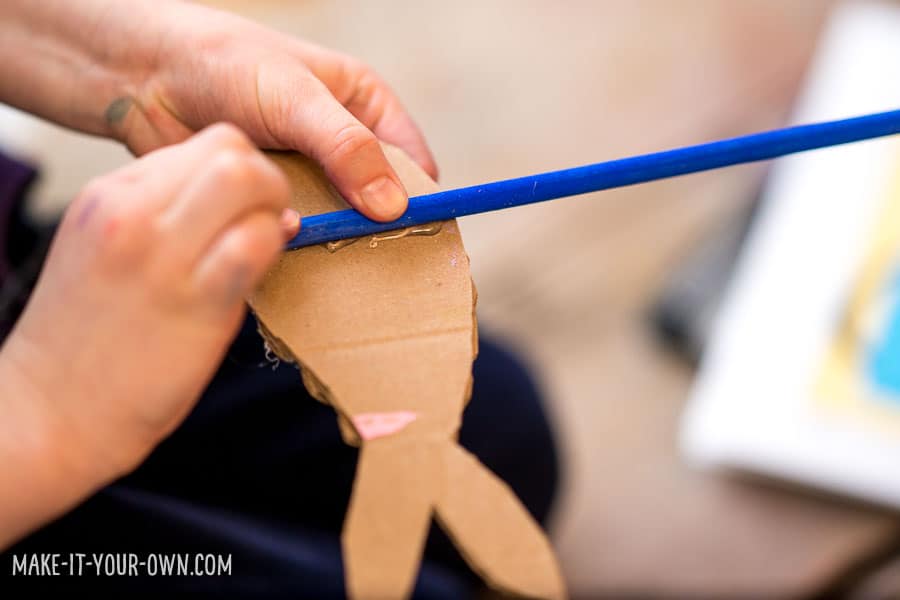
To form the puppets, insert your dowel into your floral foam and paint it, holding it steady on the top with your non-dominant hand. Allow to dry overnight. Glue to the back of your selected creature.
Before you tape the top of your box closed cut about half an inch off of one side of the flap at the top of the box. This will form a slit that your will be able to put your dowel through for moving your puppet. Glue and tape your box shut.
We then found it easier to go through the front of the box with your puppet's dowel to insert it.
Play away!
![]()
 Make it Your Own is a place to explore both new ideas and re-envisioning others. With a background in interactivity and education, Bonnie and Galen hope to get you and your children engaged in activities that extend the digital experience by outdoor exploration, creating etc.. Please join them and their children in collaboration.
Find Make It Your Own online here →
Blog | Facebook | Instagram | Pinterest | YouTube
![]()
Looking for more projects that use recyclables? Check out more ideas from Make It Your Own.
Purpose
- Creating props for dramatic, imaginative play.
Safety Notes
- We suggest that you wear a smock and use a craft tray to protect your clothing and surfaces.
- Use scissors with care and direct, adult supervision. An adult should use the utility knife.
- Small objects such as washers can be a choking hazard, therefore be sure to keep them out of the reach of children ages 0-3 years of age or those that tend to put things into their mouths.
Save it for later:
