This activity builds children's observational skills and gets them re-imagining lids from the recycling bin and other items as printing tools.
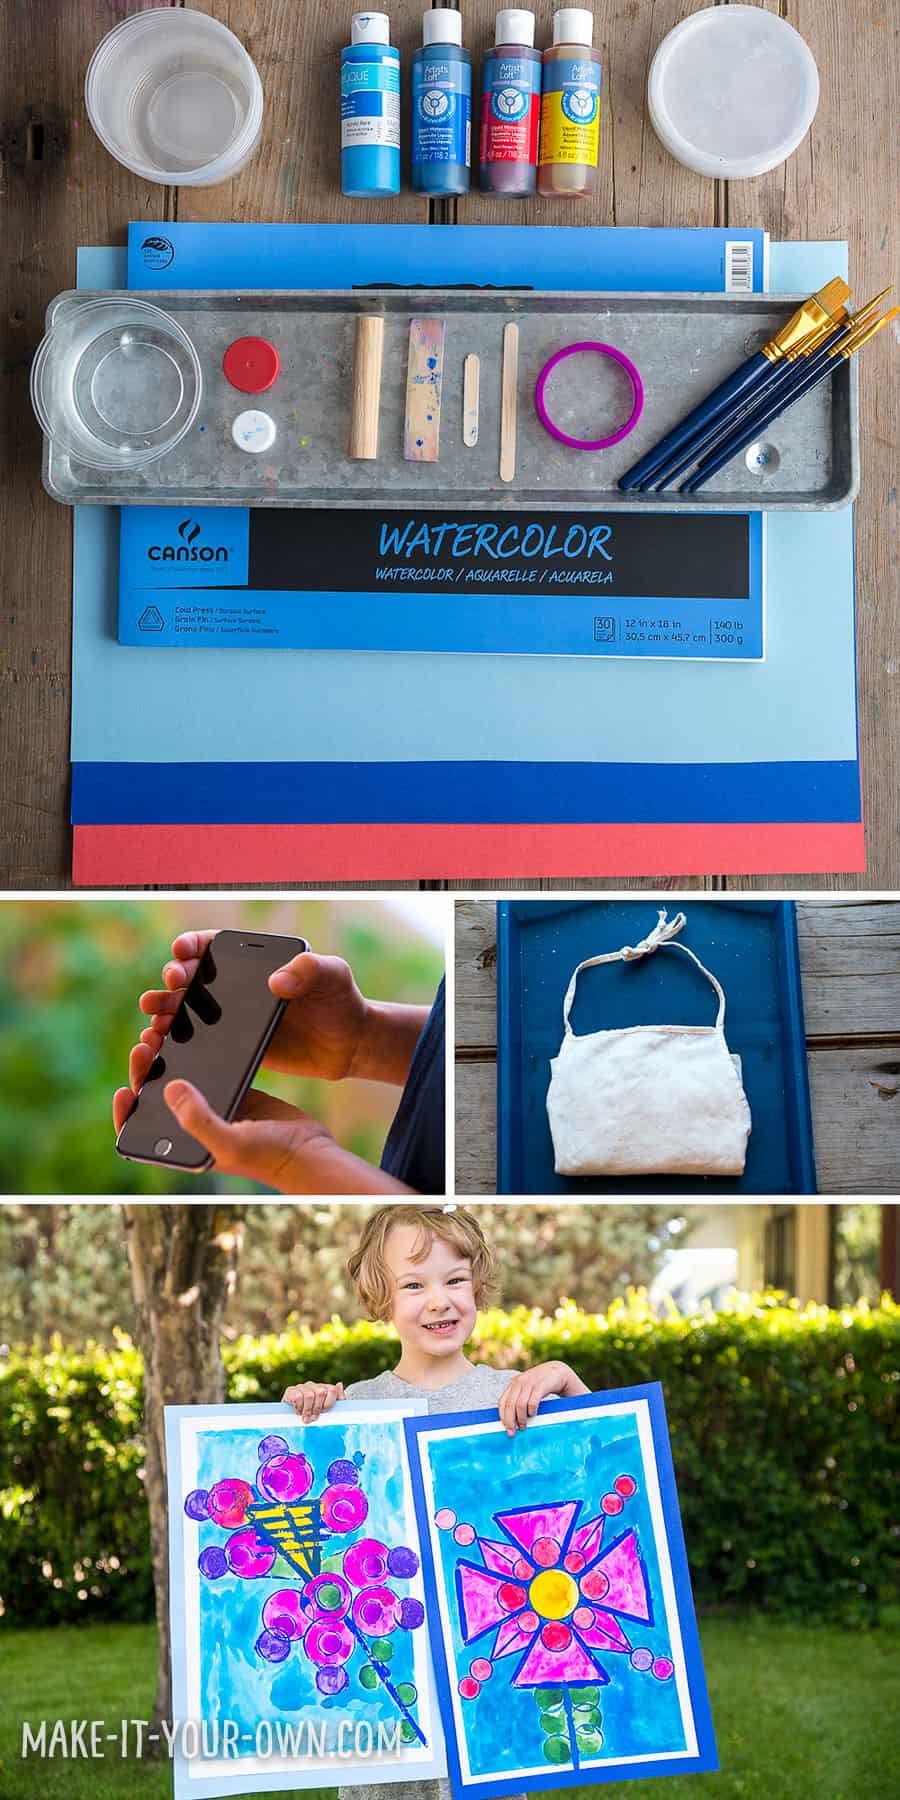
Materials
- Watercolour paper
- Acrylic paint
- Liquid watercolours
- Containers for the paint
- Large lids or similar shallow container
- Found objects
- Water
- Paint brushes
- Other items to make lines (e.g., popsicle sticks, building blocks etc.)
- Camera or camera phone
We always find these items helpful, too:
- Smock
- Craft tray
Directions
Part 1 (Optional)
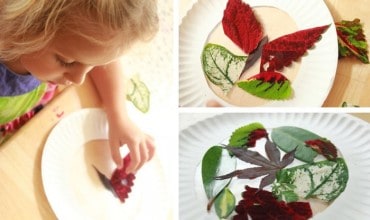
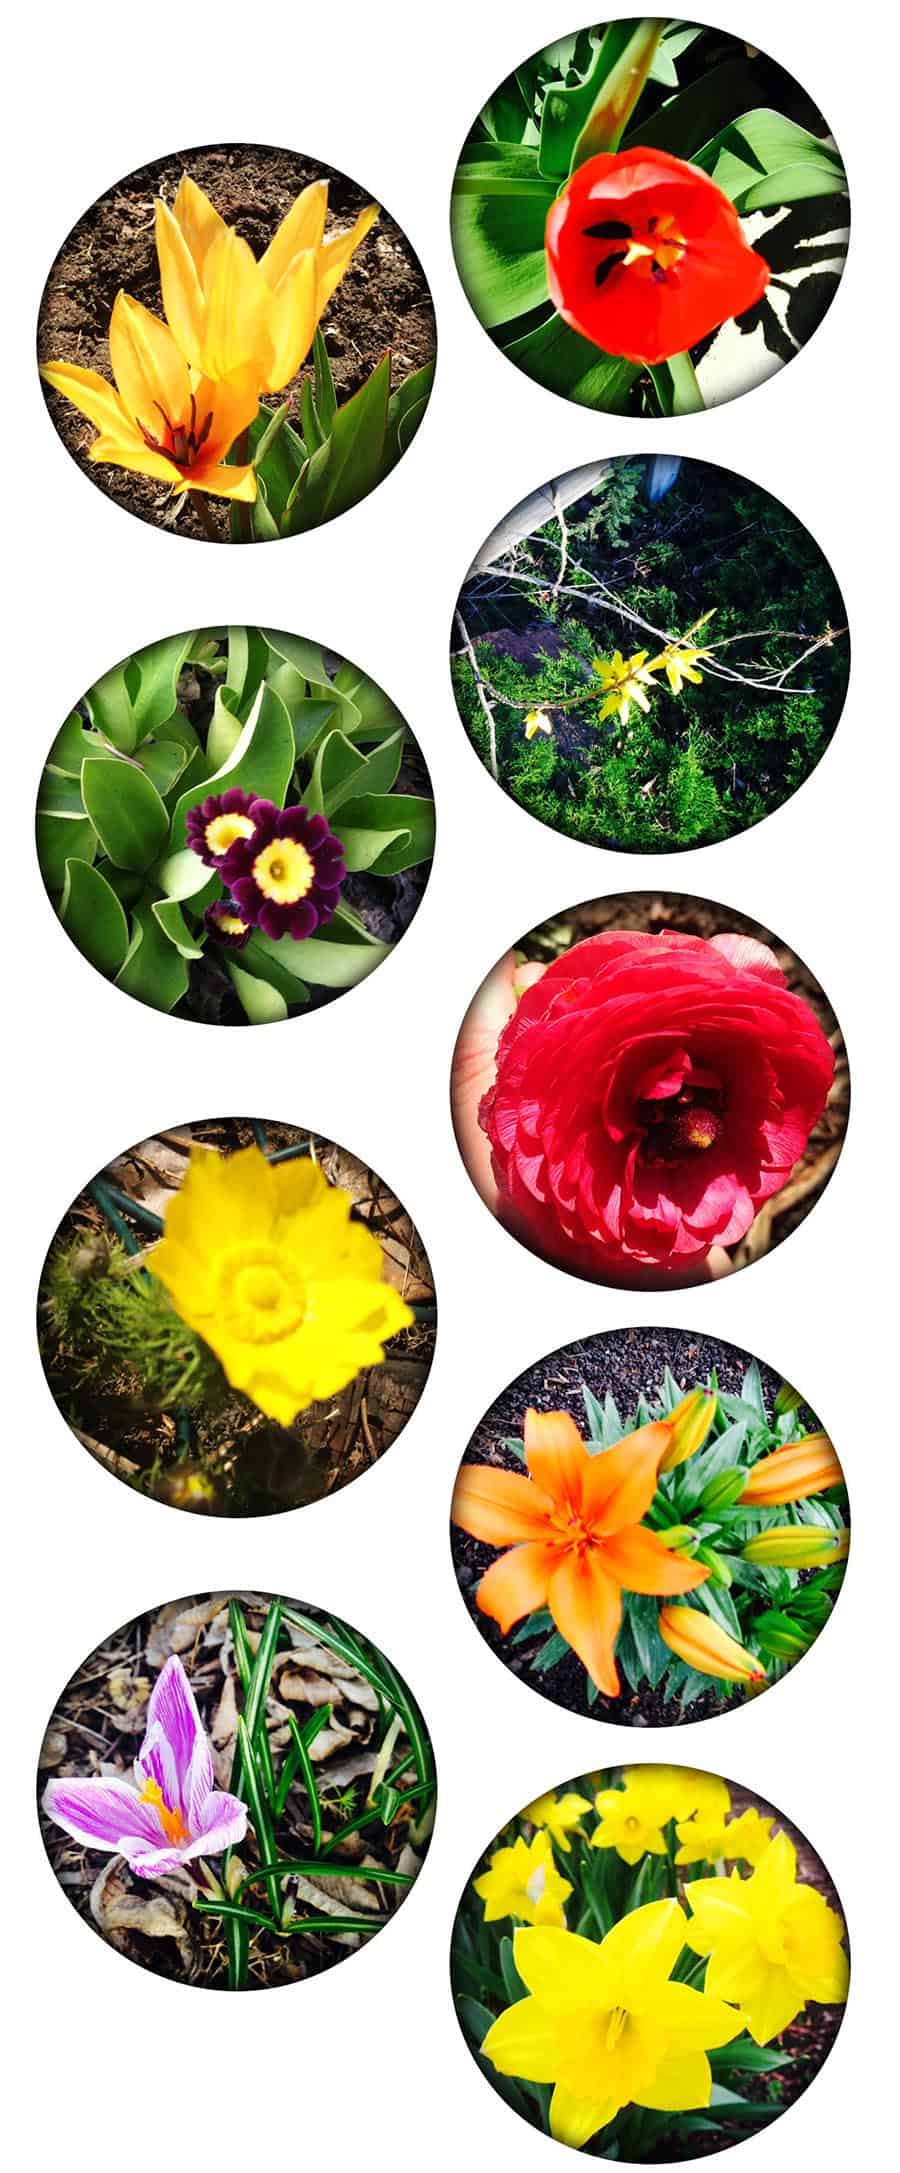
- With an adult, go on a nature walk with a camera or a notepad and pencil/eraser, documenting any flowers that you may see. If there is an indoor garden area in the city that you live in, this, too, could serve as inspiration.
Part 2
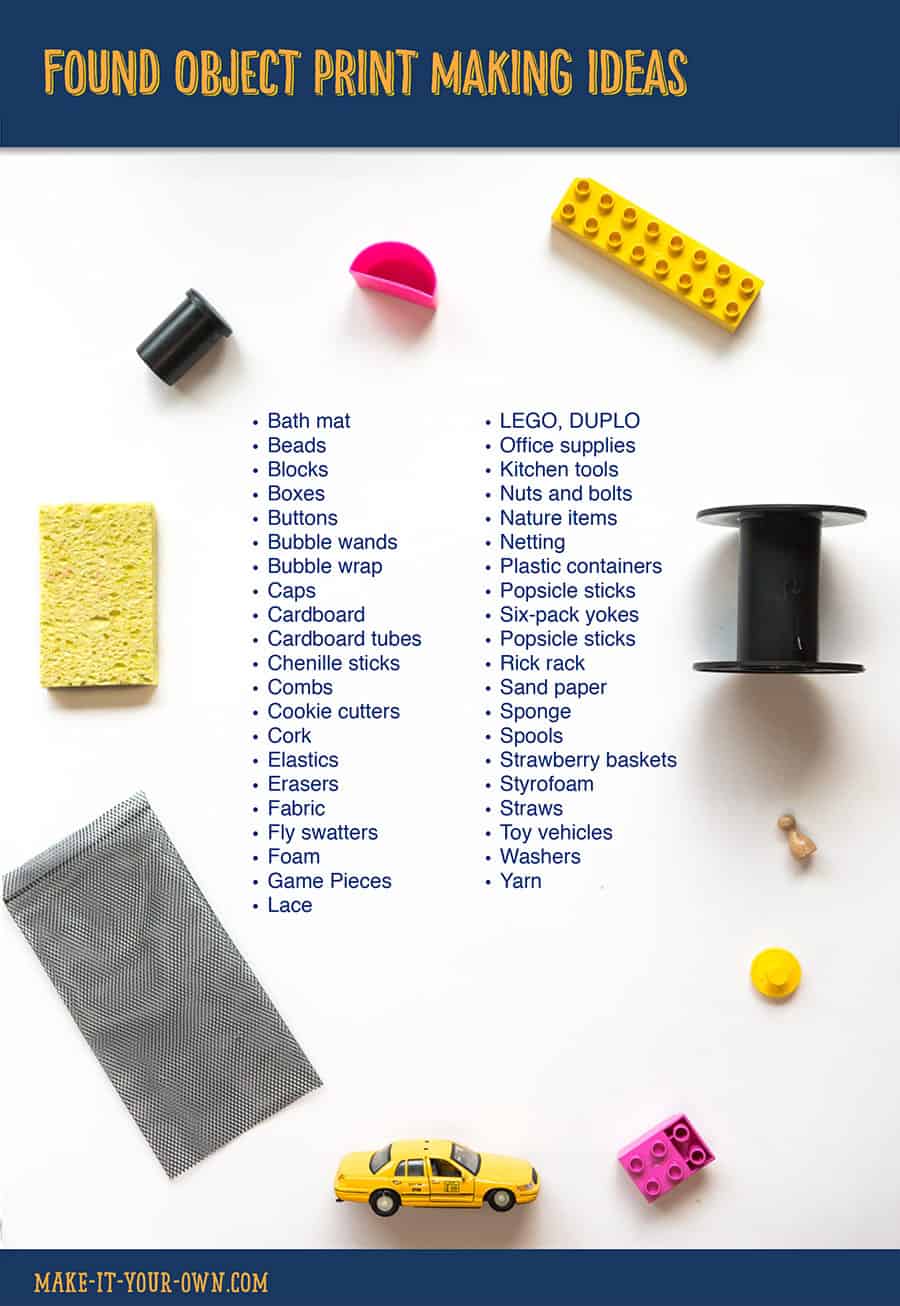
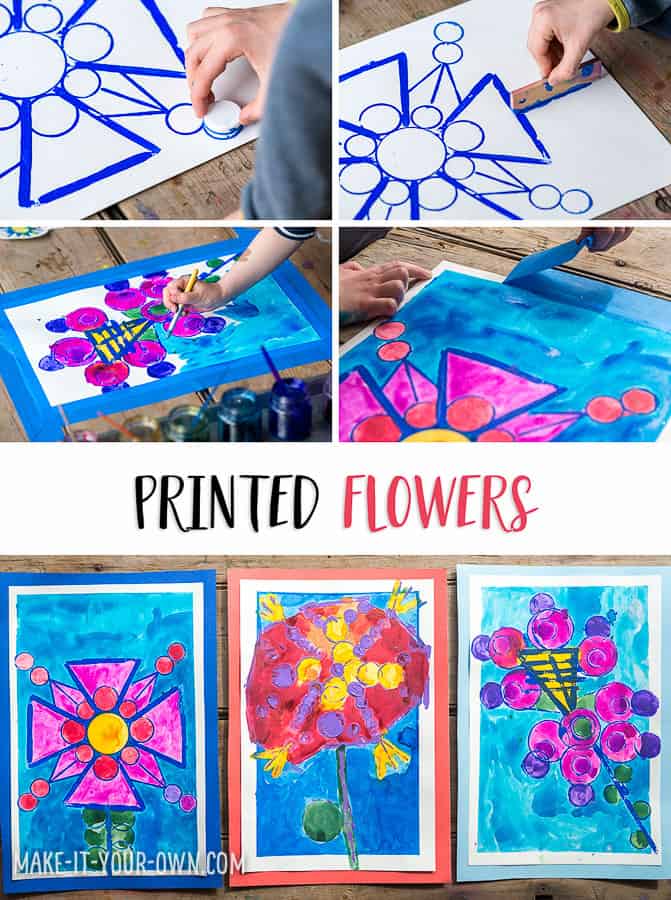
- Using your recycling bin or other items in your house, collect objects that you think would lend to making interesting imprints. Be sure to check with your parents/ caregivers prior to use and to wash them as well. Our kids went with caps, a cookie cutter, popsicle sticks and a wooden block. (We provided a list of potential items attached.)
- Don your smock and put your paper into your craft tray.
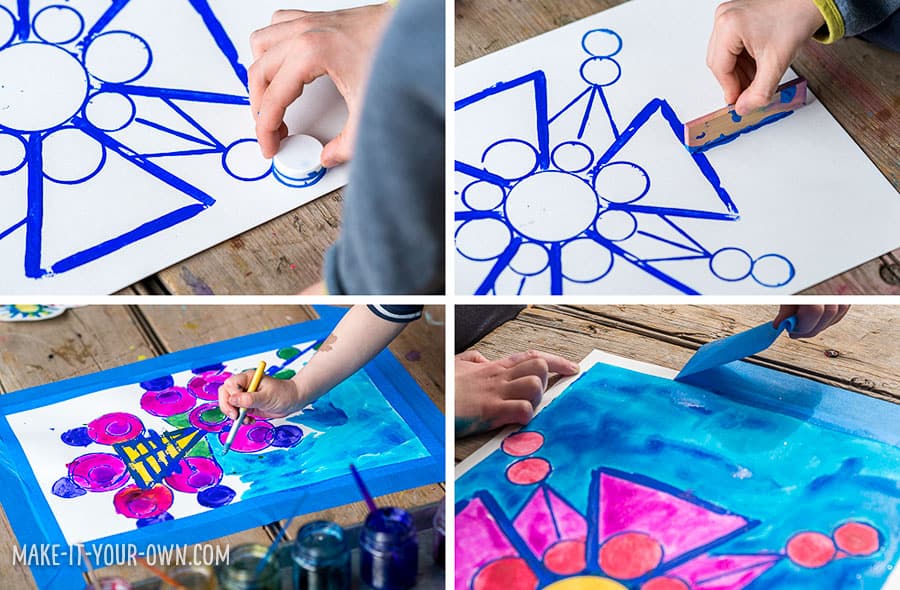
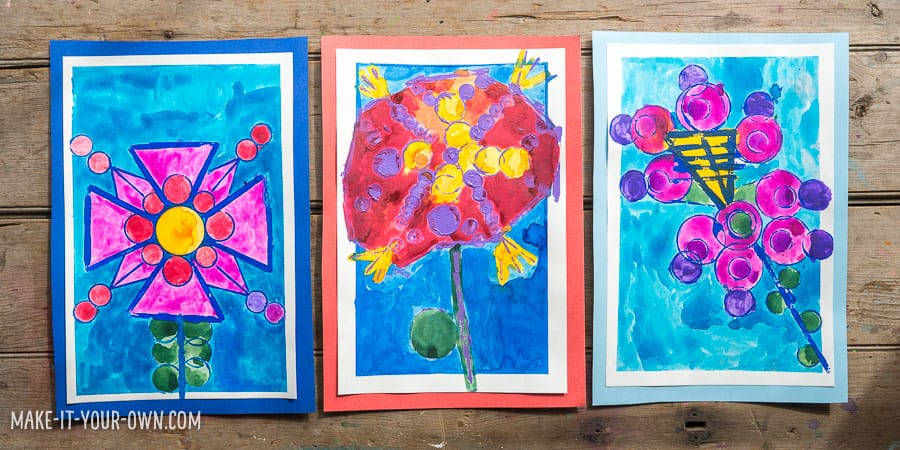
- Dip your objects into your acrylic paint and apply them to your page, creating a flower. You many try to replicate one that you saw on your nature walk or dream up a new one using your imagination. Using the acrylic paint will make an outline that won't bleed when the watercolours are applied. Allow to dry overnight.
- Paint your flower with watercolour paints and allow it to dry. If there are areas that are close to each other and if you don't want the colours to mix, paint them in stages, allowing drying time in between.
- We then applied painter's tape to the edges of our page to create a border, made from a resist. You want a tape that is sticky enough to hold the paper in place and not allow paint underneath, but not so sticky that it will cause a tear to the paper when you removed it. Some brands of masking tape work well for this too.
- Paint the background for your flowers.
- We carefully removed the tape when the page was still a bit damp, not allowing it to form a stronger bond over time.
- Allow to dry overnight.
- Mount your work on coloured paper (cardstock, poster paper, construction paper etc.) and hang it up. Or give it to someone special. Don't forget to put your name and the date on your work in the corner!
Ideas for Found Object Print Making
Print this list of ideas:
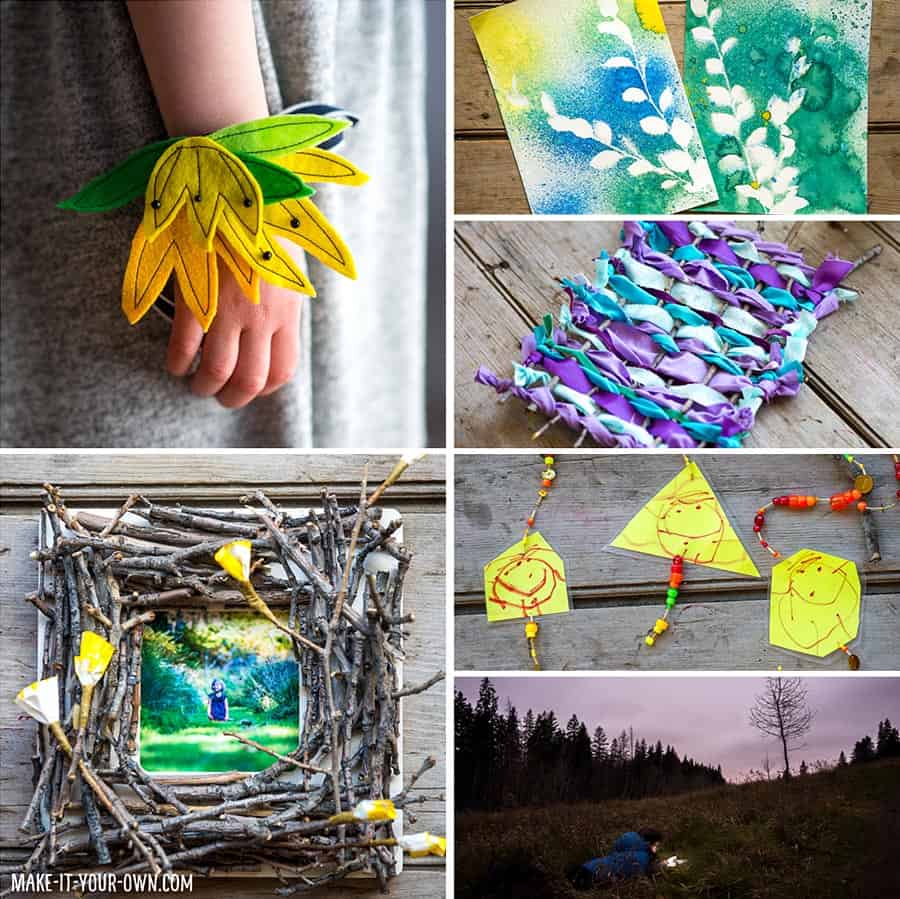
Looking for more ideas inspired by nature?
Stop by Make It Your Own for creative inspiration for your family.
Purpose
- The potential for inquiry-based learning, socio-dramatic and constructive play.
- Language development (interacting with others, acquiring new vocabulary).
- Opportunities for cooperation, collaboration, problem-solving, seeing different perspectives.
- Designing and executing plans (and making alterations).
- Investigation and application of possible scientific topics and areas of social studies.
- The excitement and enjoyment of using one's imagination.
Safety Notes
- We suggest that you wear a smock and use a craft tray to protect your clothing and surfaces.
- Use scissors with care and direct adult supervision.
- Small objects can be a choking hazard, therefore be sure to keep them out of the reach of children ages 0-3 years of age or those that tend to put things into their mouths.
![]()
![]() Make it Your Own is a place to explore both new ideas and re-envisioning others. With a background in interactivity and education, Bonnie and Galen hope to get you and your children engaged in activities that extend the digital experience by outdoor exploration, creating etc.. Please join them and their children in collaboration.
Make it Your Own is a place to explore both new ideas and re-envisioning others. With a background in interactivity and education, Bonnie and Galen hope to get you and your children engaged in activities that extend the digital experience by outdoor exploration, creating etc.. Please join them and their children in collaboration.
Find Make It Your Own online here →
Blog | Facebook | Instagram | Pinterest | YouTube
![]()
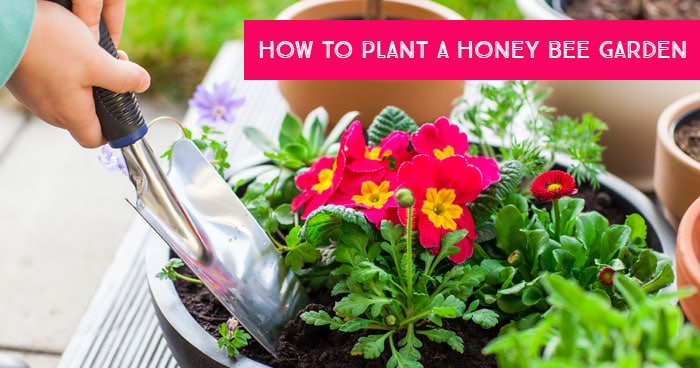
You Might Also Like
How to Plant a Honey Bee Garden With Kids
Pin this idea for later:
Summer is the perfect time to get creative with our kids and help them enjoy the beauties of nature even more. Here are a few more great ideas for crafting with the kids:
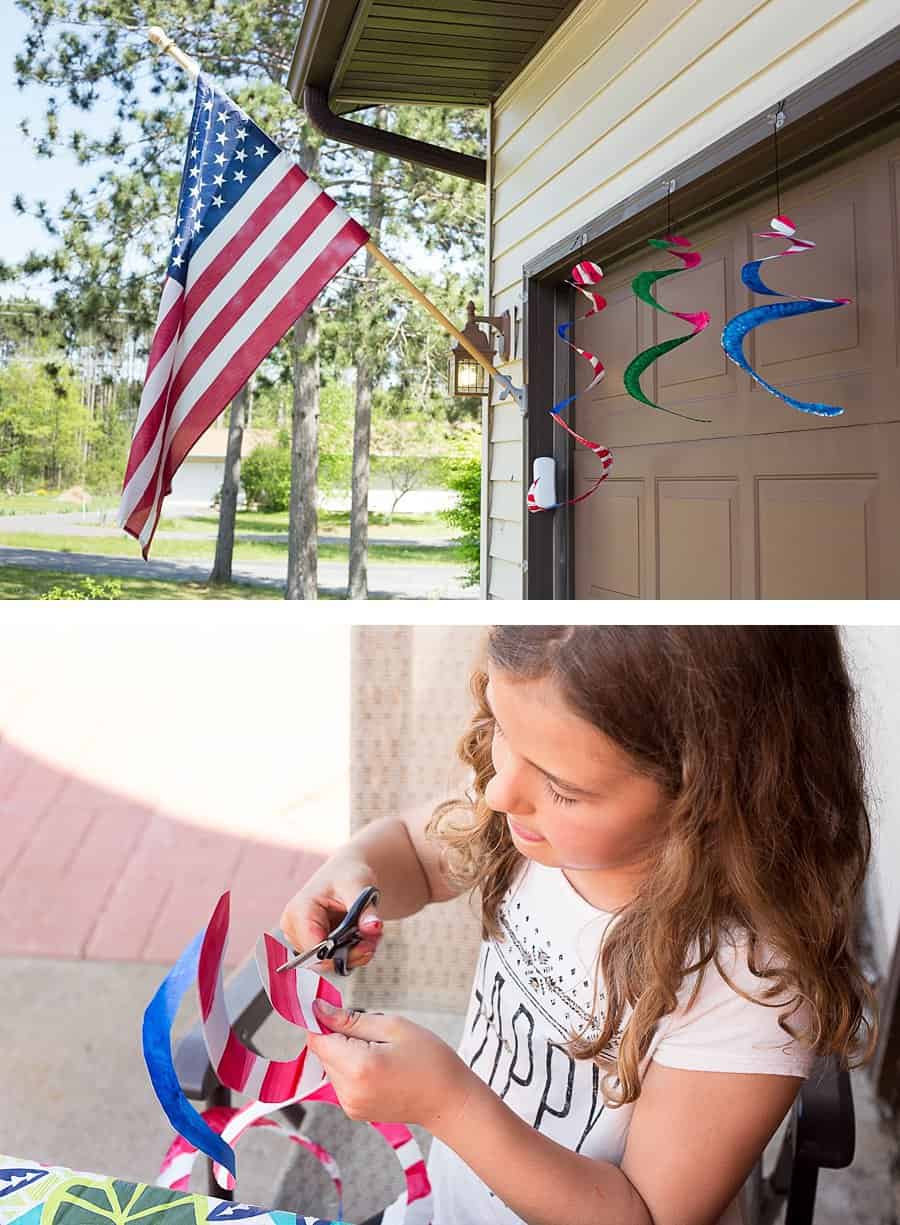
Watermelon Wind Spinners: Paper Plate Craft for Kids
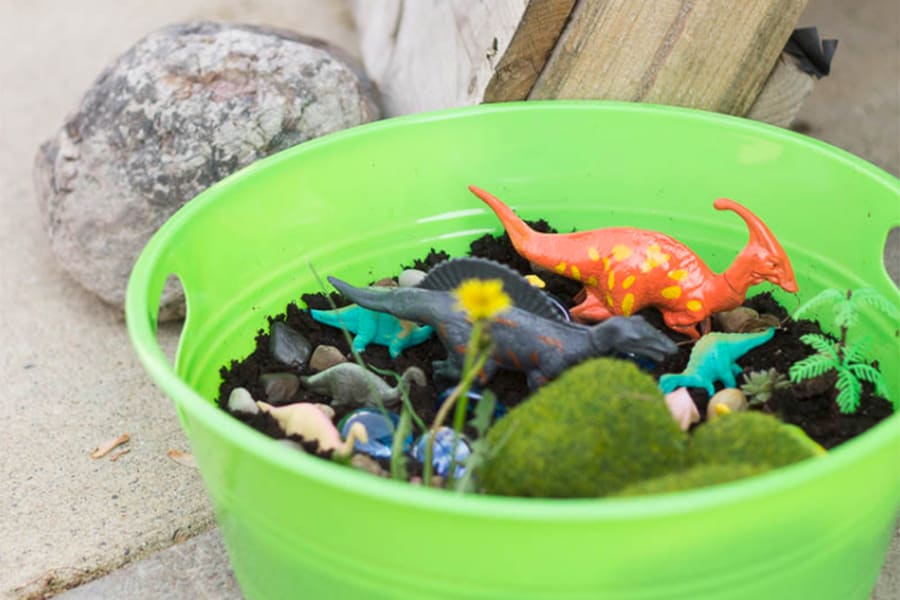
Family Garden Project: Dinosaur “Fairy” Garden
The Perfect Flower Suncatcher Craft for Kids