 It has been a a long winter in the Midwest. While friends and family across the nation share photos of spring blooms, my yard is still covered in two-feet of snow. We are ready for daffodils and a warm spring breeze.
A house with daffodils in it is a house lit up,
whether or no the sun be shining outside.
- A.A. Milne
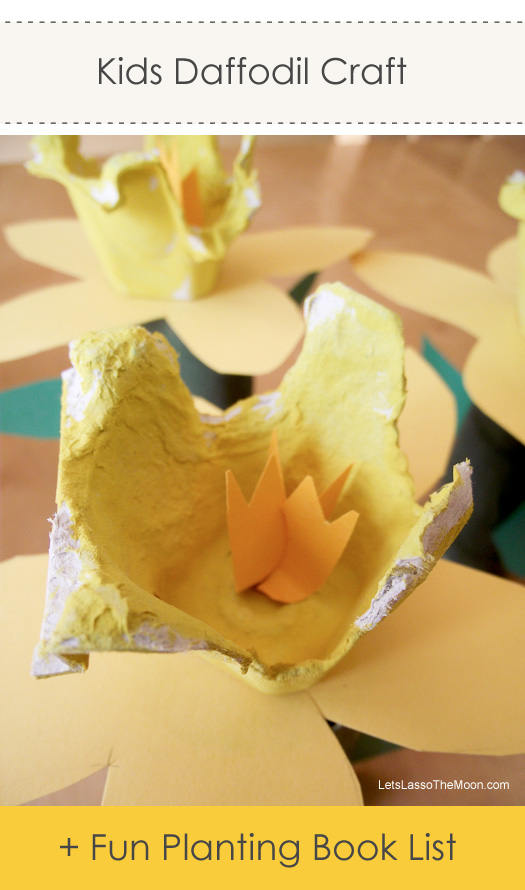
Welcome spring with by creating egg carton daffodils with your little ones.
Get instructions below!
Egg Carton Daffodils
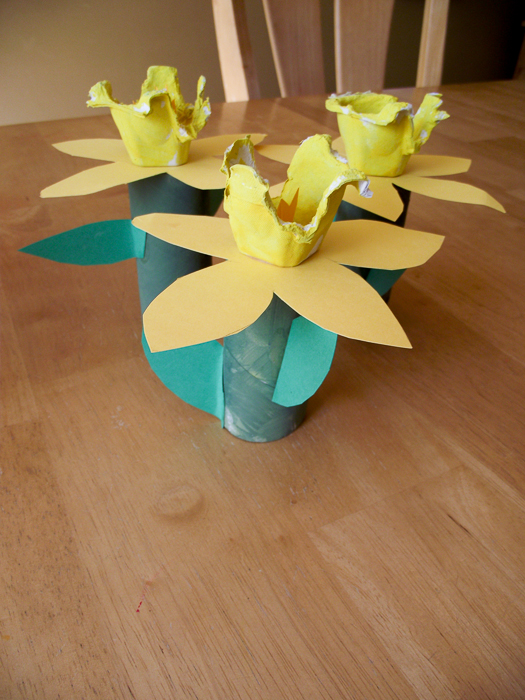
We've got "bouquets" of daffodils all around the house: on the kitchen table, lined-up on the piano, and even on windowsills. To add a little sunshine to your home, you will need the following supplies:
- cardboard egg cartons
- toilet paper rolls
- yellow and green card stock
- yellow and green paint
- scissors
- pencil
What I love about this project is that it entertained the kids for a a few days. It requires an afternoon of fun & then patiently waiting for drying.
Day 1: Paint the toilet paper rolls green. Take snapshots of green fingers. Enjoy the mess. Let fully dry.
Day 2: Cut egg carton cups into twelve sections. (Parents, you might want to help with this step. The cartons can be challenging to maneuver with little fingers and kid scissors.) Have the kids paint the egg carton cups yellow. Let THEM own the project. Don't worry about missed spots and imperfections. Let fully dry.
Day 3: It is time to create the pedals! I created a cardboard template by free-handing a basic 5-star petal shape. The kids enjoyed using the template to trace outlines to their yellow card stock. They used their kid-safe scissors to cut out the pedals.
If drawing the shape on your own freaks you out, here is a lovely daffodil pedal template from Mr. Printables.
Optional: We followed a similar process to create leaves. Create an elongated tear-drop shaped template for the green paper.
Now it's time to cut out the stigma and anthers (that tiny paper section that sits inside of the egg carton)...
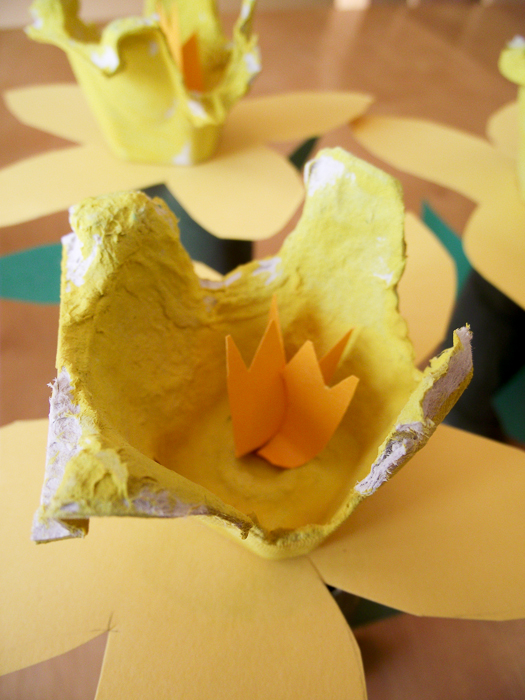
Use this as an opportunity to have your child practice writing little U's and W's.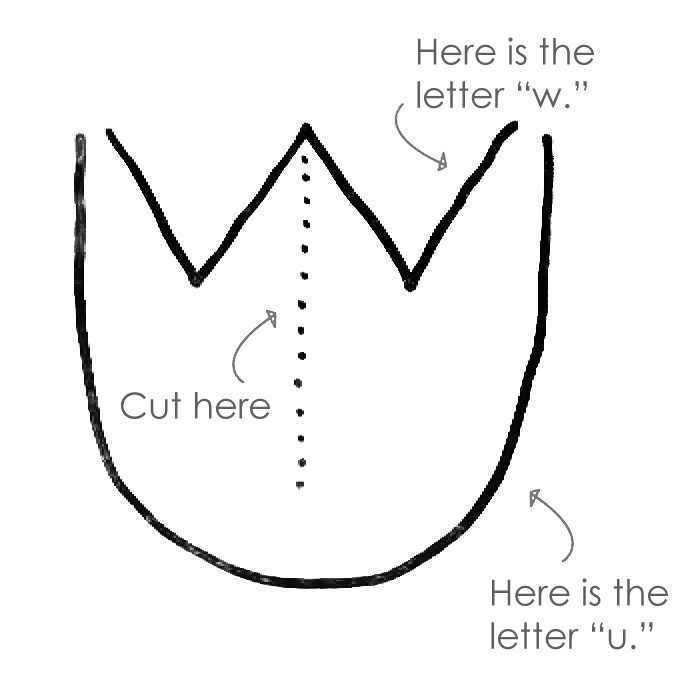
Younger children might find it challenging to make SMALL U's & W's. If your child wants to help, but are not capable of the task, pull out some colored paper and have them make BIG letters. These shapes can be turned into tulips!
“A tulip doesn’t strive to impress anyone. It doesn’t struggle to be different than a rose. It doesn’t have to. It is different. And there’s room in the garden for every flower. You didn’t have to struggle to make your face different than anyone else’s on earth. It just is. You are unique because you were created that way. Look at little children in kindergarten. They’re all different without trying to be. As long as they’re unselfconsciously being themselves, they can’t help but shine.” ― Marianne Williamson | See her site
Cut a line from the TOP on half the UW shapes (showcased above) and a line from the BOTTOM on the other half. Then the two flower pieces slide right into place. Viola! You've got daffodil centers or tulips!
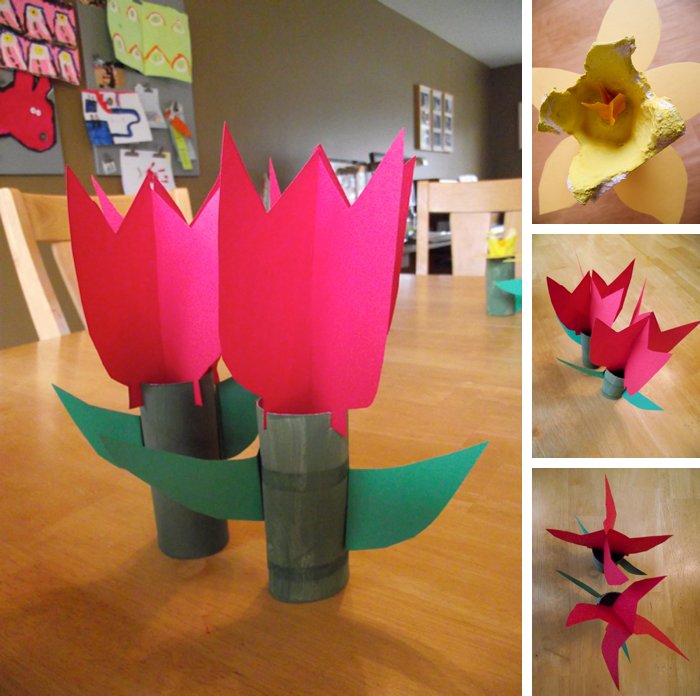
Day 4: Get out the glue! Let's put this all together. We used glue sticks to attach the leaves to the toilet paper roll and the egg cartons to the flower pedals. We used traditional liquid glue to attach the flower pedals to the toilet paper roll. Let dry!
Day 5: Decide where you want to display this indoor bouquet. We had a sweet collection sitting on our piano all through May! This is also a wonderful opportunity to deliver a few blooms to friends or family with a "Happy Spring!" note.
As you work through this project, remember to let your little one SHINE. As a perfectionist, I sometimes find kid's crafts challenging. I want to step in and "get it right." If you are the same way, do your best to hold back and let your child own the frustrations and JOYS of creating these spring daffodils.
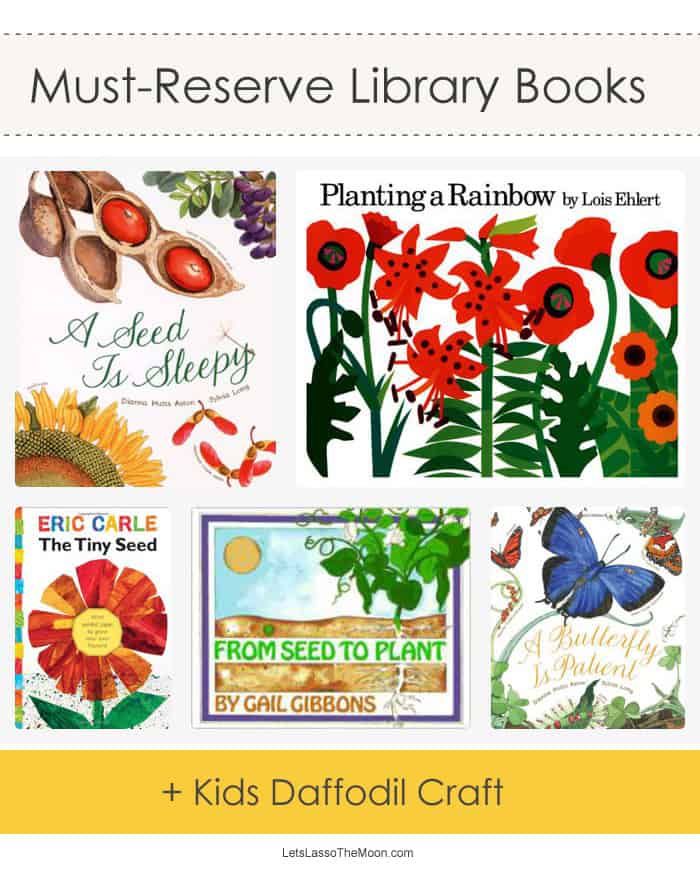
I should mention, before we started the project we went to the library and checked out 101 books on plants, seeds, flowers, spring, and birds. Each afternoon, after we finished a portion of the project, we'd have an indoor-living-room picnic and read. It made "patiently waiting" for the paint and glue to dry more tolerable! Here are a few great spring items from Amazon...
Find these books, plus additional titles, online here.
Books are always a great resource, but check online for additional info, too.
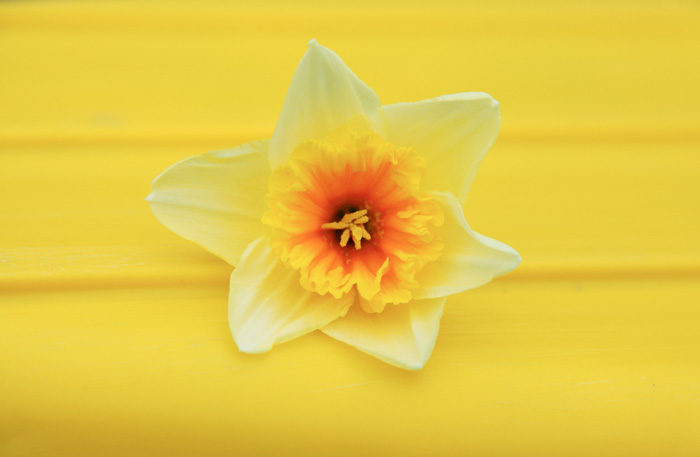
We did some research and found this close-up view of a daffodil.
The macro photos on this site are beautiful.
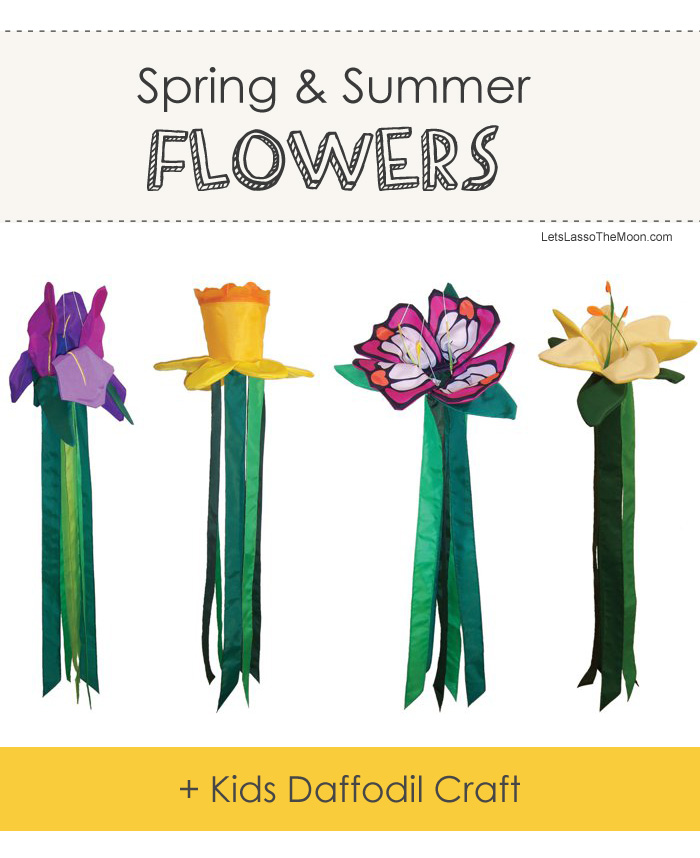
We may still have snow here in the Mid-west, but we are decorating with spring & summer flowers inside and OUT. We've been hanging umbrellas up indoors, creating our own April Showers (watch this awesome video), and decorating the yard. I adore these In the Breeze floral windtails. Now to decide which one to order!
Wild Iris Windtail | Daffodil Windtail | Dainty Dogwood Windtail | Lovely Lily Windtail
Has the spring thaw already passed in your section of the world? If the ground is already thawed in your yard, be sure to check out this AWESOME post on creating a summer sunflower house! I double dog dare you to check out the post and NOT add it to your summer to-do list. So cool.

P.S. These spring projects were inspired by this adorable Daffodil Bunting. We love the creative ideas shared over at Nurture Store! If you'd like weekly activities sent to your inbox, sign-up for the eNewsletter. You won't be disappointed.
 |
 |
 |
 |
 |
|
 |
|||||
Pin it:
