These seven creative ideas for book jackets help extend narratives through imaginative play and written expression. Your kids will have so much fun, you'll never look at a book cover the same way again!
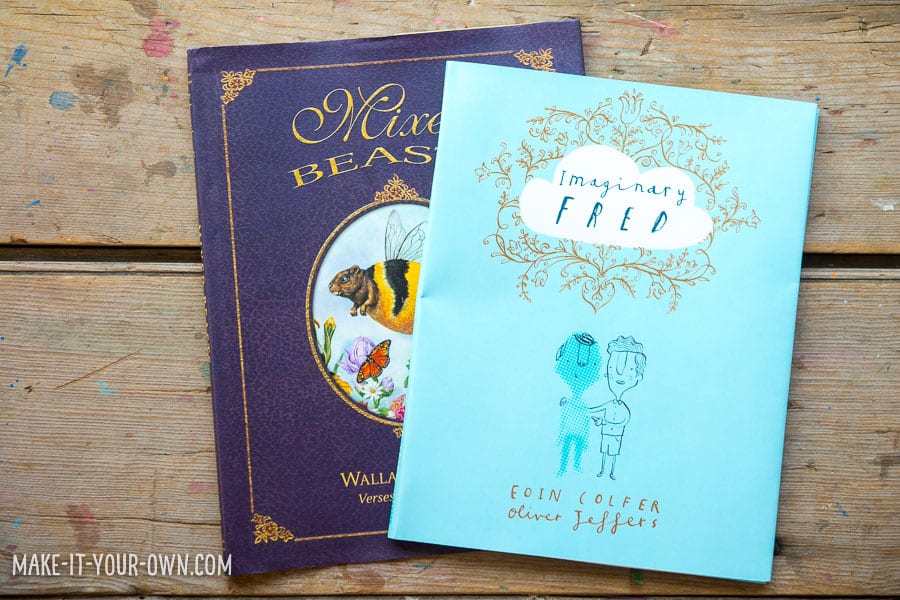
I have to admit, I always removed the book jackets/ dust covers from my classroom library. While I see the value of them when they are laminated and provide durability to books in a school library or public library, I found that they often ended up a crumpled mess (particularly on the edges) even when students were very diligent in taking care of my book collection. Thus, we were always cutting them up to make something else to go along with the reading experience!
These activities can also apply to books that are falling apart and are no longer fixable.
7 Creative Ideas for Book Jackets
Purpose: Extending narratives through imaginative play, written expression etc.
Safety Notes
- We suggest that you wear a smock and use a craft tray to protect your clothing and surfaces.
- Use scissors with care and adult supervision.
- A laminator is recommended for adult use.
- Small parts can be a choking hazard, therefore be sure to keep them out of the reach of children ages 0-3 years of age or those that tend to put things into their mouths.
Let's get started...
1. Rock & Block Play
Materials
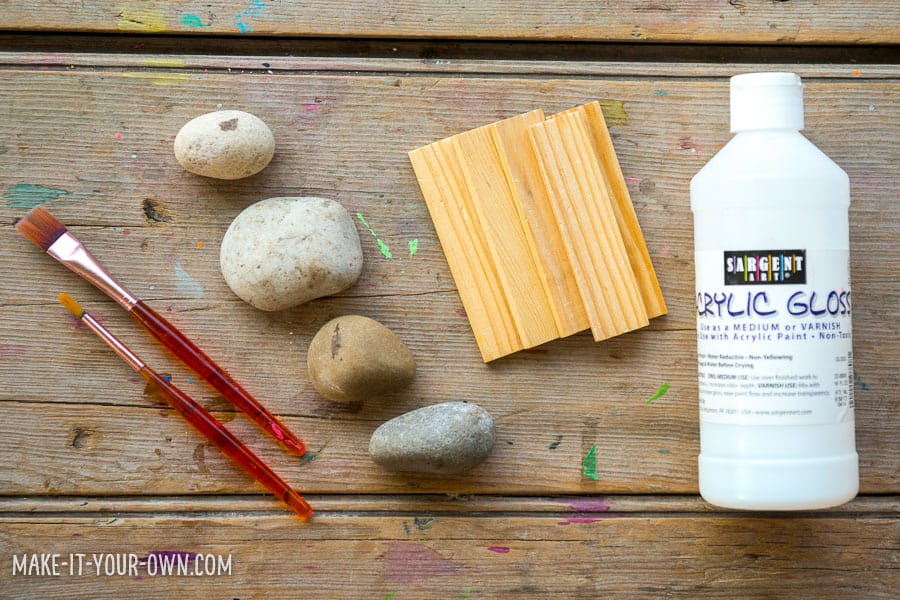
- Rocks
- Blocks
- Acrylic gloss
- Paint brushes
- Coloured acrylic paint (Optional *)
- Book Jackets
- Smock
Directions
- Cut out the illustrations on your book covers. We typically leave a small border to make the image stand out.
- Find or purchase smooth rocks. Wash your rocks and wipe down your blocks to remove dust. Allow to dry overnight.
- Apply acrylic gloss to your rock, carefully lay down your image and paint over it. You will want the image to be slightly saturated so it can bend. We did several thick coats, allowing the rocks to dry overnight between coats. You could likely use slightly diluted white/craft glue, Modge Podge or a similar product. I like that acrylic gloss dries with a non-tacky finish and doesn't yellow. Add your rocks and blocks to a building area, small world or use them as story stones.
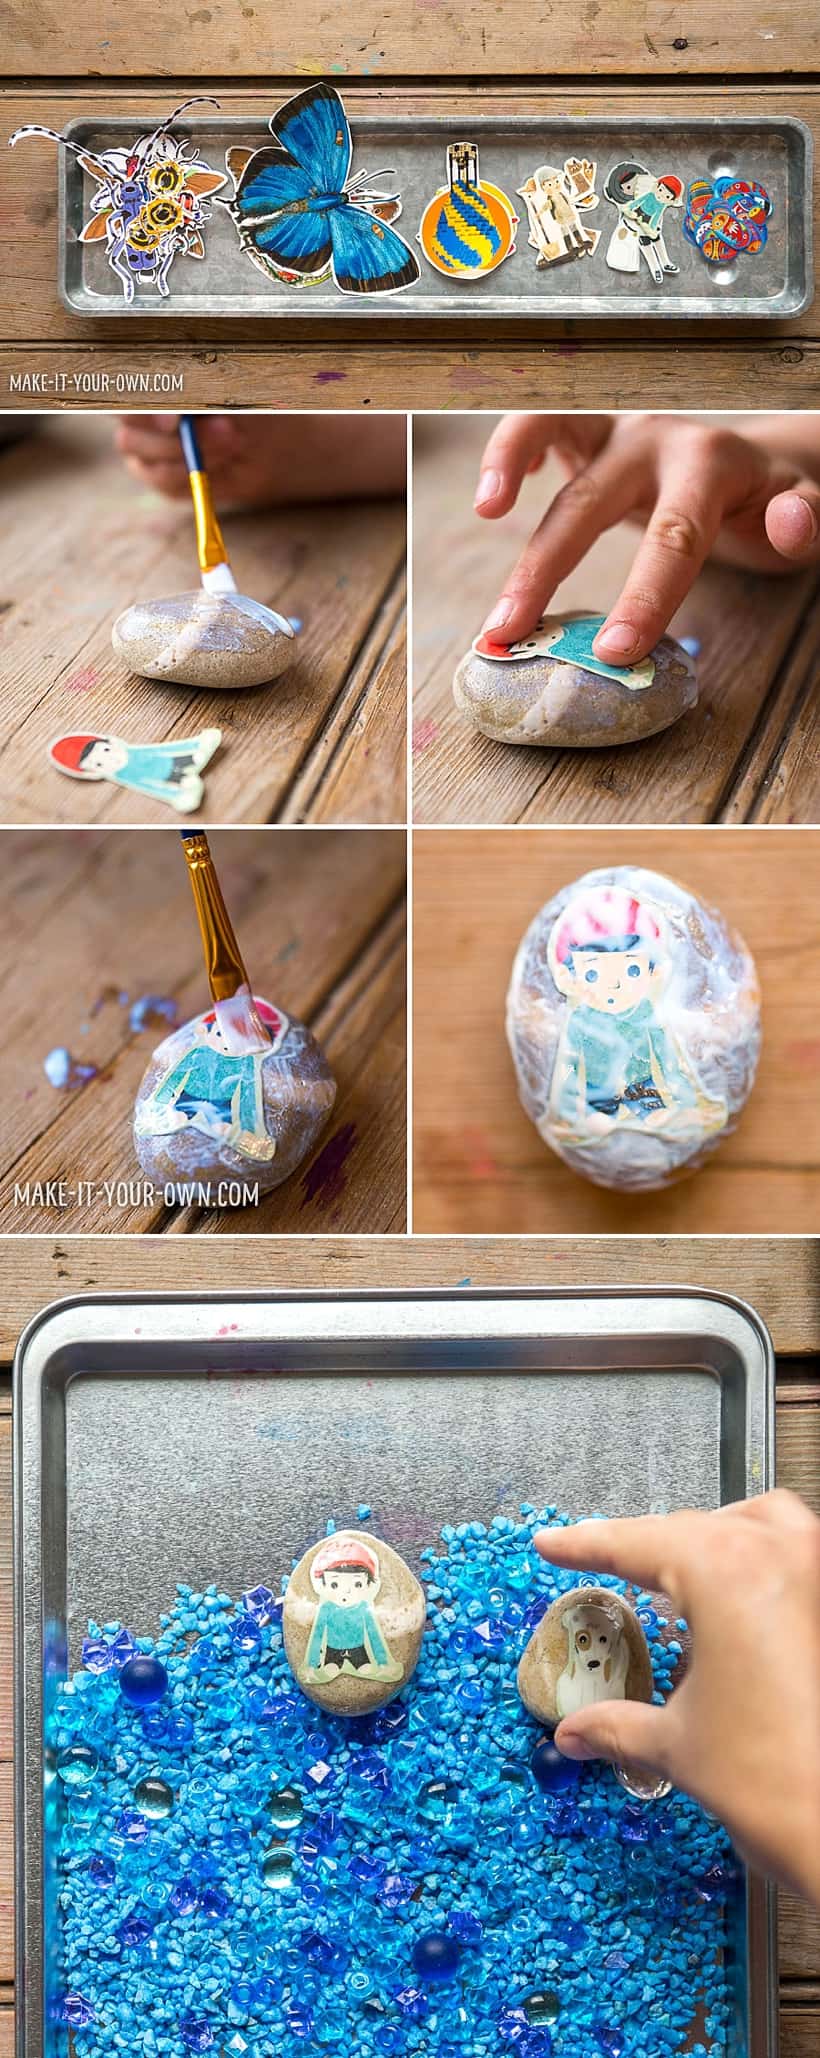
If you like, paint your rocks with acrylic paint or a gloss before adding the image. Play away!
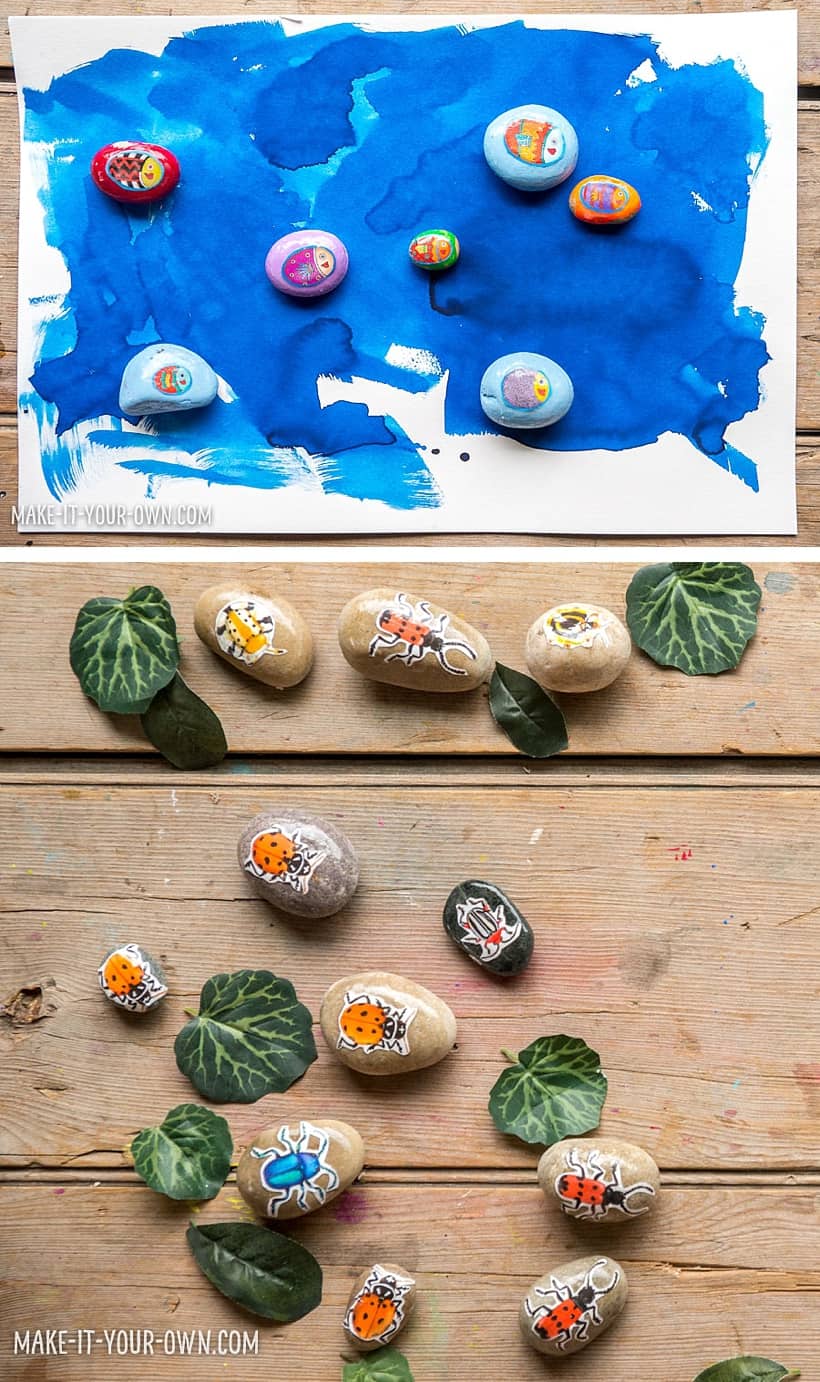
We did the same thing with the blocks, but for the larger images, we glued two blocks together using wood glue. Our younger children enjoyed painting the several coats, but if you are a teacher doing it for your classroom, this is perfect activity to do while watching T.V.!
2. Book Jacket Stick Puppets
Materials
- Tongue depressors
- Velcro dots
- Laminating supplies or clear contact paper
- Scissors
- Book Jackets
- Smock
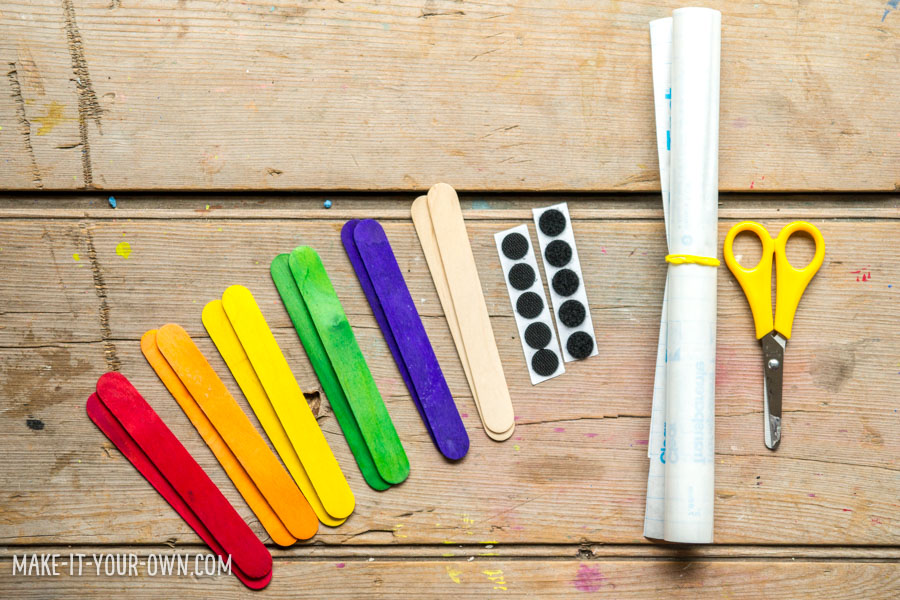
Directions
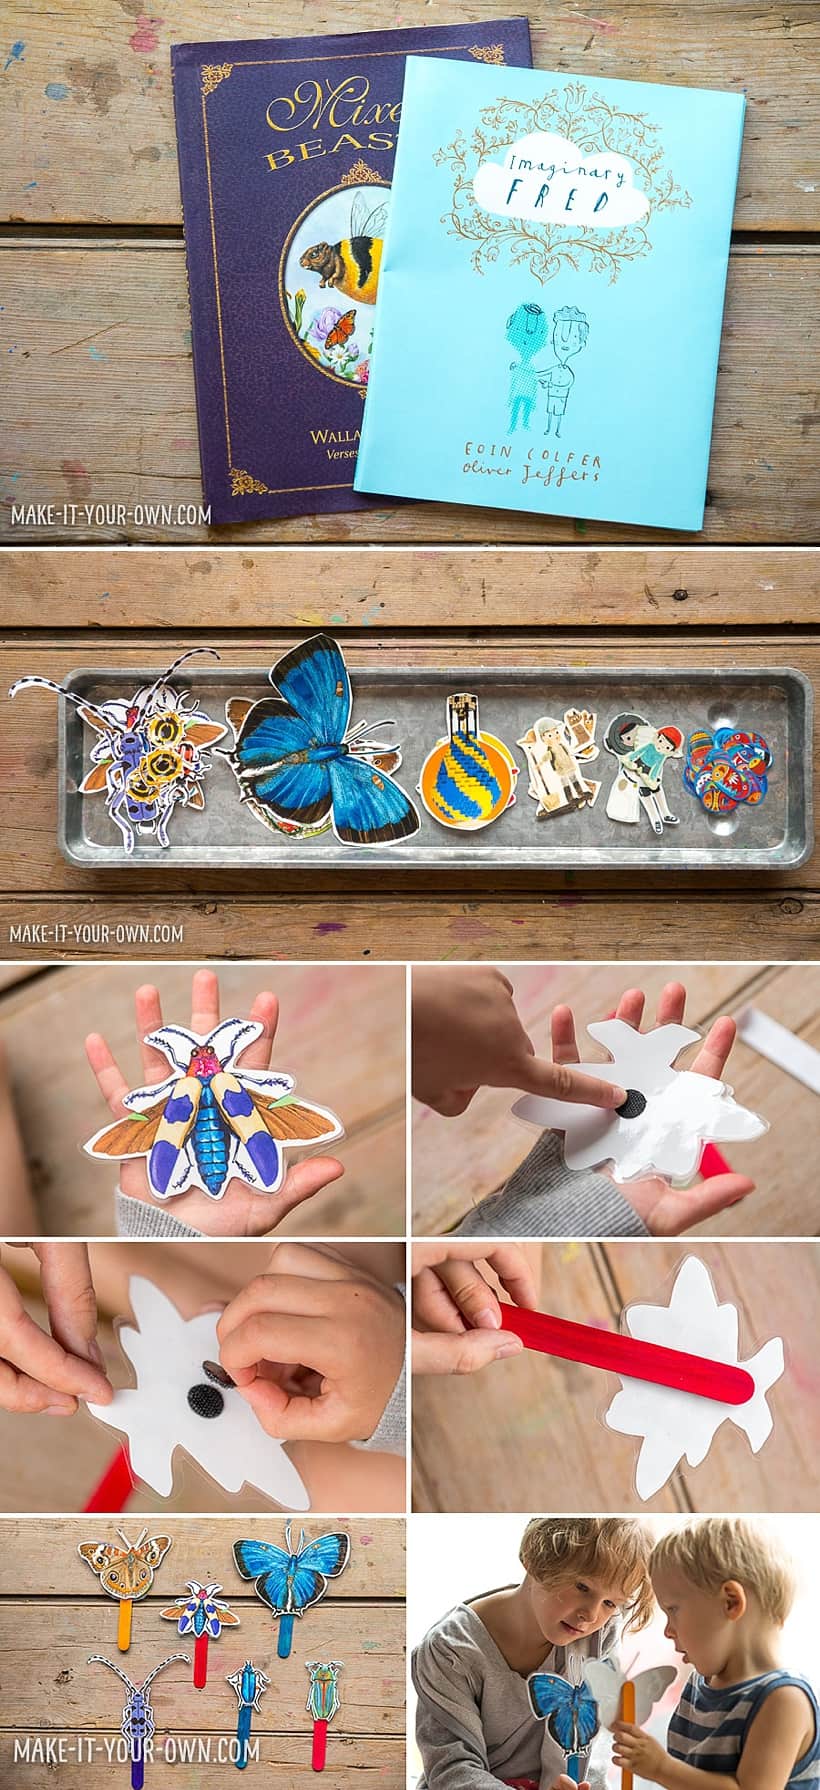
- Cut out the illustrations on your book covers. We typically leave a small border to make the image stand out.
- Laminate your images and cut them out again, leaving a border so as to not break the seal of the plastic which causes splitting over time. You could also do a similar process sandwiching your image in between two pieces of clear contact paper with the sticky side facing in.
- We then stuck them to tongue depressors using heavy duty velcro dots. This allows you to switch out the images or to change the position of them if you wanted.
3. Book Jacket Mobiles
Materials
- Stick or dowel
- Beading wire or cord
- Beads
- Scissors
- Hole punch
- Book Jackets
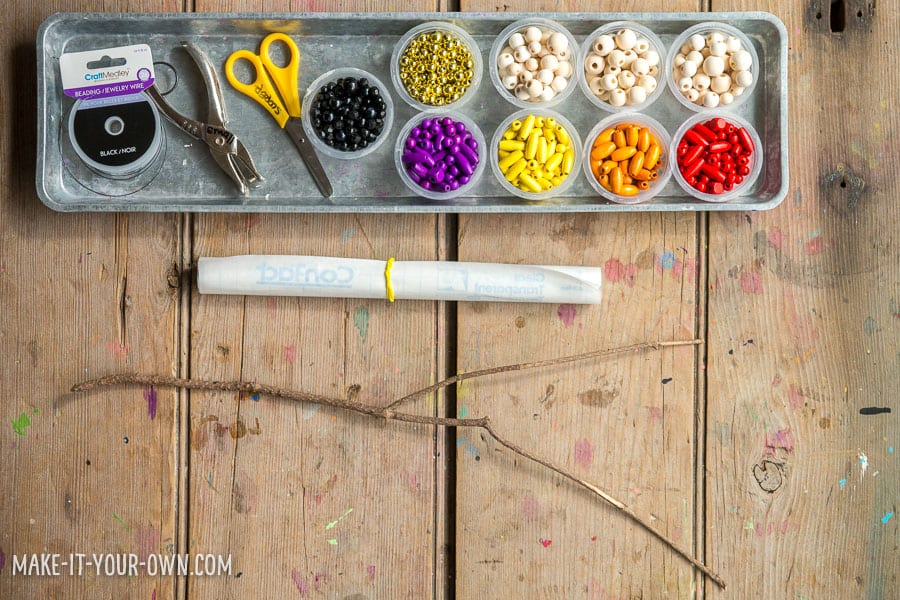
Directions
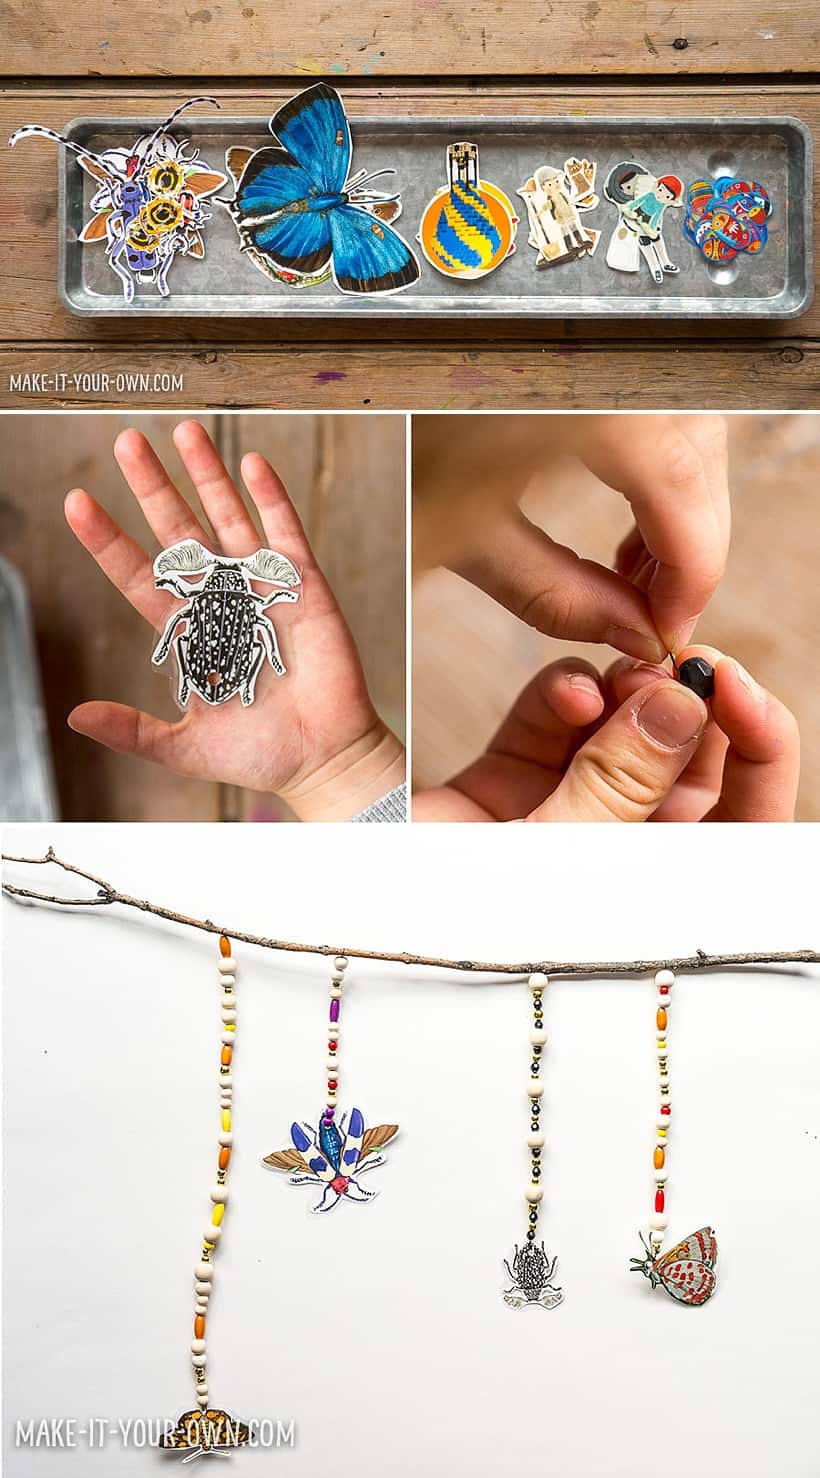
- Cut out the illustrations on your book covers. We typically leave a small border to make the image stand out.
- Laminate your cut-out images and then punch a hole in them. String them on the wire with beads to add some interest to your ceiling or wall. Wrap the end around the stick or dowel.
4. Book Jacket Prompts
Materials
- Computer/printer
- Magnetic tape
- Scissors
- Laminating supplies, clear contact paper, page protectors or this IKEA picture frame
- Glue
- Scissors
- Book Jackets
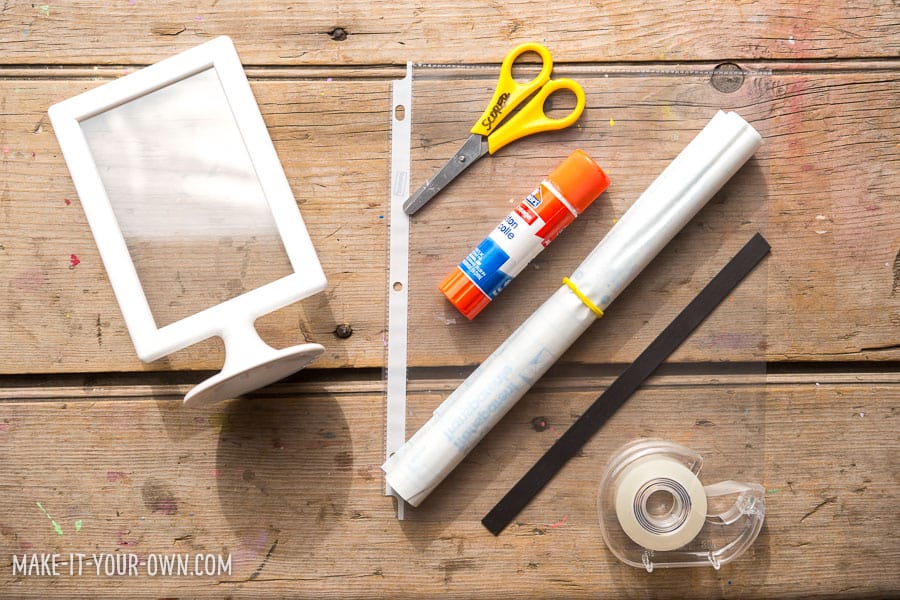
Directions
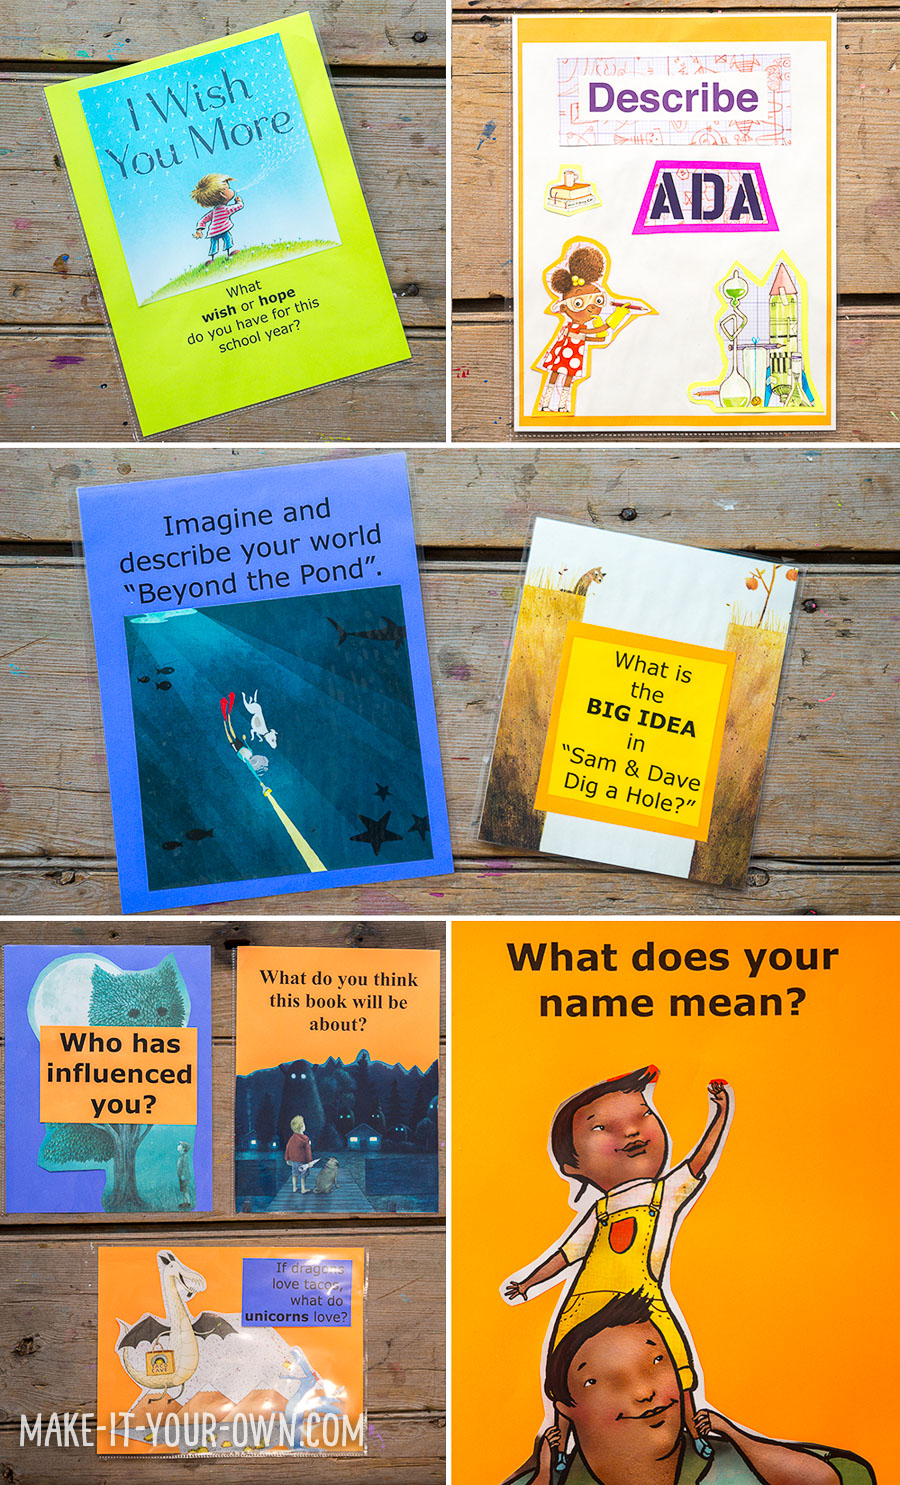
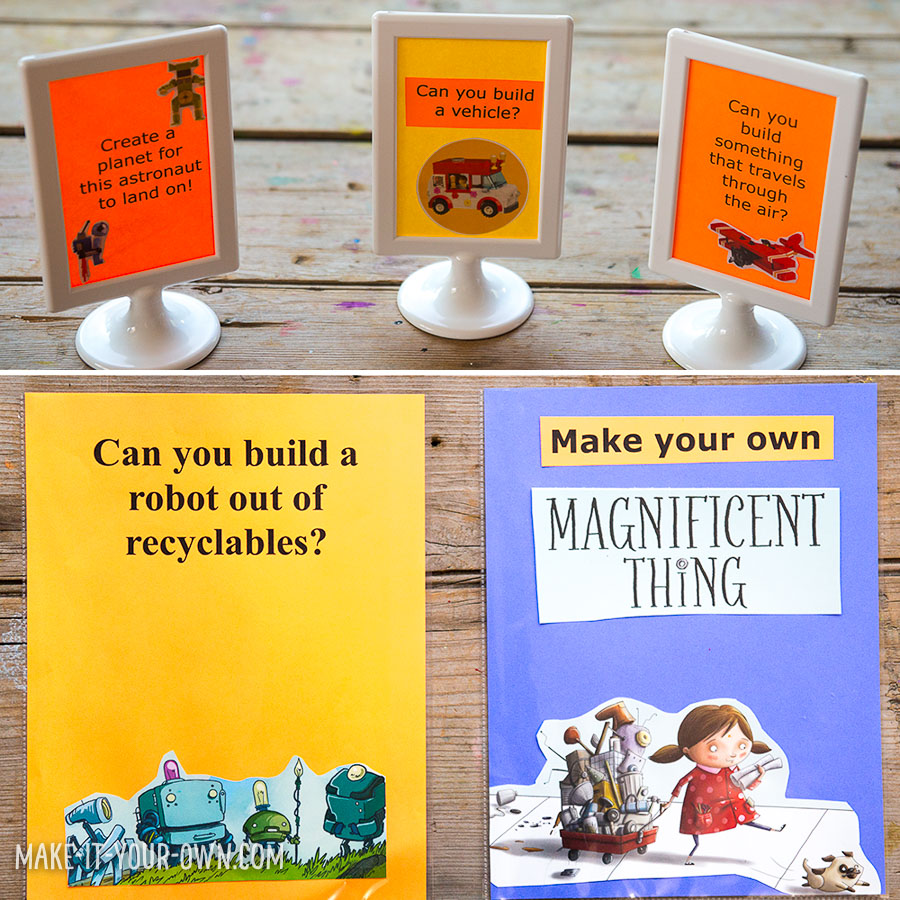
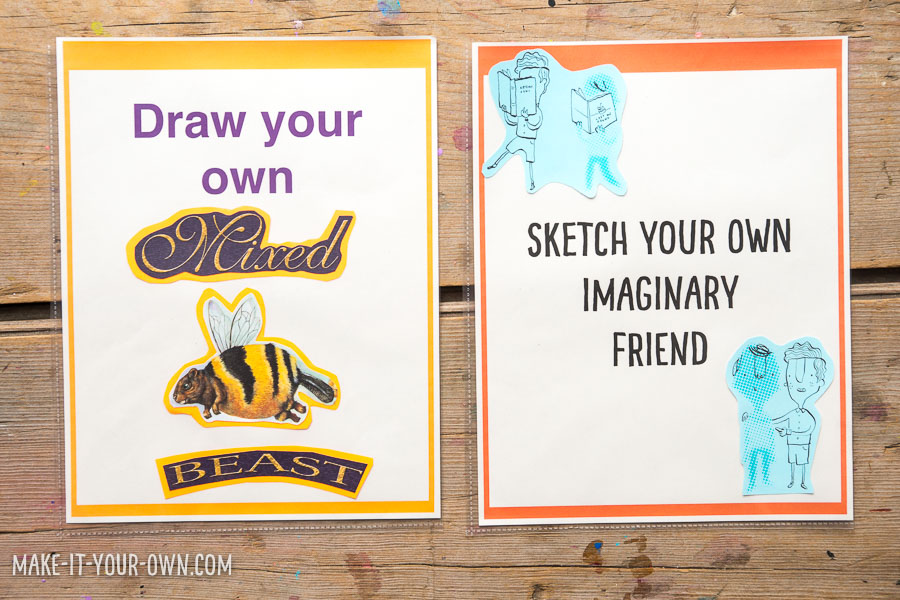
Use your book jacket images for inspiring writing, organization and creating! Here are four examples:
Writing...
Constructing...
Drawing...
Labeling...
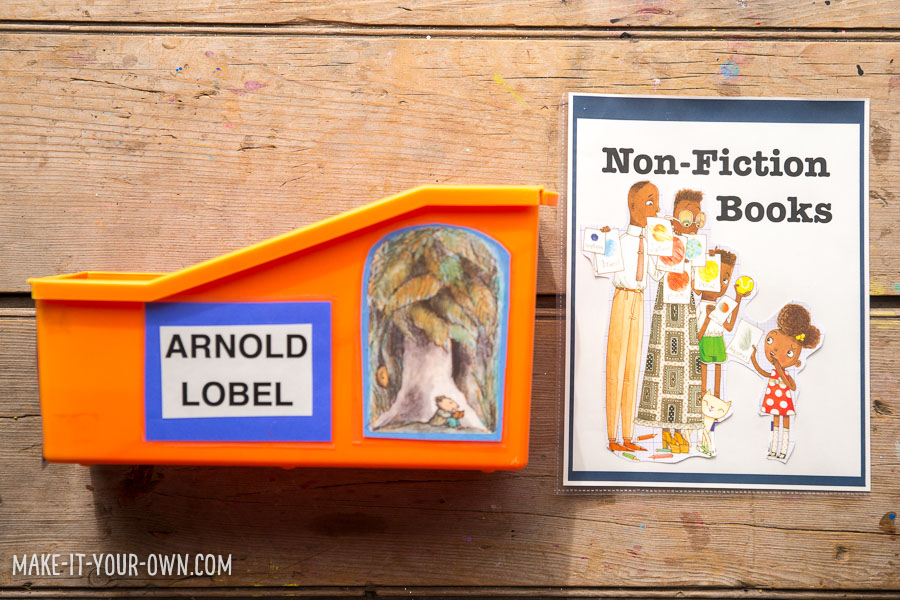
Add a dust cover image to the side of a bin if you are classifying books according to a particular author or illustrator.
5. Working with Words
Materials
- Scissors
- Laminating supplies
- Book Jackets
- Magnets (Optional*)
Directions
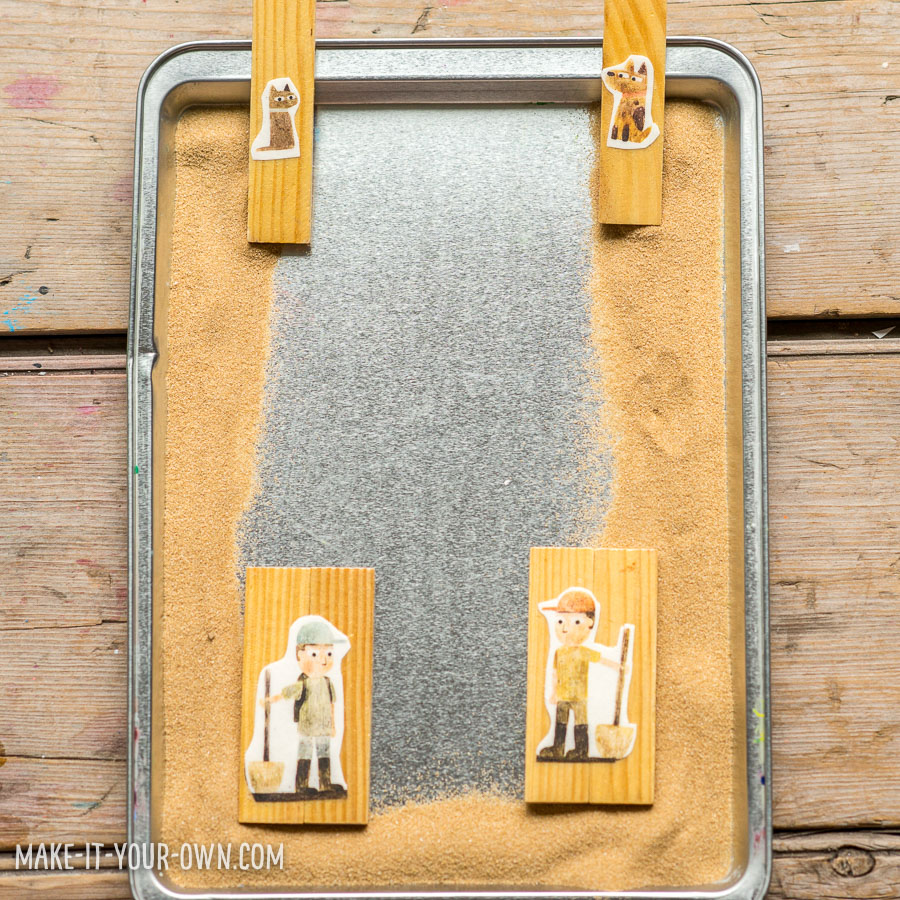
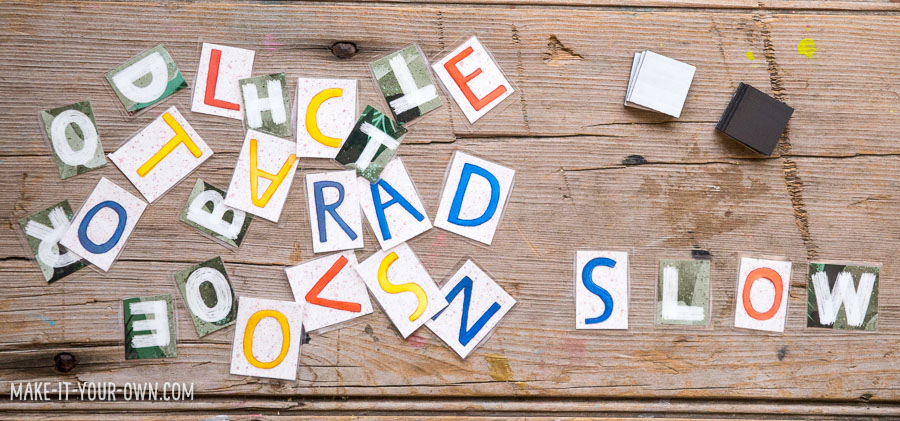
- Cut out the text from the covers and then cut out each individual letter.
- Laminate and if you like, pop a magnet on the back.
- Use a cookie sheet for making words.
6. Exploring Typography
Directions:
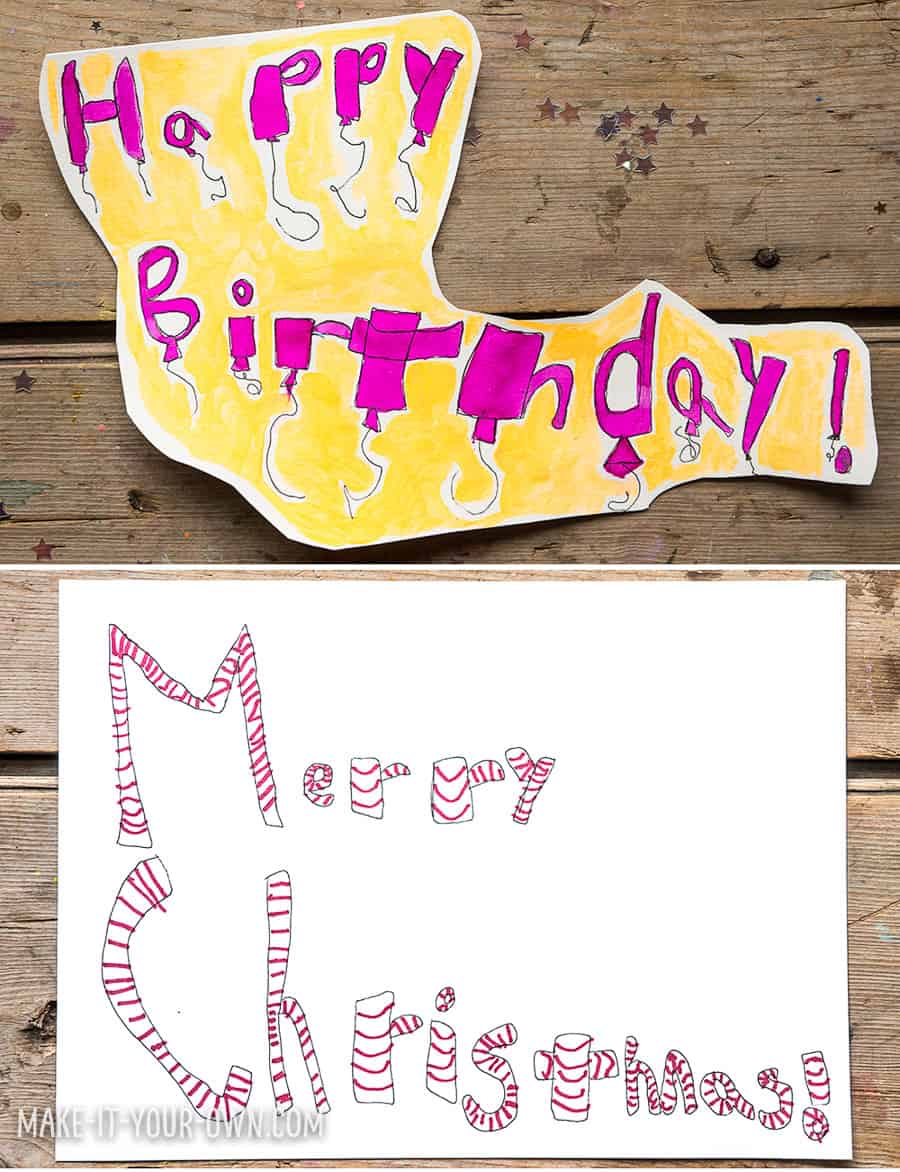
- Look at the way that the illustrator or graphic designer has used the letters to relate to the contents of the book. For example, "Robots" written in a mechanical fashion with gears etc. or "The Darkest Dark" with little stars in the letters or "Bright Lights" created with what looks like little lights.
- Once you've explored some typography details, see what the kids can come up with!
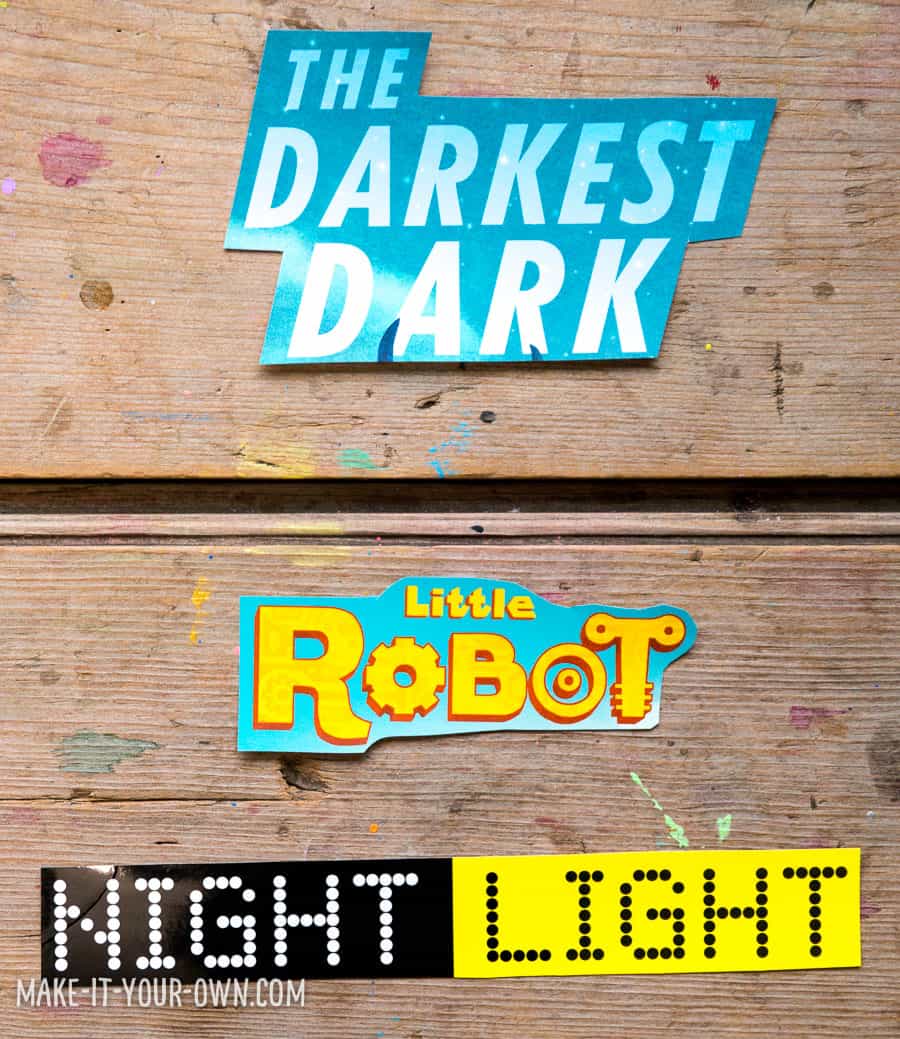
Our daughter made a birthday card where the letters were balloons and a Christmas card where the letters were striped like candy canes.
7. Imaginative Fill-in-the-Blank Art Projects
Add book jacket cut outs to your kids' creative table and try these four imaginative fill-in-the-blank art projects:
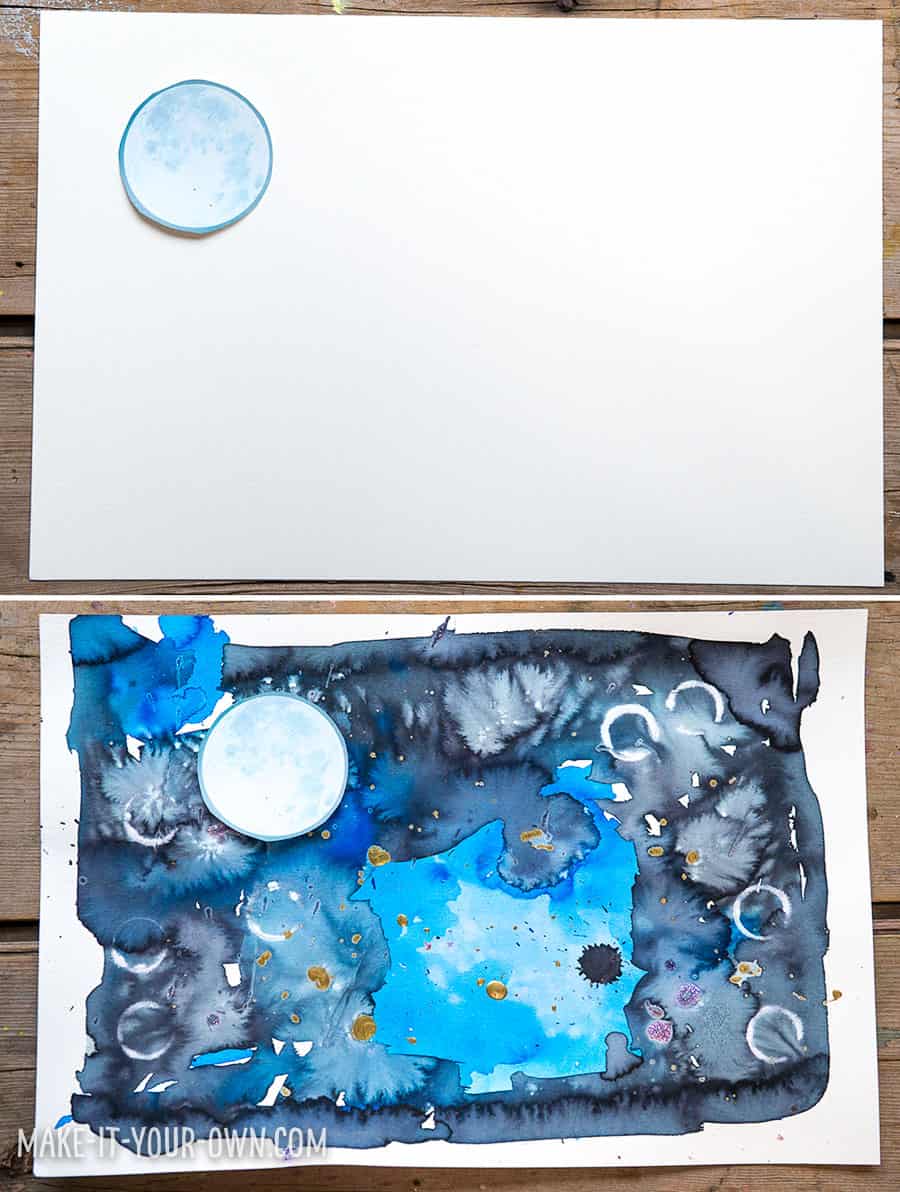
Create a background for cut-out items...
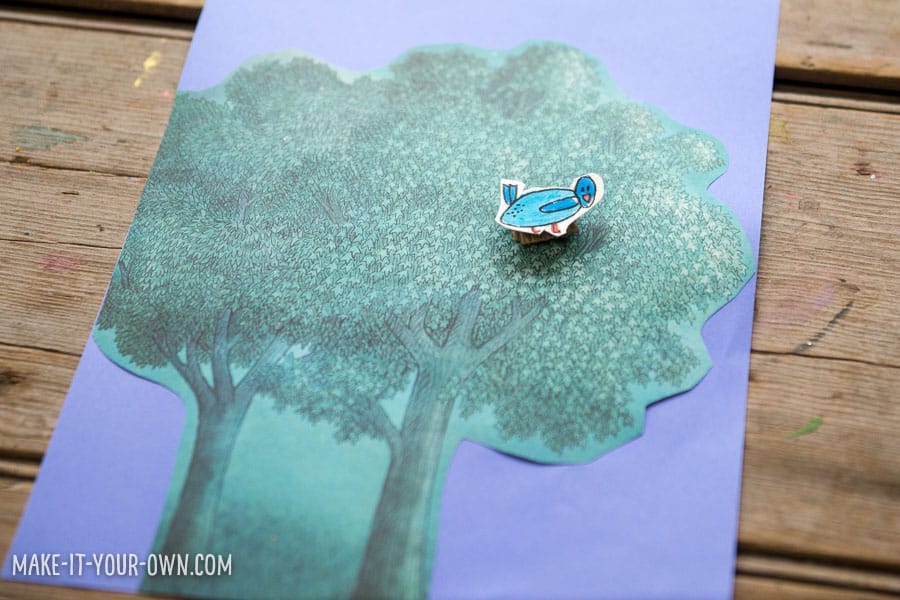
Use your image to form a background, adding created parts to the foreground...
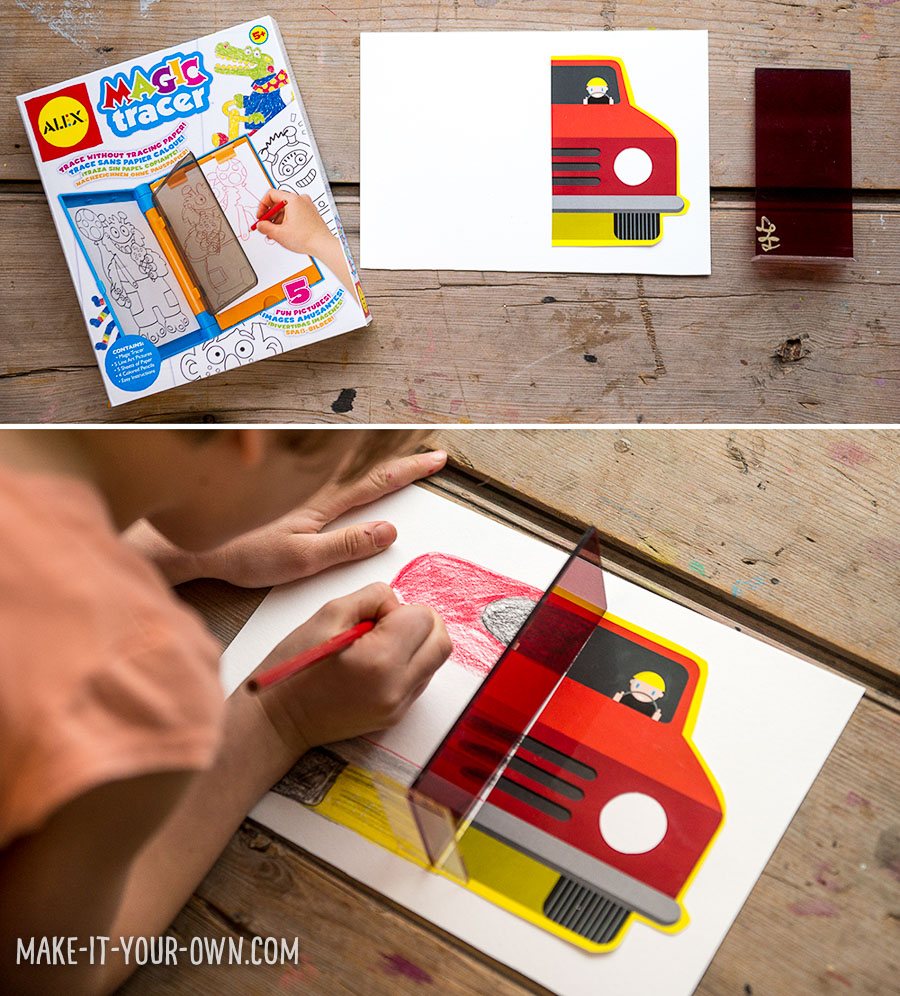
Cut off half an image for the child to draw the other side...
Your child could use the Magic Tracer (affiliate link), a mira or similar tool to assist in this process.
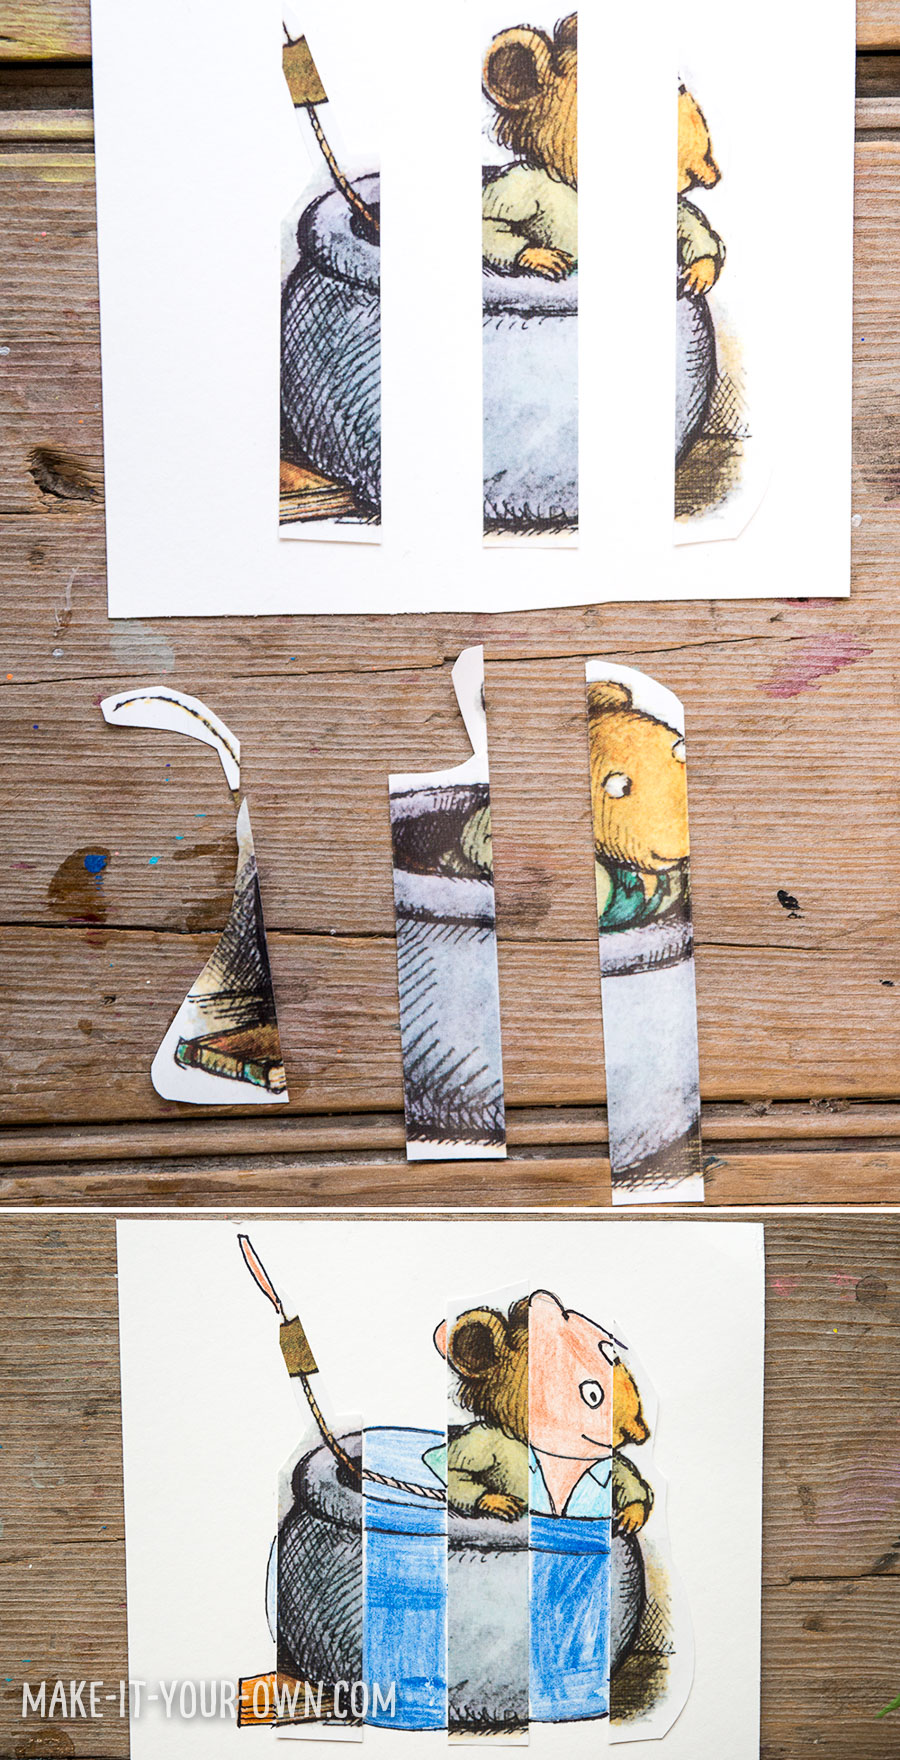
Slice out portions of the image to fill in...
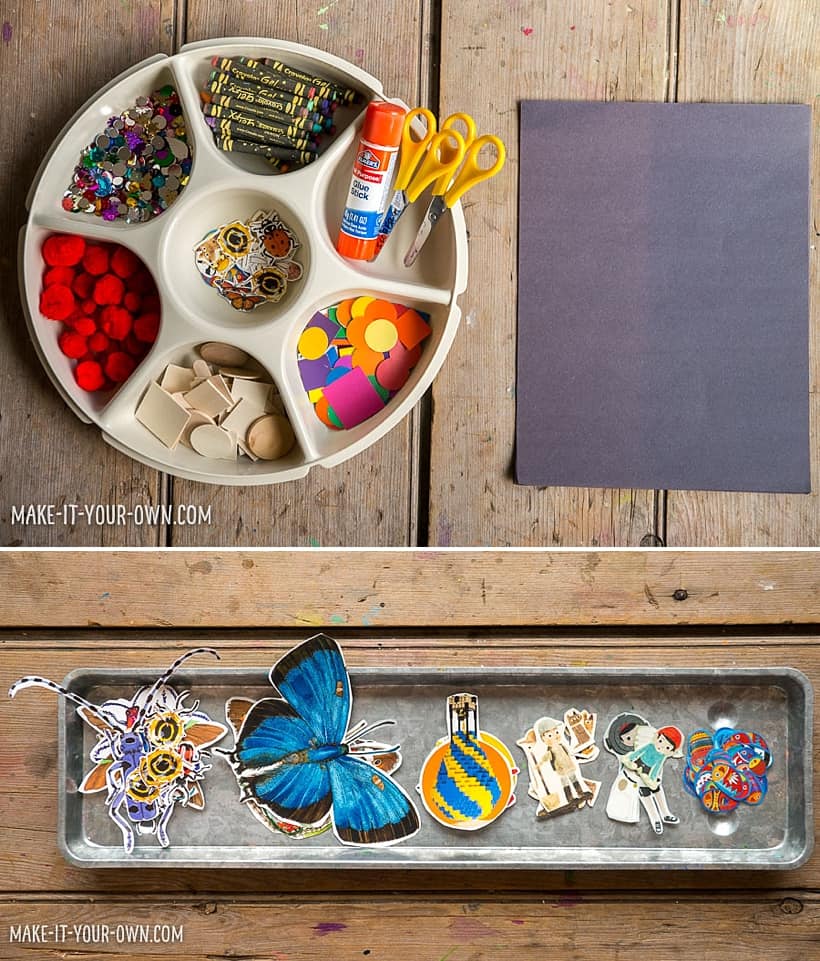
OR put out your images and several creative supplies of different types for children to explore with, coming up with their own ideas!
![]()
 Make it Your Own is a place to explore both new ideas and re-envisioning others. With a background in interactivity and education, Bonnie and Galen hope to get you and your children engaged in activities that extend the digital experience by outdoor exploration, creating etc.. Please join them and their children in collaboration.
Find Make It Your Own online here →
Blog | Facebook | Instagram | Pinterest | YouTube
![]()
Yucky weather today? Looking for some indoor fun? Check out more ideas from Make It Your Own.
Pin this post for later:


