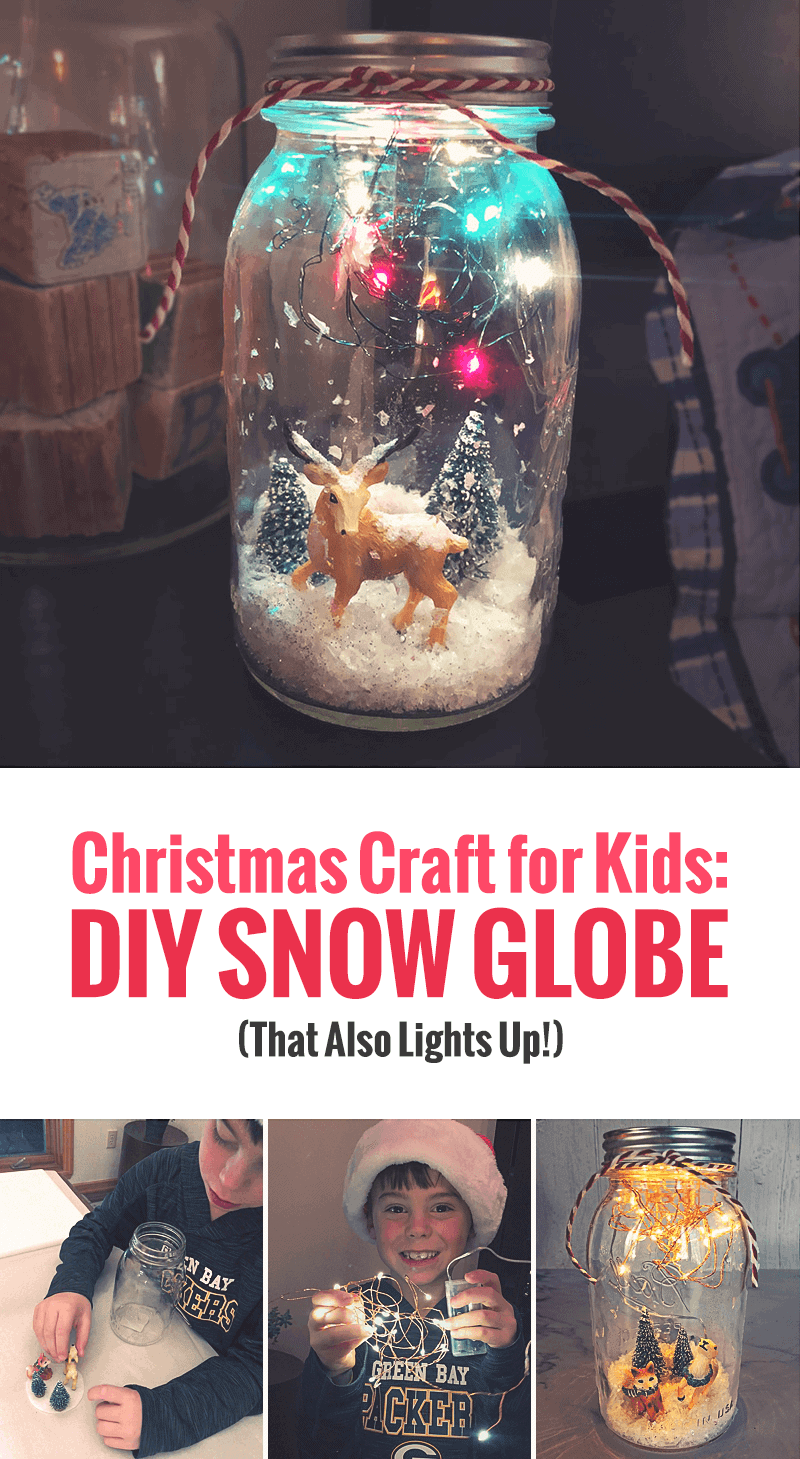
This DIY snow globe is the perfect Christmas craft for kids. The best part? It lights up and is water-free. Get step-by-step instructions on how to make this light up snow globe below!
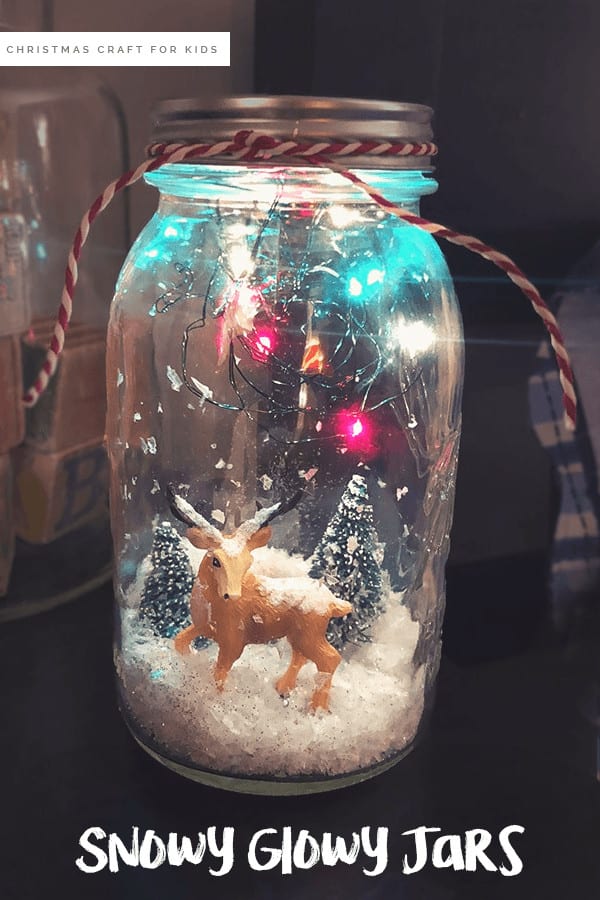
Once the cold winds start blowing across Wisconsin, we find ourselves cooped up in our homes trying to find indoor activities to keep our kids stimulated and happy. With my boys restlessness and Christmas a few weeks away, this holiday craft project for kids was fun for the entire family. These DIY snow globes are easy and enjoyable for both kids and parents to do together.
I knew that I wanted to do a holiday craft project for kids this year, but wanted the craft to have “shelf life”. You know, something that would interest them past the hour it took to make (no offense, Popsicle stick snowflakes). I took some inspiration from snow globes and decided to make what we called "Snowy Glowy Jars." Using a large canning jar, it would be simple for the kids and me to make miniature snowy scenes with magical glowing lights that twinkled overhead.
And just to be clear, we aren't making water snow globes. No liquids are needed here!
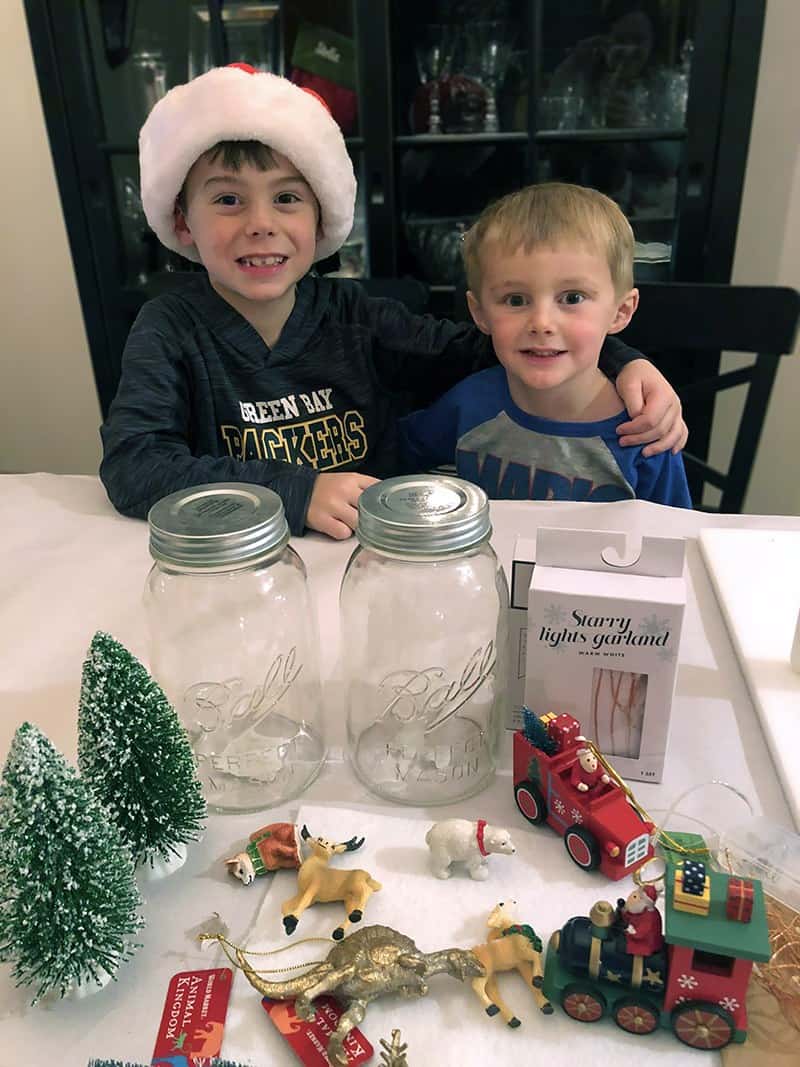
Homemade Snow Globe Supply List
Here’s what you'll need to get started with your homemade snow globe...
- 1 large clear sided jar (avoid the jars with embossed markings on all sides, as you’ll want a clear window into the snowy scene.)
- 1 set of battery operated twinkle lights (check the dollar aisle!)
- Fake snow
- White felt or heavy white cardstock
- Ribbon
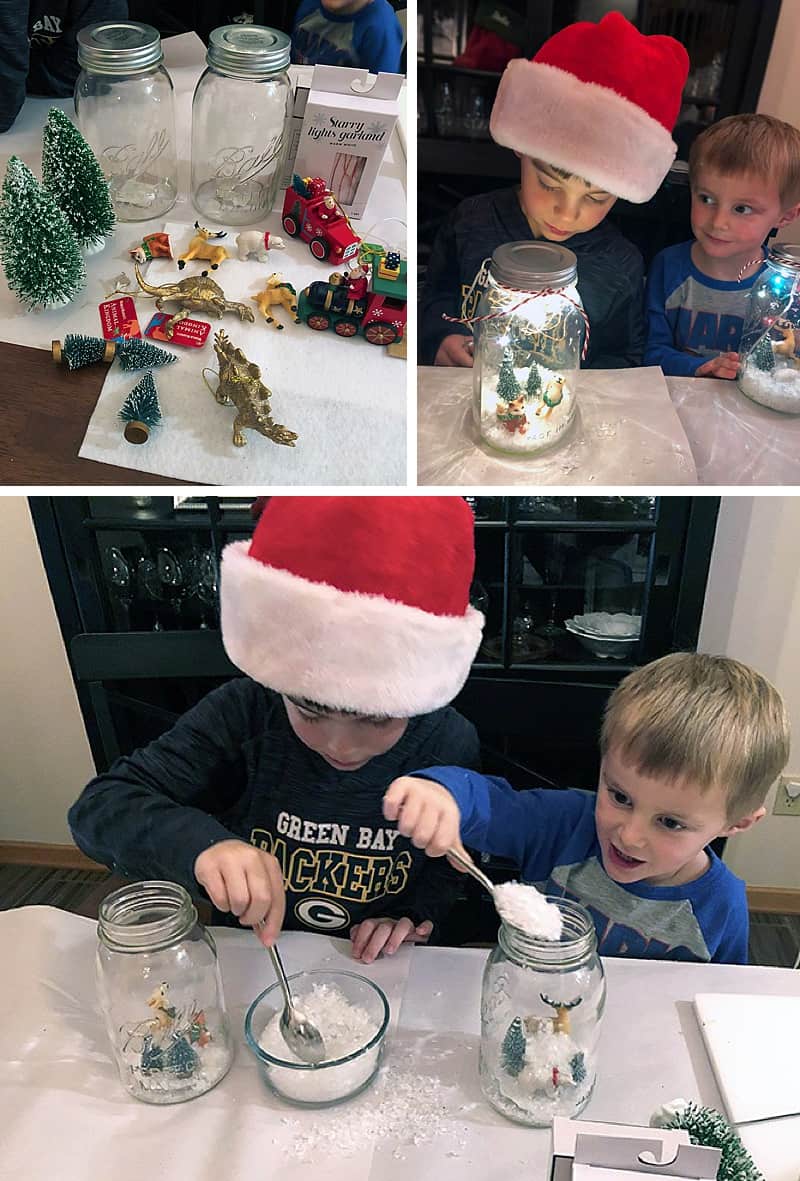
- Various Mini Figurines (such as small bottle brush Christmas trees, holiday figurines, or small ornaments. We chose woodland creatures, gold dinosaurs, and some cute Christmas vehicles because — BOYS).
I went to Michael’s Craft Store and found a huge variety of holiday small trees and figurines that ranged around $1 - $4 for making small winter scenes. In case you don't have canning jars lying around, Michael's also had a huge selection of various sized jars. An old pickle or spaghetti sauce jar would work just fine, too! Honestly, you can find basically anything at Michael's for holiday craft projects for kids. I could have purchased more, I had to restrain myself!
DIY Snow Globe Tools
Here are the tools you’ll need whe making your homemade snow globe (Some require parental help!):
- Hot Glue Gun
- Scissors
- Pencil
- A long skinny item such as a shishkabob skewer or butter knife
- Spoon
How to Make A DIY Snow Globe (AKA: Snowy Globe!)
Shall we get started on this snow globe craft?!?
Step 1: Ensure your figures will fit in your mason jar.
Double check to make sure the figures you'll be placing in your mason jar snow globe fit. (We might have run into that issue with that cute little train in front, oops.)
Trace the bottom of the jar onto the felt. Cut out the circle. This will be the base of your snowy scene inside of your jar.
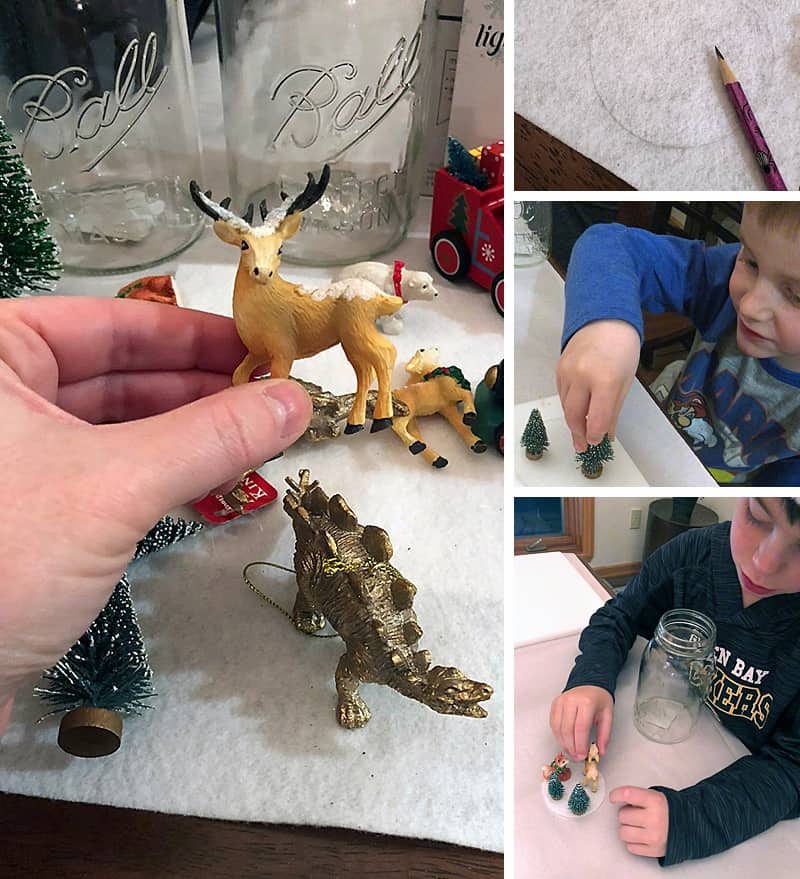
Step 2: This is a craft project for kids, so have THEM arrange the figures.
Ask your kiddos to arrange their holiday figures onto the felt. This will help determine what their scene will look like inside your jar, and where you (the parent) needs to hot glue them on.
Step 3: This DIY snow globe requires parent participation — grab that glue gun!
Parents, hot glue the figures onto the felt pad. Now you have your scene, and it's time to put it into the jar.
Using your hot glue gun, carefully drop hot glue into the inside bottom of the jar, doing your best to get it evenly distributed.
Working fast, carefully manipulate the felt and figures into the jar, and lower it onto the hot glue. I needed to shift it around to get it centered after placing it in. To do that, I used a shishkabob skewer to nudge and then pat it down so everything stuck to the glue and the jar flat.
Step 4: I'm dreaming of a white Christmas.
Let the flurries begin. Carefully spoon the fake snow it into the jar. The boys loved this part and had a hard time holding themselves back from making the snow too deep. 🙂
Step 5: It is time to add the jar lights and make this a super-cool light-up snow globe!
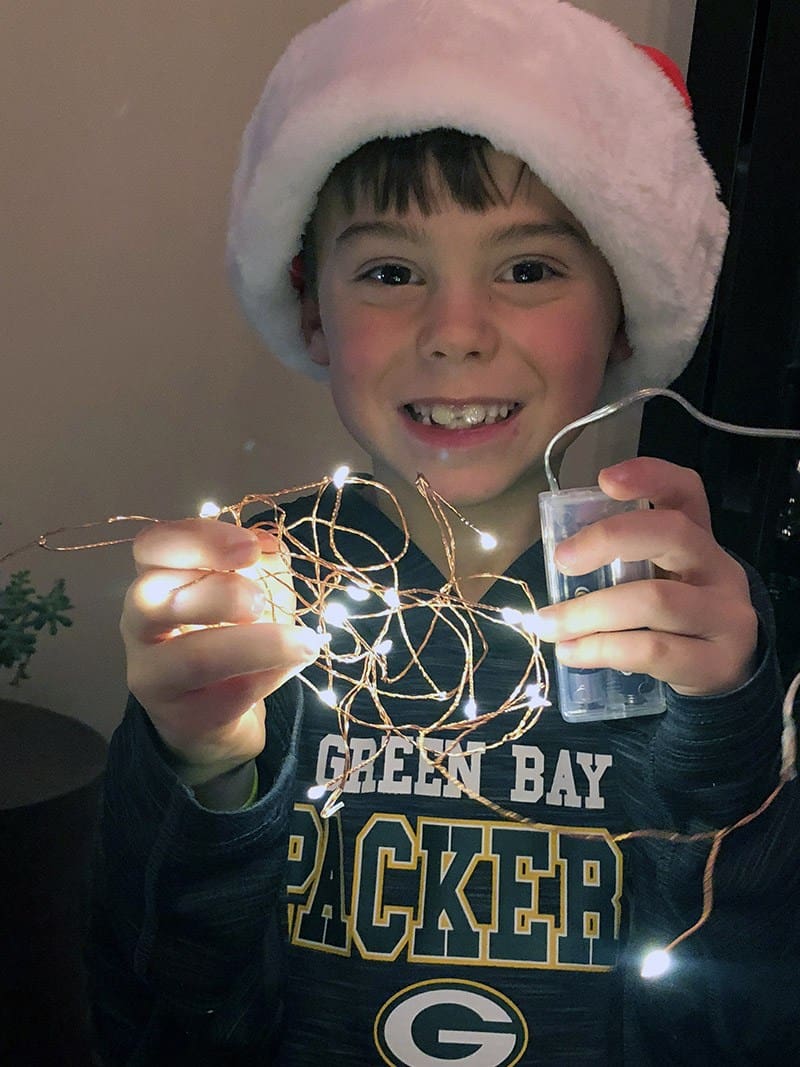
Time for the twinkle lights! The magic of these jars is achieved through the floating twinkle lights.
Battery operated LED twinkle lights usually are strung on a fine bendable wire. This enables you to ball up the lights so they hang suspended over the scene. Make sure all the lights are inside the jar and close it up with the lid. The lid should be able to be screwed on over the last section of the cord. This will leave the tail and power switch of the lights outside of the jar.
Unique Light-up Snow Globes or An Awesome DIY Nightlight?
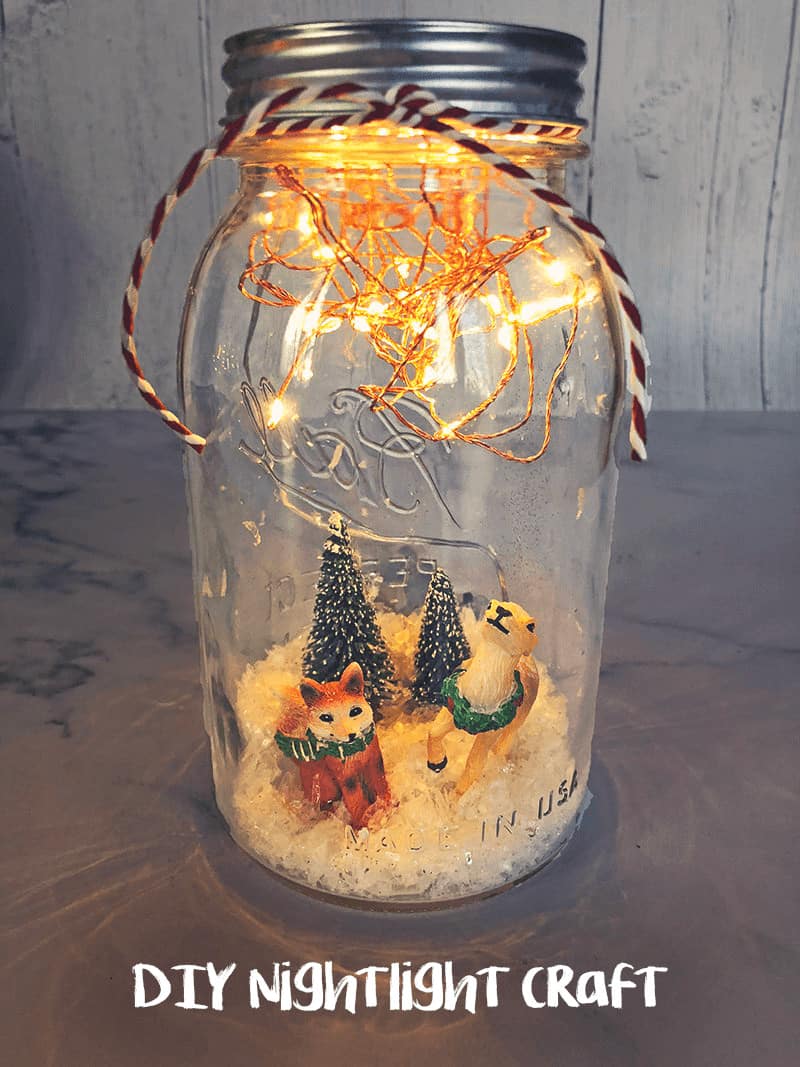
No water snow globe or super cool mason jar nightlight? That's up to you to decide!
My two boys have chosen to put the snow globe lanterns on their bedside tables for night lights because they still get a little scared of the dark. The kids love to be able to turn on and off their jar whenever they want.
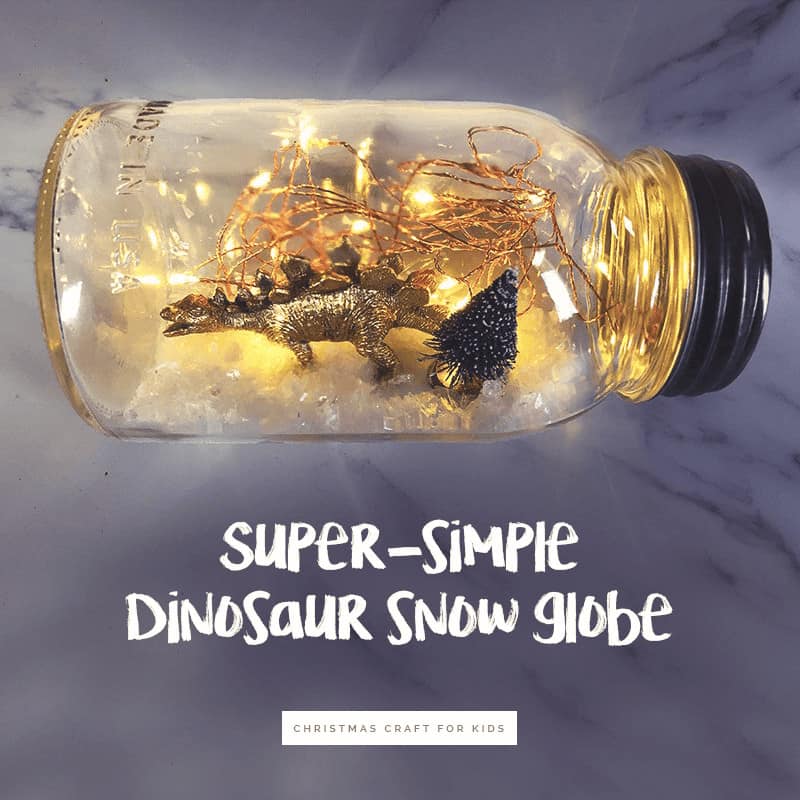
DIY Christmas Dinosaur Snow Globe? Yes Please!
Honestly, they turned out so stinkin’ cute, I can barely handle it, and because of that, I had to make one for myself. I opted for the dinosaur in a sideways jar. It looks sweet on the boys bookshelf in their reading nook.
We had a lot of fun with this snow globe craft for kids. Every night as I tuck in the boys I ask them what their favorite part of the day was. The older kiddo said making these DIY snow globe jars was his favorite moment, which made this mama smile.

Meet Kate Schmitt. Kate is a working mom and wife who loves to write about good food, great conversation, crazy chickens, and honey bees. Find The House + Hive online here →
Facebook | Instagram | Pinterest

You Might Also Like
Here at Let's Lasso the Moon we believe that time with your family is truly a GIFT — Giving them your full presence is an act of love.
Here are a few more fun Christmas crafts for kids and DIY projects that will allow you to connect with your little one!
- Clay Family Portrait Ornaments
- O Tannenbaum! 10 Christmas Tree Crafts for Kids
- 7 Mason Jar Gifts That Are Perfect for Christmas

Pin this for later:
