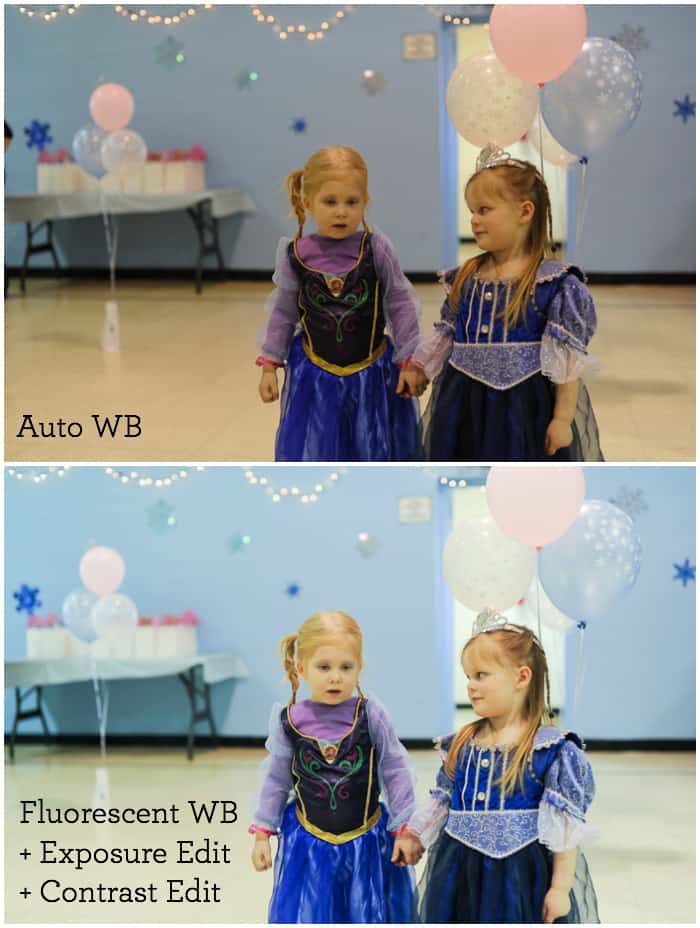
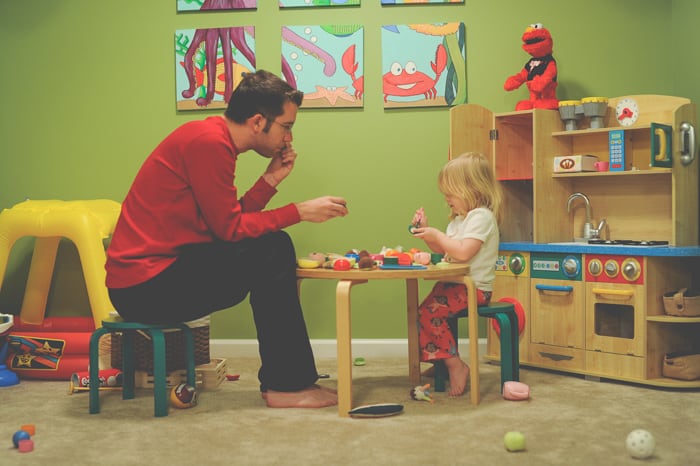
These simple photography tip from our affiliate Beryl Ayn Young will transform your photos FOREVER. Click here to see if registration is currently open for her Momtographie class and save your spot.
![]()
You want to be present for your family and capture everyday moments full of meaning. You want to create a snapshot of your life with all its beauty, mess, and realness right now without fumbling with your camera before the moment is lost. And you can. It’s not as hard as you think. Promise.
I remember what it was like to feel like I had all of the tools at my fingertips, only to produce photo recipes that always fell flat of my expectations. I was longing for photos that my family would rave about for years to come.
My good friend Beryl (who wrote the eight low light photography tips below for you) created Momtography™, an online class that came out of her trial and error in the photographic kitchen. She's mentored and taught thousands of women how to love their photos and their life.
Check out some of the before & after examples from her class participants!
BEFORE & AFTER PHOTOS FROM EVERYDAY MOMS
![]()
8 Low Light Photography Tips
It’s probably the #1 question I get, "Do you have any low light photography tips?"
Moms come to me frustrated with their cameras, willing to do almost anything to take better photos.
Light is fleeting and we are forced indoors due to the colder temperatures winter time brings. Dark, blurry, grainy, yellow or orange toned images seem to be the norm when the days are shorter. Not to mention the school functions, indoor birthday parties, and family field trips to museums that make our camera struggle to perform up to our high standards.
Darker yellow tones and grainy canvases are something we can learn to embrace and appreciate. That being said, I have a few tips to share to help keep the blur at bay.
Are you up for the challenge of snapping away when the light is not ideal?
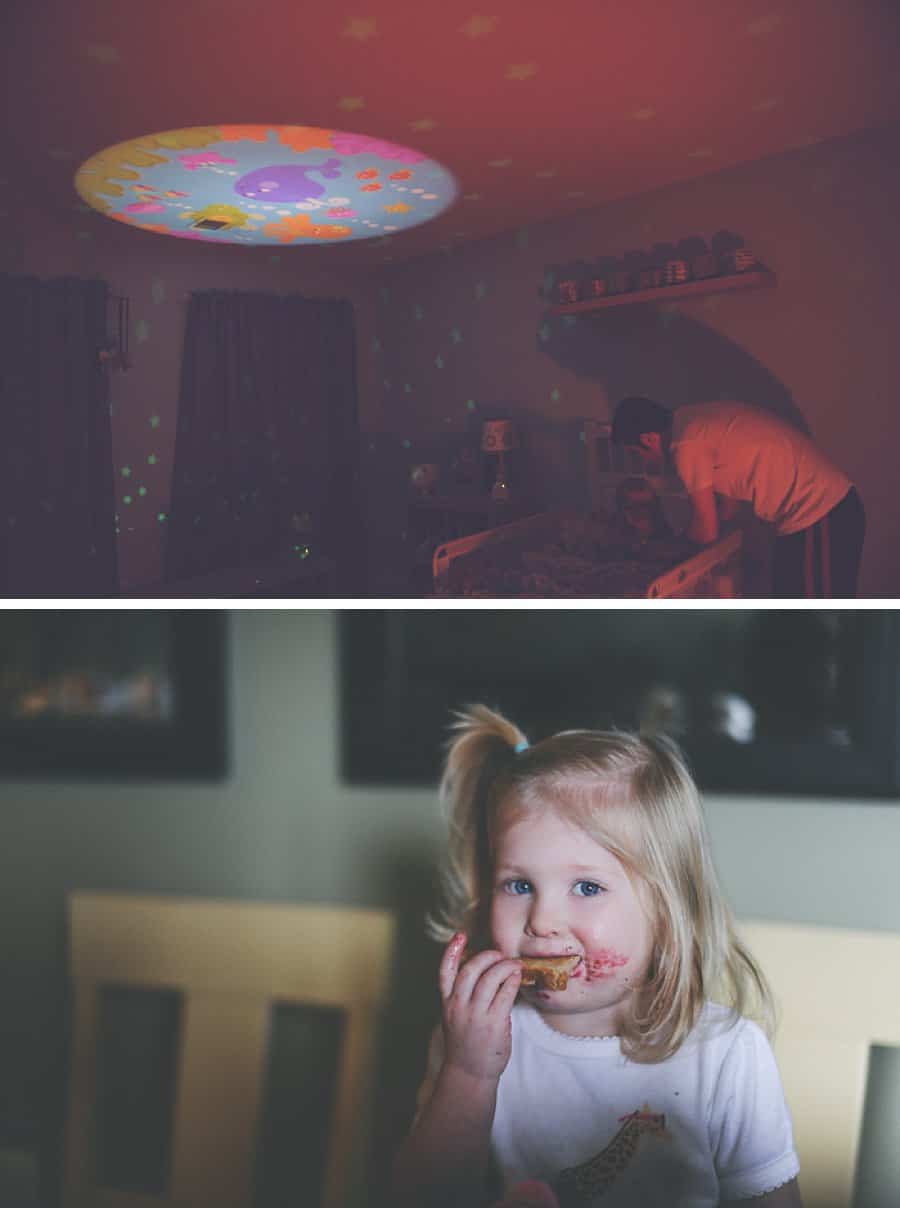
Here are eight must-try low light photography tips!
1. Set your intention
We shouldn’t expect the same level of vibrancy and life from these images. From a storyteller’s perspective, think about the mood of after-dark images. Low-light images should invoke a more subdued and relaxed vibe.
2. Find the light
Your camera does need some sort of light source to avoid blurry images. Try to take advantage of golden hour in your home and conduct a shoot near a window. If the sun has set, turn on lamps in your home and get your subjects close to them.
3. Take test shots
If you shoot in AV (Aperture Priority) or M (Manual), make sure to take a few quiet moments to yourself to get your settings worked out before bringing your kids into the frame. If you’re experimenting with manual, you’ll want to be making sure you crank up your ISO and lower your aperture as low as possible to let in the most light. By getting these settings worked out before your subjects arrive, you’ll be able to fully focus in on them and breathe a bit easier as you wait for the perfect moment to click away.
4. Set your camera to ‘Incandescent’ white balance
I typically keep my white balance (color toning) setting on my camera set to AUTO. However, when shooting in my home after dark, the AUTO setting can still leave my images looking a bit too yellow and warm. Occasionally, I switch the white balance to ‘incandescent’ in these scenarios. This adds cooler tones into the final images and makes them look a bit more natural.
5. Set your expectations
When there is limited light available, you will naturally have some blurry, grainy, or pixelated pictures. If you go into the shoot with this expectation in mind, it allows you to be pleasantly surprised by the ‘keeper’ shots you do end up snapping.
6. Get still
Keep your hands steady and encourage your kids to move as little as possible with quiet activities. I realize if you have toddlers this may feel impossible! Give your little ones reading books. Capture them playing with toys, play-doh, or even eating a snack. Playing a game of ‘freeze’ is a fun way to get them to sit still long enough for you to push the shutter, too.
7. Play with perspective
Because you’ll be competing with poor light, it’s important to think creatively about your composition.
- Can you get low or high?
- Shoot wider or closer in?
- Capture the details of the scene?
What can you do differently with your framing to tell your story in a more compelling way?
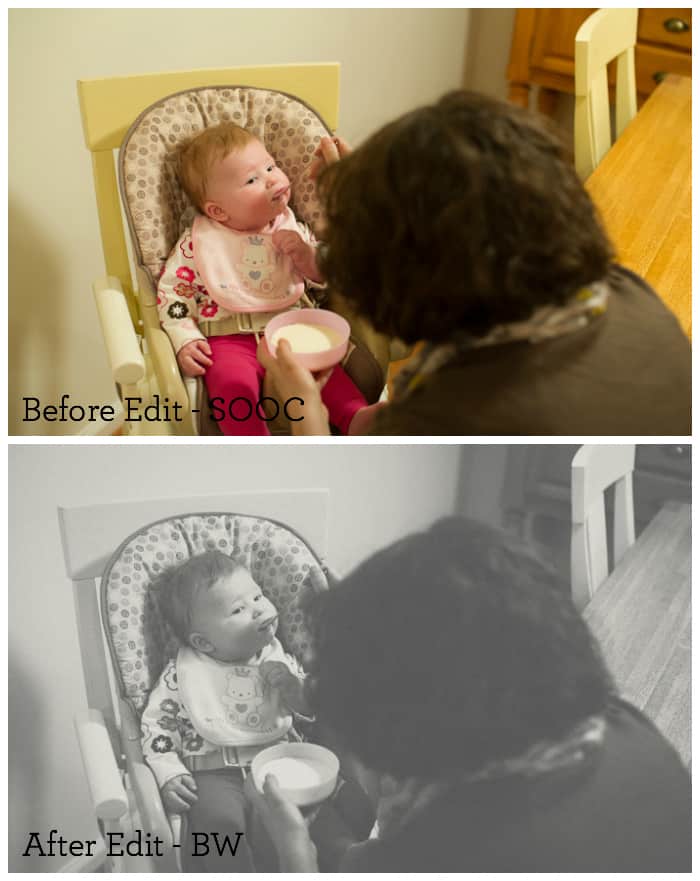
8. Edit in black and white
If you have an image with too much noise or strange color tones, don't immediately toss it. Eliminate some of those distractions with a quick edit to black and white. This helps you get rid of those unappealing colors. Plus after the edit, the noise to help add to the mood of your images.
Want more support?
If you’d love some more new tips, tricks, and techniques for capturing your family memories, be sure to check out when the next full Momtographie session begins.
In this guided online class, I’ll share the key ingredient moms should add into their photo taking recipe books to capture memories both big and small!

![]()
 Meet Beryl Ayn Young
Hi, I’m Beryl. Mom, photographer, and teacher who wants to help you beautifully capture the life you love. I remember how excited I was the day I brought my first DSLR. I thought I’d take my camera out of the box and it would take amazing professional quality photos. After months of trying to figure out the camera on my own I was still frustrated with images that were blurry, dark, dull and out of focus.
Now, I’ve taken my expertise in teaching and my passion for photography to develop a system that breaks down technical photography in a way that will quickly build your confidence behind the lens. My goal with Momtographie is to help as many women as possible learn to love using their DSLR cameras in manual mode and love the life they’re living too. Learn more about the course here!
![]()
Pin it:


