 Summer is the perfect time to experiment with new photography skills. Even novice DSLR photographers (like us!) can learn how to capture AWESOME water action photography with a few simple tricks.
Thanks to Melissa & Doug for sponsoring this tutorial post as part of their Capturing Childhood photography initiative.
. . .
The warm weather brings a lot of opportunities for us to capture beautiful photos of our kiddos. Water is a huge part of our family's summer break. In fact, sometimes I like to joke that I'm raising fish at our house!
Capturing cool water action photography is actually much easier than you'd think. Below I'll share a checklist for getting started, along with camera setting and photography tips corresponding to your comfort level with your camera (beginner, intermediate, advanced).
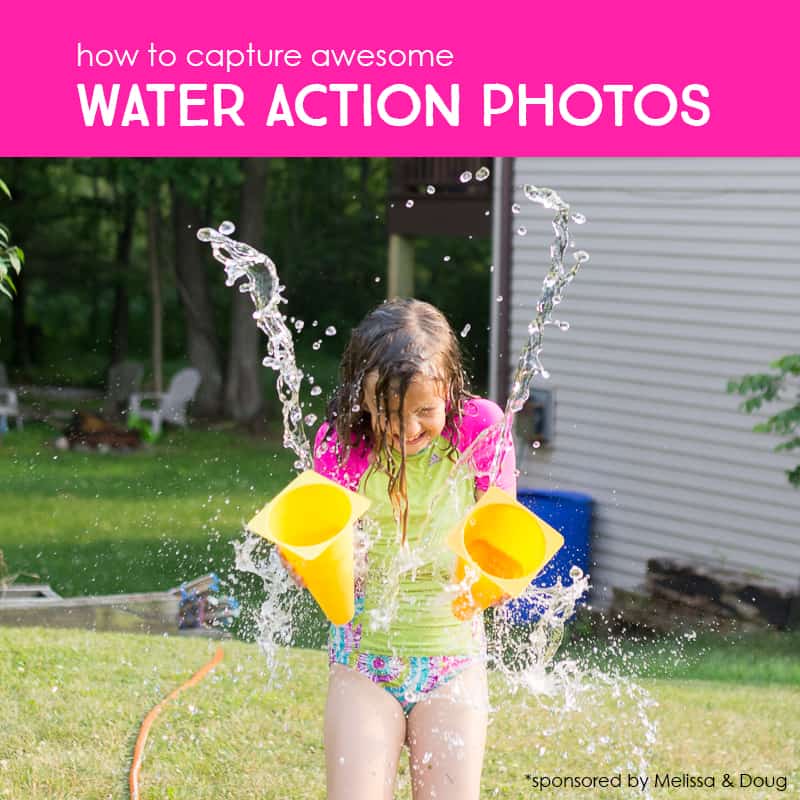
Water Action Photography: Getting Started
Before we dive into your camera settings, let's take a minute to talk about creating a conducive learning environment for yourself. You're going to need a couple of things for practicing your water action photography...
1. Adorable and willing kids. [check!]
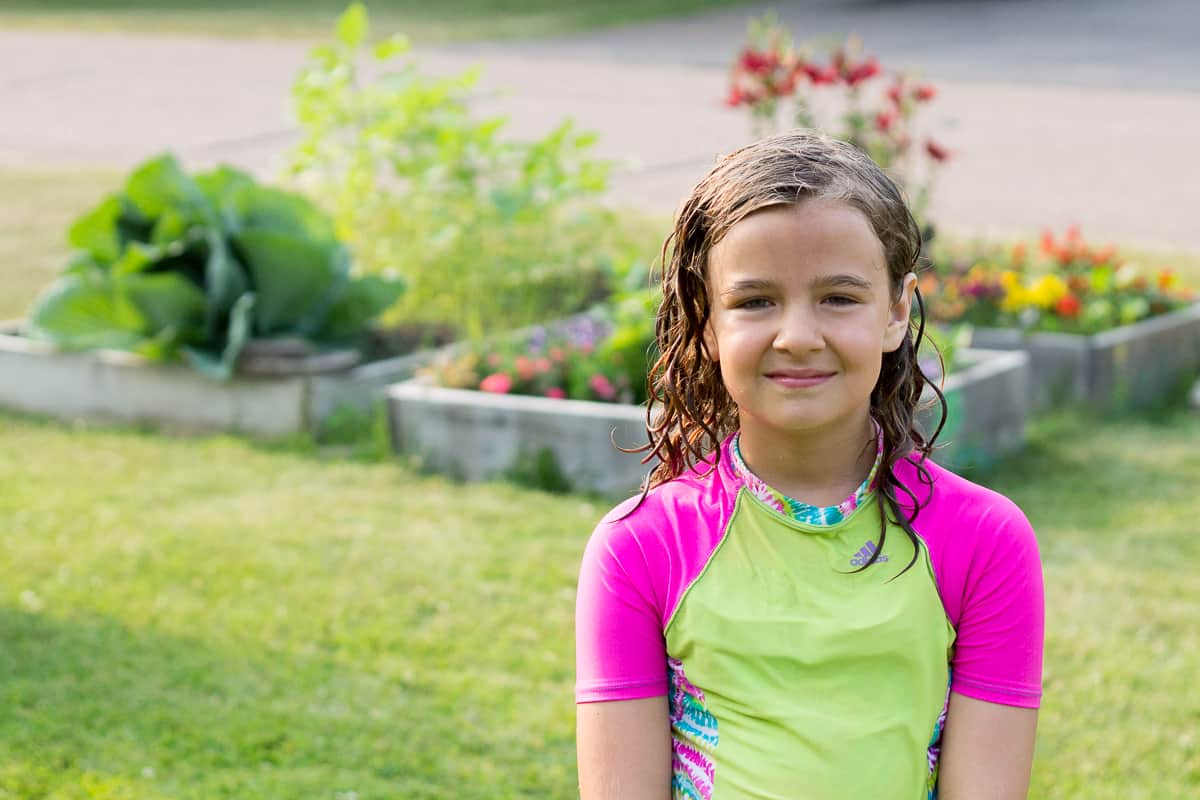
2. A water source. [check!]
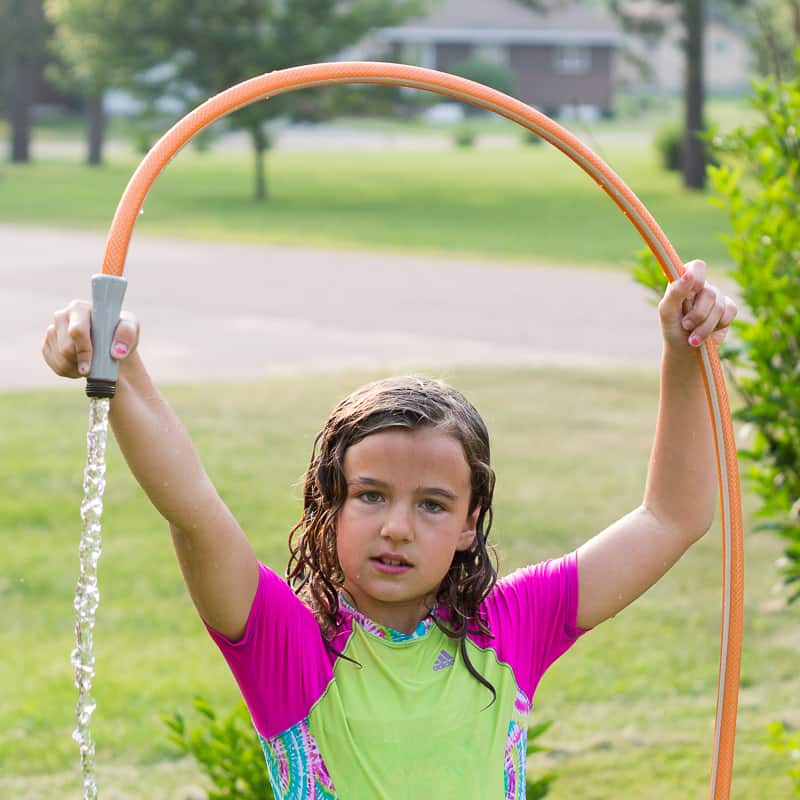
3. A large (and fast!) memory card. We'll be using the Continuous Shooting setting, so you'll want to ensure your memory card has space. I currently have a 32GB memory card, and that's sufficient for me. [check!]
 Did you know that if you have a fancier DSLR camera that your memory card can reduce your shooting speed? Most SD cards max out at 20 megabytes per second maximum write speed, but the Sandisk Extreme Pro memory card can be fully used by advanced DSLRs. Check it out here: 5 out of 5 stars with 3,500+ product reviews.
Note: You should also know that if your camera processor is slow, using a faster memory card won’t make a bit of difference in speed. That being said, the price is pretty parallel to standard cards.
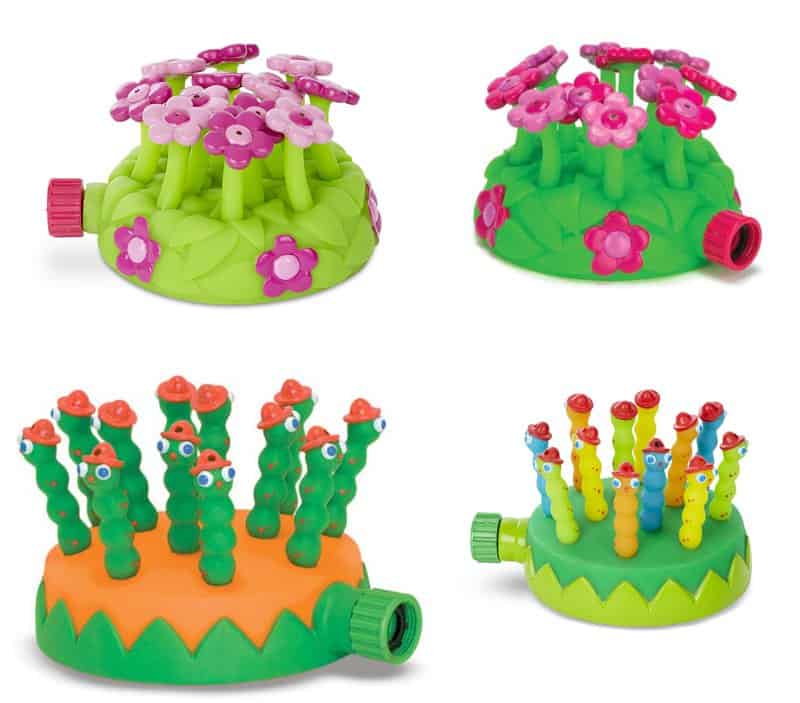
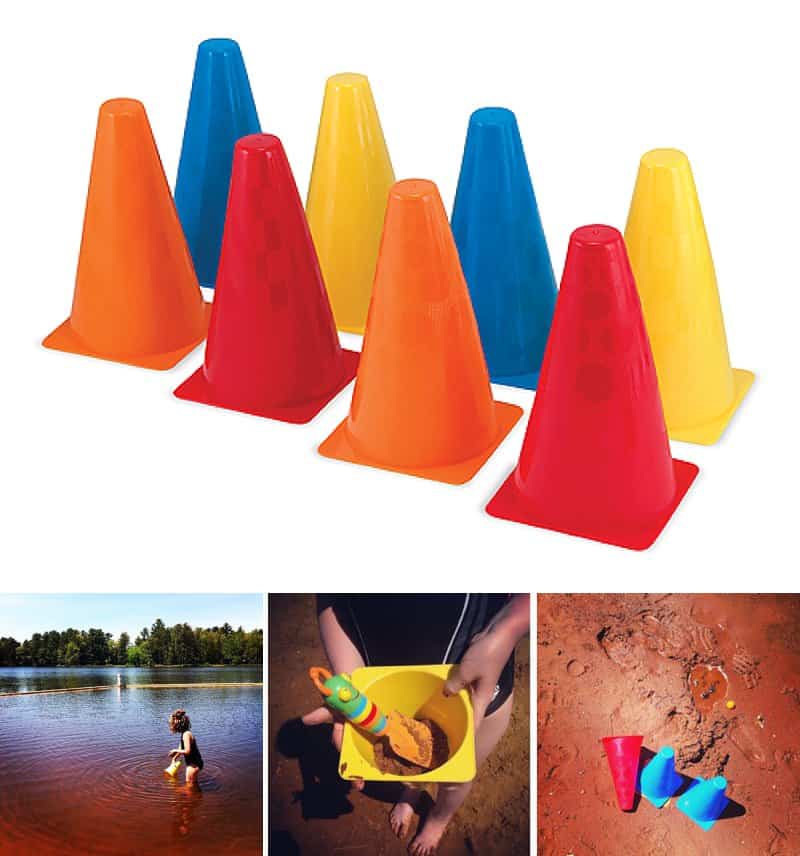
4. Toys! This a great way to make the photo shoot fun for the kids. I'd recommend the Melissa & Doug Blossom Bright Kids' Sprinkler or their classic Activity Cones Set. [check!]
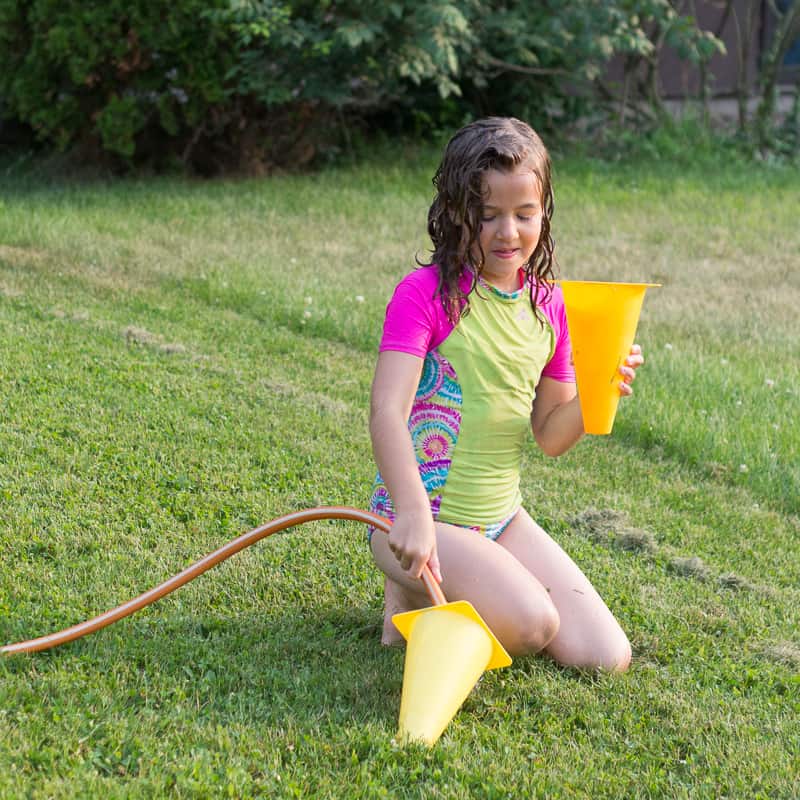
5. A sense of playfulness (and caution). You'll want to be relaxed and have fun with your kids, but also it's a good idea to give them a gentle reminder that you cannot get your camera wet. [check!]
Bonus Tip: Schedule your playful photo session in the morning or late afternoon. Why? The mid-day sun will create harsh overhead shadows on your kids' faces. Click here to read six more simple photography tips to help you capture photos that will melt your heart.
Now, it's time to let the wet-and-wild Water Games begin...
Water Action Photography: Beginner
At the beginner level, you're still letting your camera make ALL of the decisions for you. If you find yourself in a situation where your kids are doing something adorable in the sprinkler and you don't want to mess with missing the shot, this is a great default.
What you'll want to do is set your camera to the Sports setting, aka the running man icon.
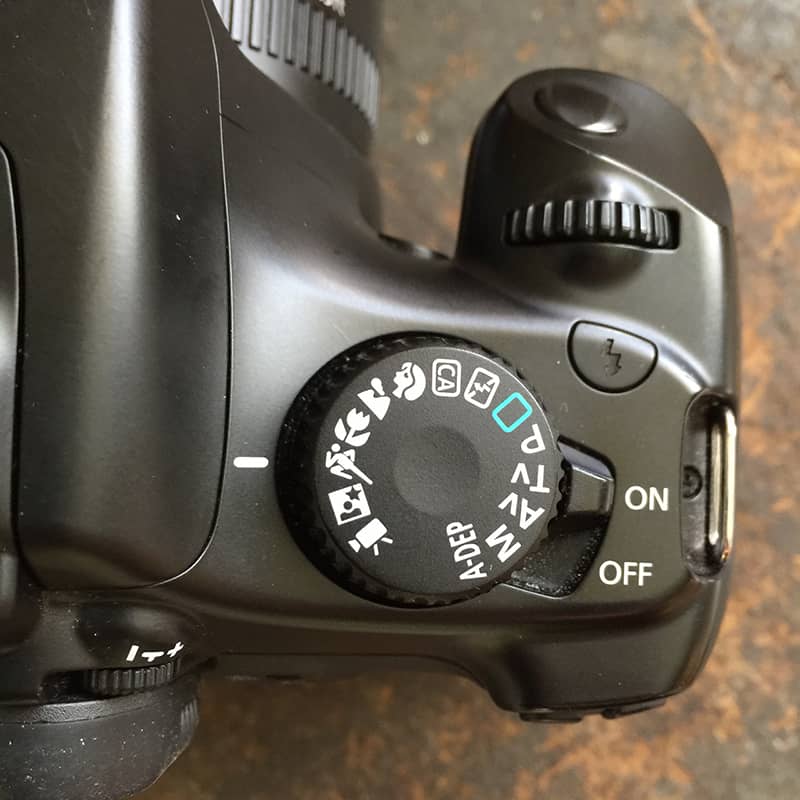
This is an automatic camera setting for shooting photos of subjects in motion. Most cameras also default to Continuous Shooting with keeping the subject in focus at this setting. If your kids are as fast as mine, this is an awesome place to get started. Just hold down the shutter button and get clickin'.
Water Action Photography: Intermediate
At the intermediate level, you're dictating some of your camera's settings. You'll be able to capture beautiful shots by playing with the Shutter Priority setting on your camera. On most DSLR cameras, this setting is labeled as TV on the top of your camera.
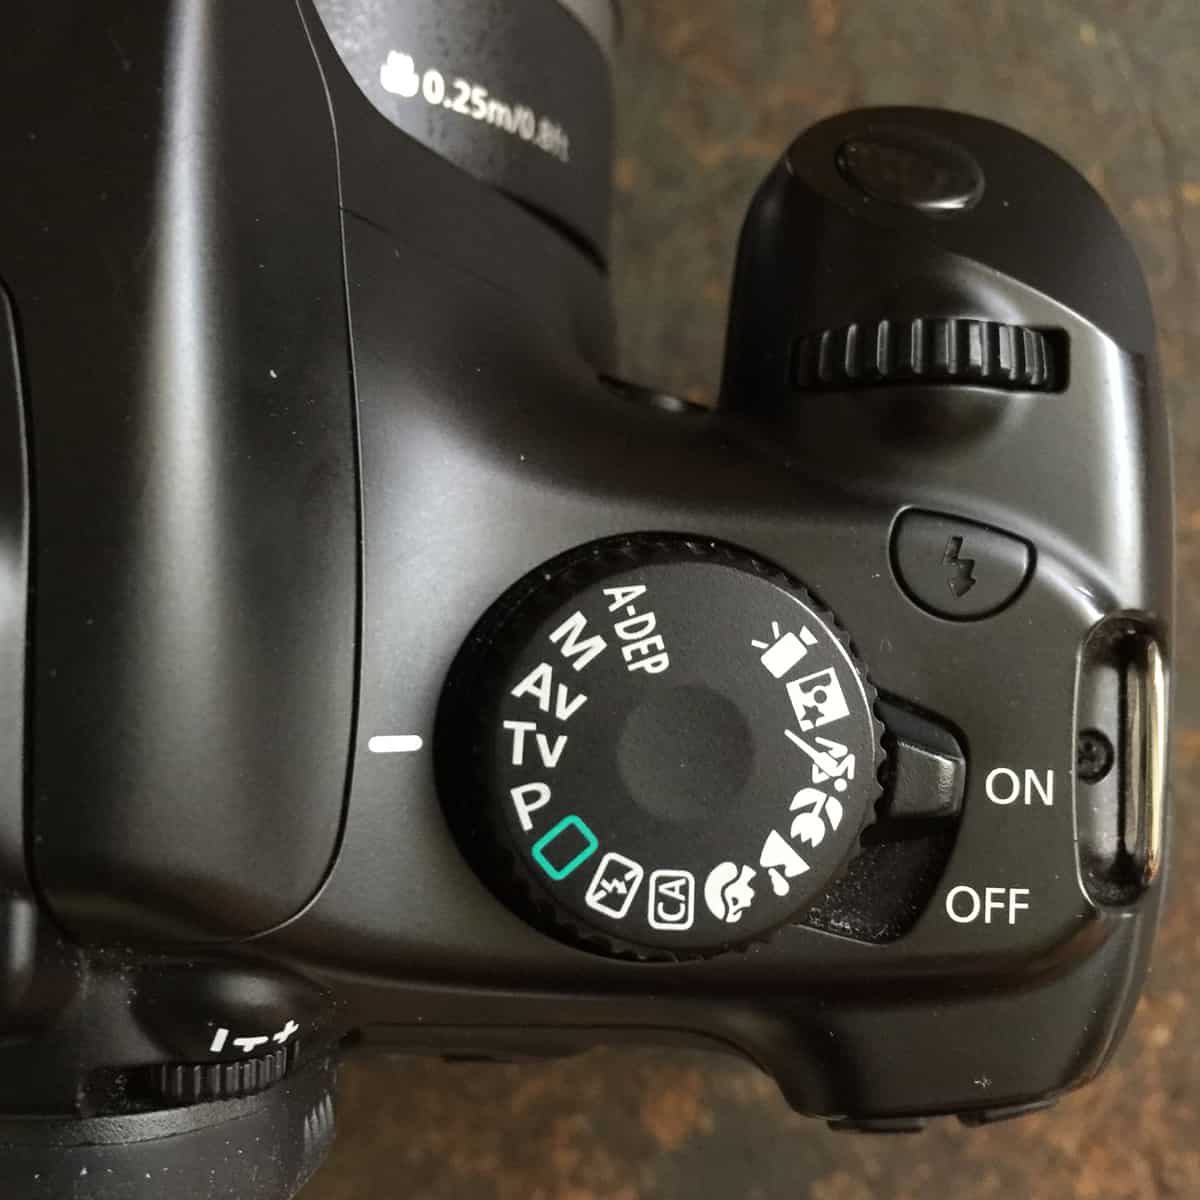
With each photograph you take, either you (or your camera, if you're shooting in Auto) must decide how to balance the shutter speed, ISO, and aperture. By putting your camera in the Shutter Priority setting, you're forcing your camera to stick with a fast shutter speed, to ensure your water action photography is sharp.
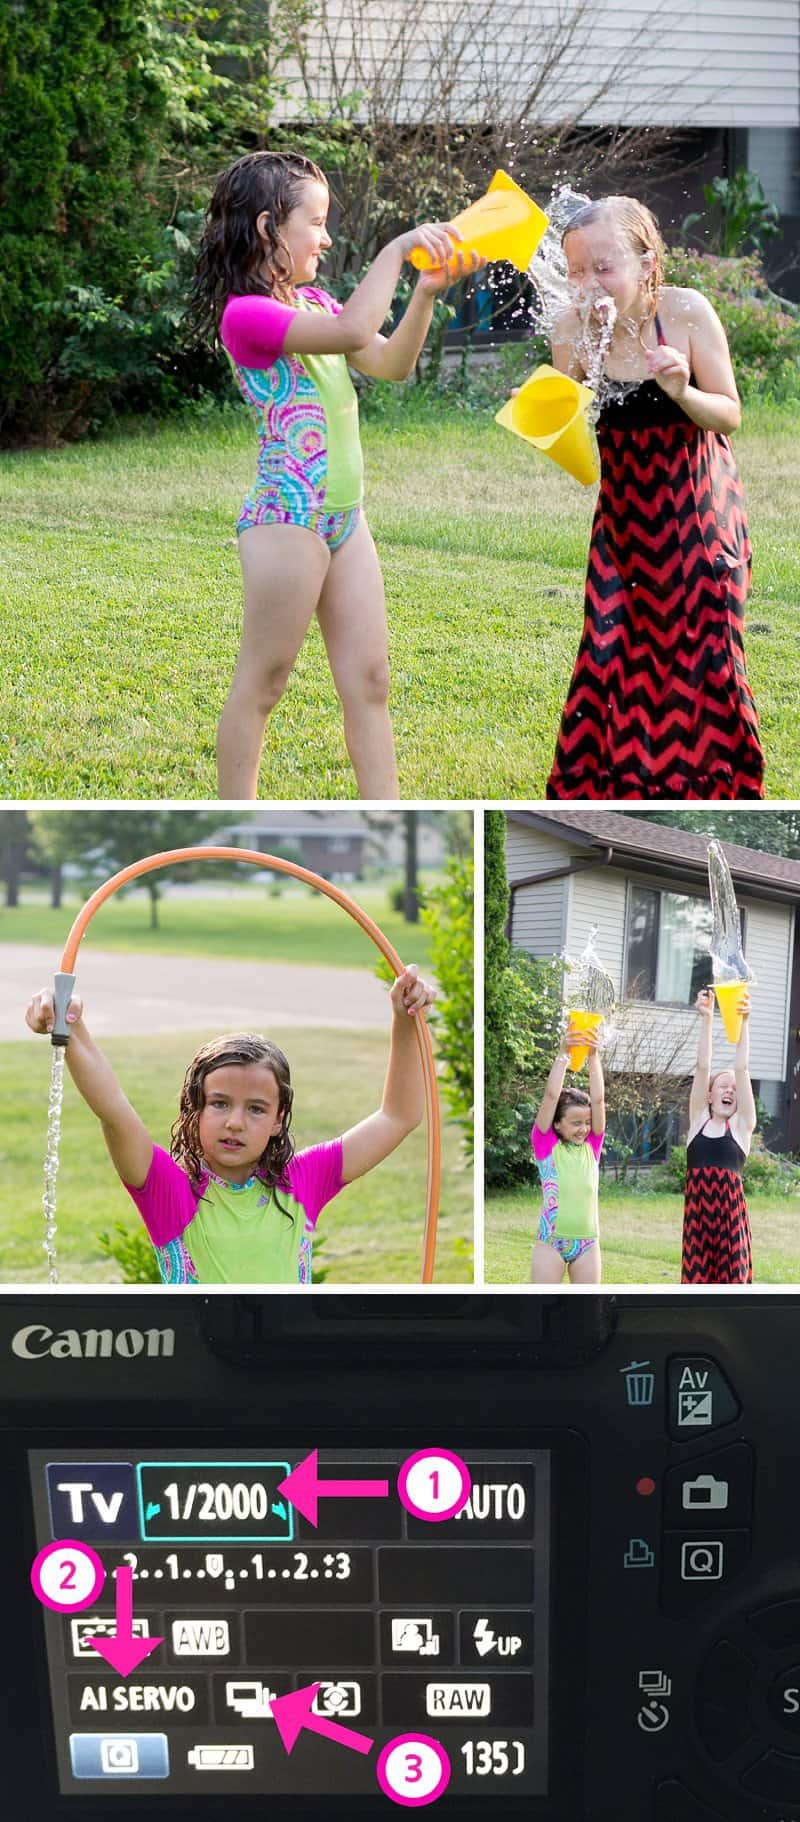
I would recommend the following camera settings for water action photography with kids (see photo above for key):
- Shutter Speed 1/2000—Allows you to capture sharp water action photography
- Al Servo—Focuses on moving subjects
- Continuous Motion—Enables you to take multiple shots while holding down the shutter button
Be sure to pin this post for later; once you get comfortable shooting water action photography in the Shutter Priority setting, it will be easy for you to jump to advanced water action photography.
You'll learn how to use your camera to create a beautiful blurred background (bokeh), so your kids can be the primary visual focus in your photos. It's not as hard as it looks. I promise. You can do it with your DSLR camera. (Keep reading!)
Water Action Photography: Advanced
At the advanced level, you'll be shooting in Manual mode and making artistic decisions with your camera. Don't let the idea of shooting in Manual scare you from trying the following water action photography tips. I'll walk you through the settings so you can play and truly get a feel for how to use your camera.
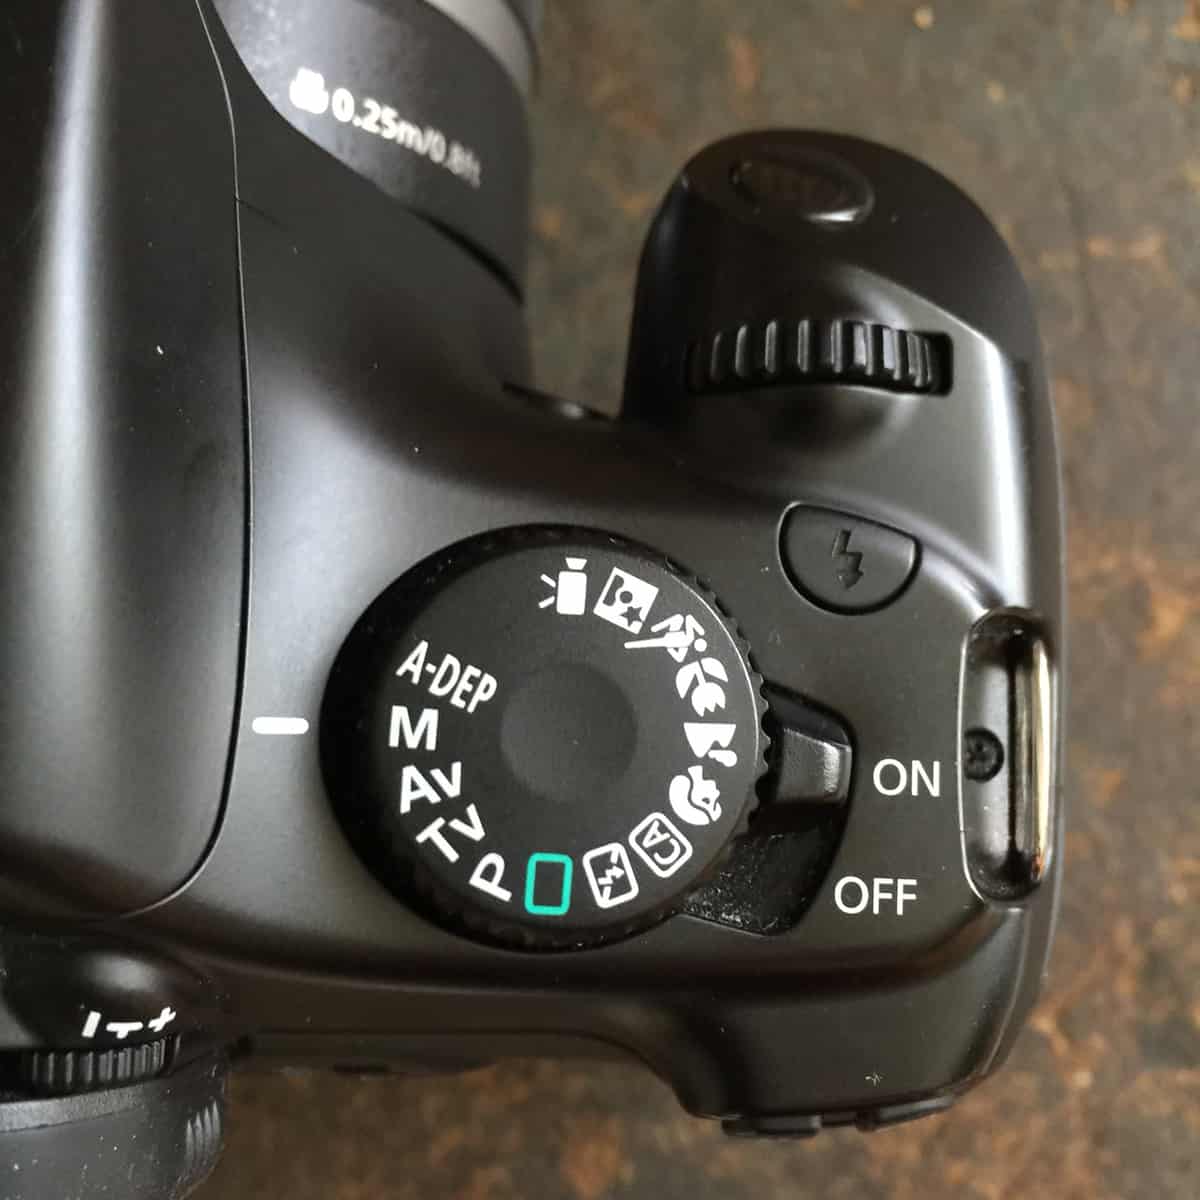
Note: If you're using a Canon, press the Q button on the back of your camera and use your circle arrows to move around the different setting options. Press the "Set" button to select the different setting options and make adjustments.
STEP 1: The shutter speed setting still remains the most important setting when doing water action photography. You want to stick with a fast shutter speed when attempting to capture moving water. I'd recommend starting with 1/2000 sec.
STEP 2: Set your ISO to Auto. When taking pictures of kids, shooting in full Manual can be a challenge. By setting your ISO to Auto, you're letting your camera still make this one decision for you. Dictating the shutter speed and aperture are the two settings you want to focus on.
STEP 3: Set your camera to Continuous Shooting to take multiple shots while holding down the shutter button.
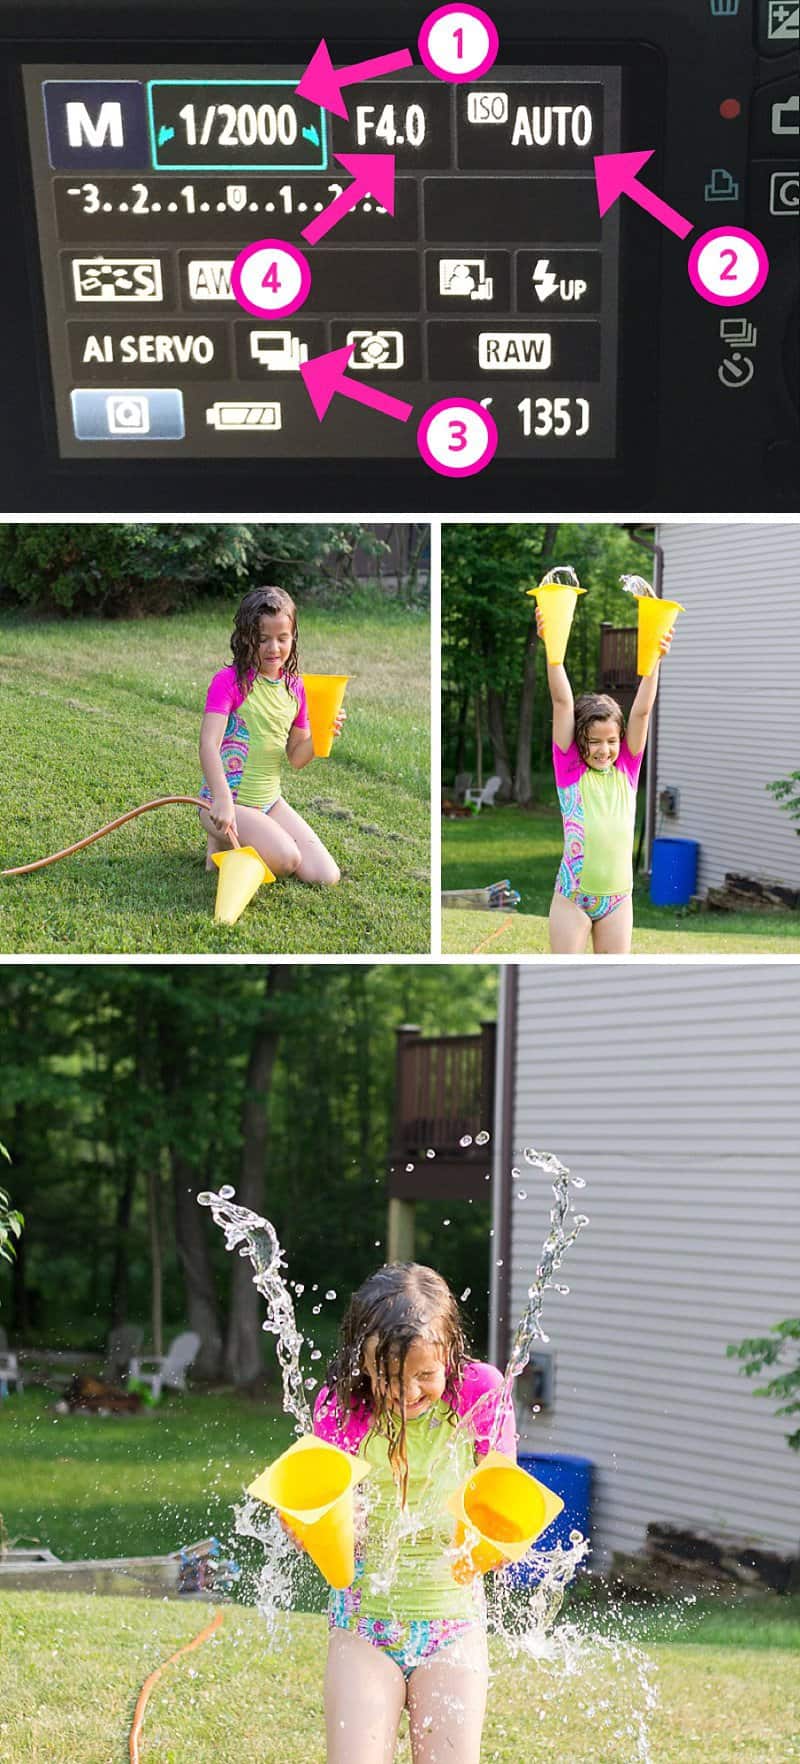
STEP 4: Experiment with your aperture or depth of field.
Depth of field is one of the most important creative controls available to the photographer. By learning how to control it, you can ensure that everything—from your feet to the trees on the horizon—appears pin sharp. Alternatively, you can restrict the depth of field so that parts of your picture are thrown out of focus (for artistic effect or to hide distracting features in a scene).
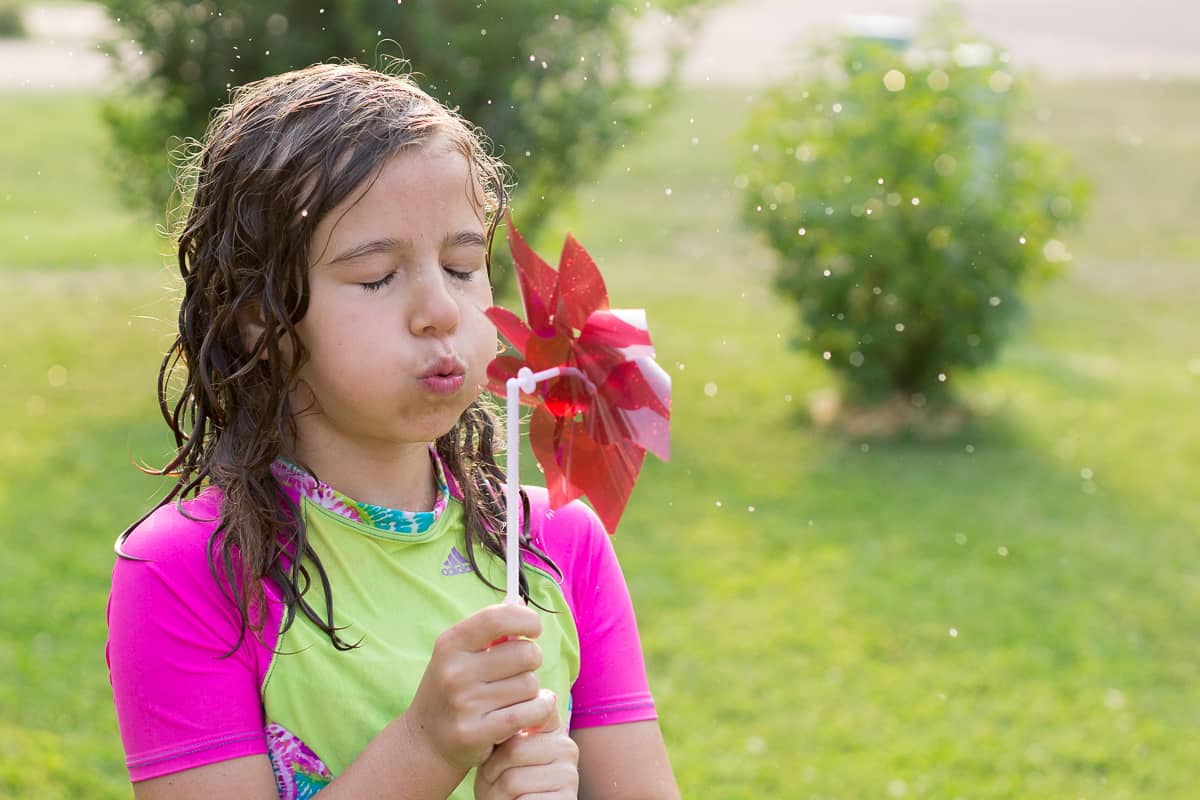
I'd recommend starting with a deep depth of field (or a smaller f/stop), something around f/6. Take a few shots with everything in focus, and then start to play. Next, adjust your depth of field to f/4 and watch how your images change. Many of the photos in this post were shot at 1/2000 sec at f/2.8 on a 50mm lens.
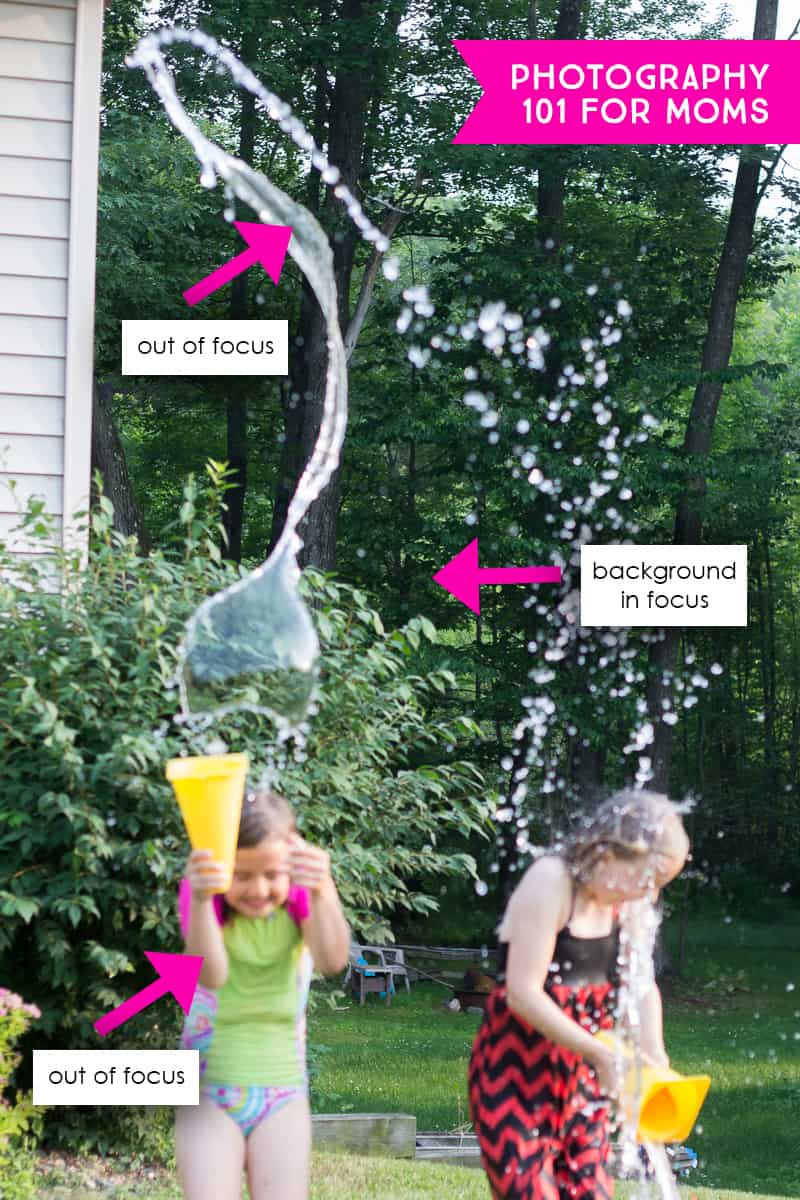
Important note: As you adjust and play with depth of field, it will become important to keep your focus on your subject. Here's a photograph when I accidentally focused on the background instead of the girls. What a shame! The water patterns in this image are gorgeous.
![]()
 IMPORTANT TIP FOR BEGINNERS
I want to take a moment to share with you the BEST photography tip I’ve ever received…
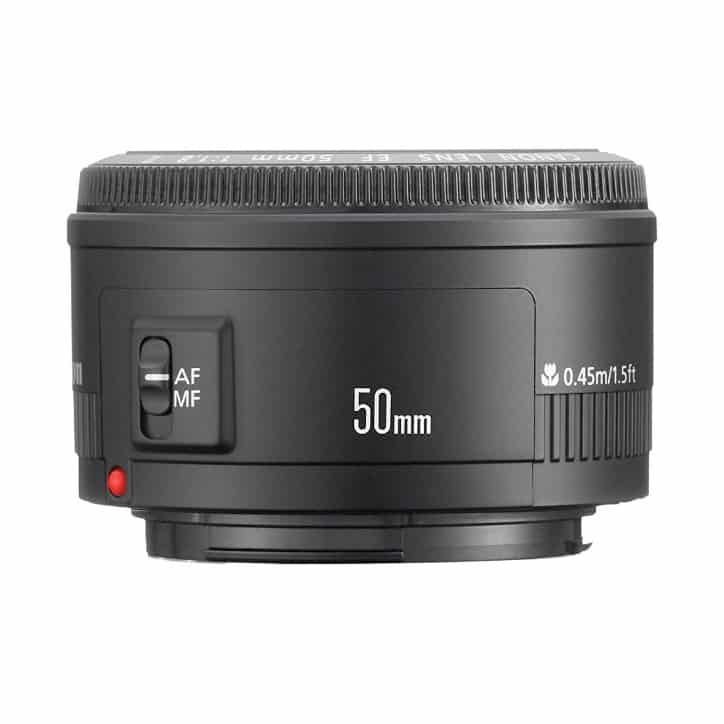
I highly recommend investing in a f/1.8 50mm lens (about $100 for a Canon) for your DSLR camera. You will never learn to truly take advantage of the power of your DSLR with your kit lens (the lens that came with your camera body). The 50mm is a fixed prime lens, which means it helps keep the exposure triangle stable when experimenting with taking Manual shots. I cannot even begin to tell you how quickly shooting in Manual made sense after I had this lens on my camera.
All the pics in this post were done with this 50mm lens. I shoot almost exclusively with this lens. It's a perfect lens for everyday moms who want heart-melting photos (and that beautiful bokeh/blur background), but don’t want to spend a ton of money on fancy equipment. Once you have it on your camera, you won’t want to switch back. If you have any questions about the 50mm lens, please don’t hesitate to chat with me in the comments below.
![]()
STEP 5: Look through your photo shoot images, and pick the best ones. When taking photos with the Continuous Shooting mode, you'll have an interesting collection of photos to sift through. You'll capture awesome expressions and water patterns, but also have many images (like the one above) to toss in the trash. C'est la vie! It's all part of the learning process.
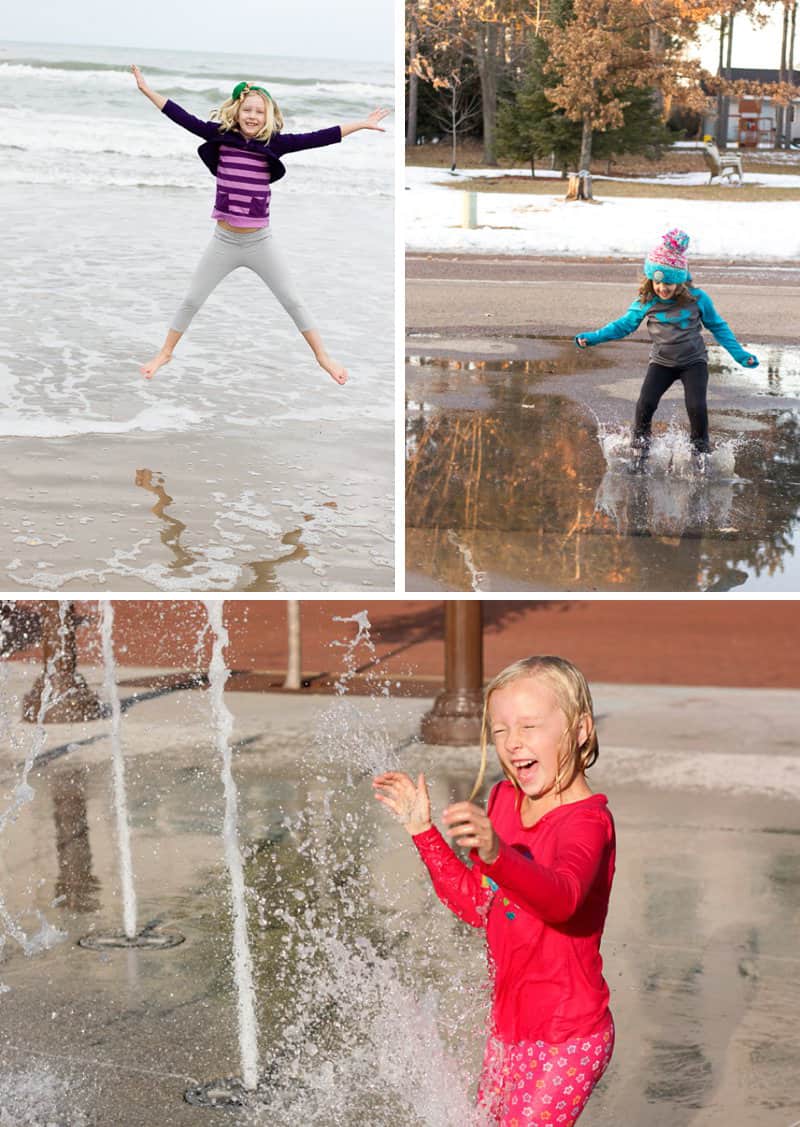
I hope you have fun with these simple water action photography tips. These instructions also work with taking photos of the kids playing in sprinklers and water fountains, as well as use in taking beach jump shots and puddle splash photos.
You might also like:
- 3½ Ways to ROCK Family Vacation Photography
- 7 Tips for Getting Fun, Easy, and BEAUTIFUL Nature Portraits of Your Kids
- Everyday Life Lessons — Embracing Puddle Jumping
I'd love if you'd share your water action photography in our private Family Photography Group on Facebook. I'd happily add you as a member, if you request an invite on Facebook.
Now, turn on the hose and get clickin'.

P.S. Want ongoing photography tips? Be sure to follow our DSLR Photography Tips board on Pinterest, or join our private Family Photography Group on Facebook for more interactive learning!
This photo session was inspired by the 100 Days of Summer Challenge. If you like to participate in group photo challenges too, be sure to check out Peanut Blossom's Capture It! Facebook group. You'll love the inspiration!
Shop This Post
Again, a huge thanks to Melissa & Doug for sponsoring this water action photography tutorial as part of their Capturing Childhood initiative. Their Sunny Patch line has great sprinklers, water toys, and adorable props that are perfect for a water action photography shoot. Here are a few of my personal favorites:
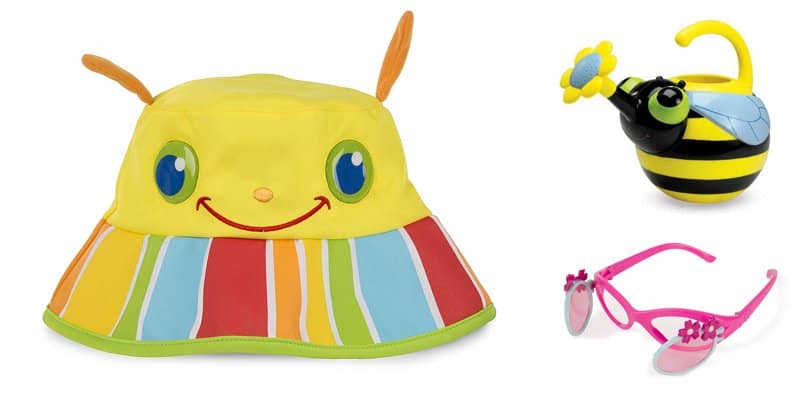
Super Sweet Sprinklers
We've had the Blossom Bright Sprinkler for years. The girls just love it. Aren't the sprinkler designs just adorable?!?
Must-Have Classic
With all the cool stuff out there, I admit... Melissa & Doug's classic Activity Cone Set continues to be one of our most-played-with toys.
Playing with activity cones at Red Sands Beach.
Activity cones are an excellent water action photography prop, but they are also great for beach play. When packing for the beach gets TIGHT, a set of Melissa & Doug Activity Cones is all kids really need. They are super easy to pack! Check out seven reasons activity cones are the ultimate beach toy in the article 10+ Parent-to-Parent Travel Tips, which I wrote over at Melissa & Doug's Playtime Press.
Want to see more adorable Sunny Patch stuff from Melissa & Doug? Check out their top summer toys here.
![]()
 2016 Blog Ambassador | Let’s Lasso the Moon is proud to be part of the 2016 Blog Ambassador program. We worked hard alongside Melissa & Doug to explore fun ways to keep children inquisitive and to promote classic, creative play. Click here to read our full sponsorship disclosure. See all Blog Ambassador posts by Zina on Melissa & Doug’s blog Playtime Press.
![]()
 |
 |
 |
 |
 |
|
 |
|||||

