Solar Print Art for Kids -- An activity from Make It Your Own that teaches children about the science of light exposure while creating a lasting piece of art for their mothers.
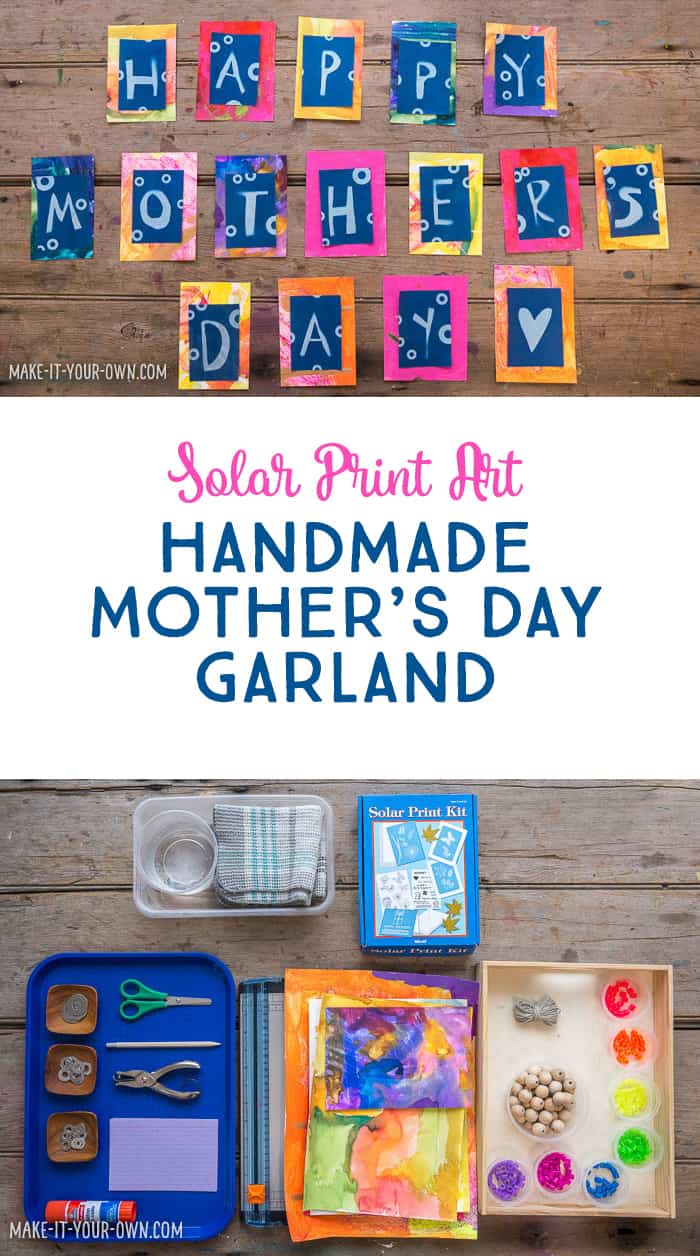
Materials
- Solar print kit (You can find these at educational stores, science centres and online here)
- Craft tray
- Thick paper (we used index cards)
- Glue stick
- Hole punch
- Pencil/eraser
- Items to enhance prints (We used washers, you could pick something from nature or skip this step)
- Paper cutter (or you could use a ruler, pencil and scissors)
- Pieces of artwork (Be sure to ask children prior to cutting or create papers specifically for this project. These were filtered out by the kids from their "display and keep" collection)
- Beads
- Twine
- Water
- Shallow container
- Rags
Optional:
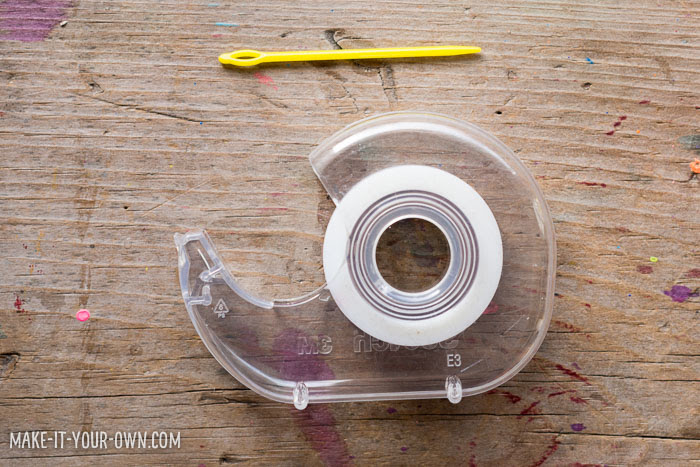
- Plastic needle
- Tape
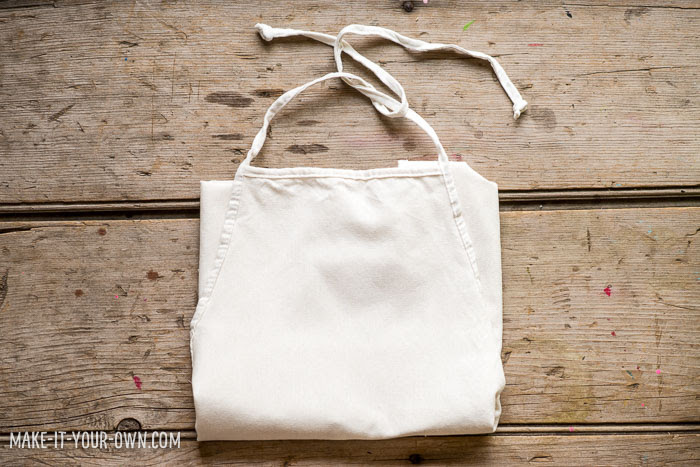
We always find a smock helpful too:
Solar Print Art Garland Directions
- Chose a sunny day with minimal wind to experiment with the process of creating a cyanotype. Sun prints are often used with items found in nature, household objects etc., so we wanted to extend that process in with creating letters.
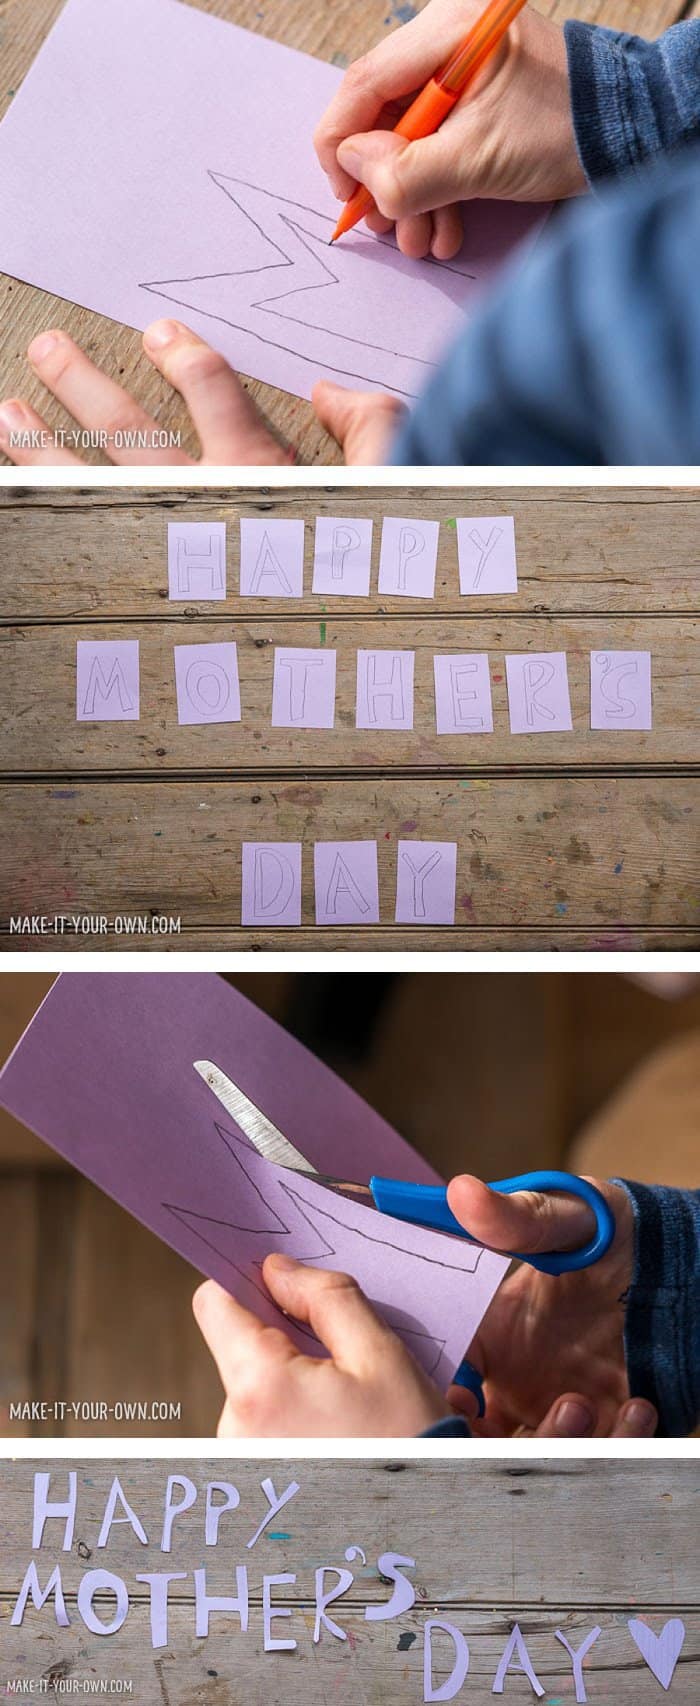
- Sketch out your letters on thick paper and cut them out. We chose "Happy Mother's Day", but you could convert this type of garland to suit any occasion, such as a birthday.
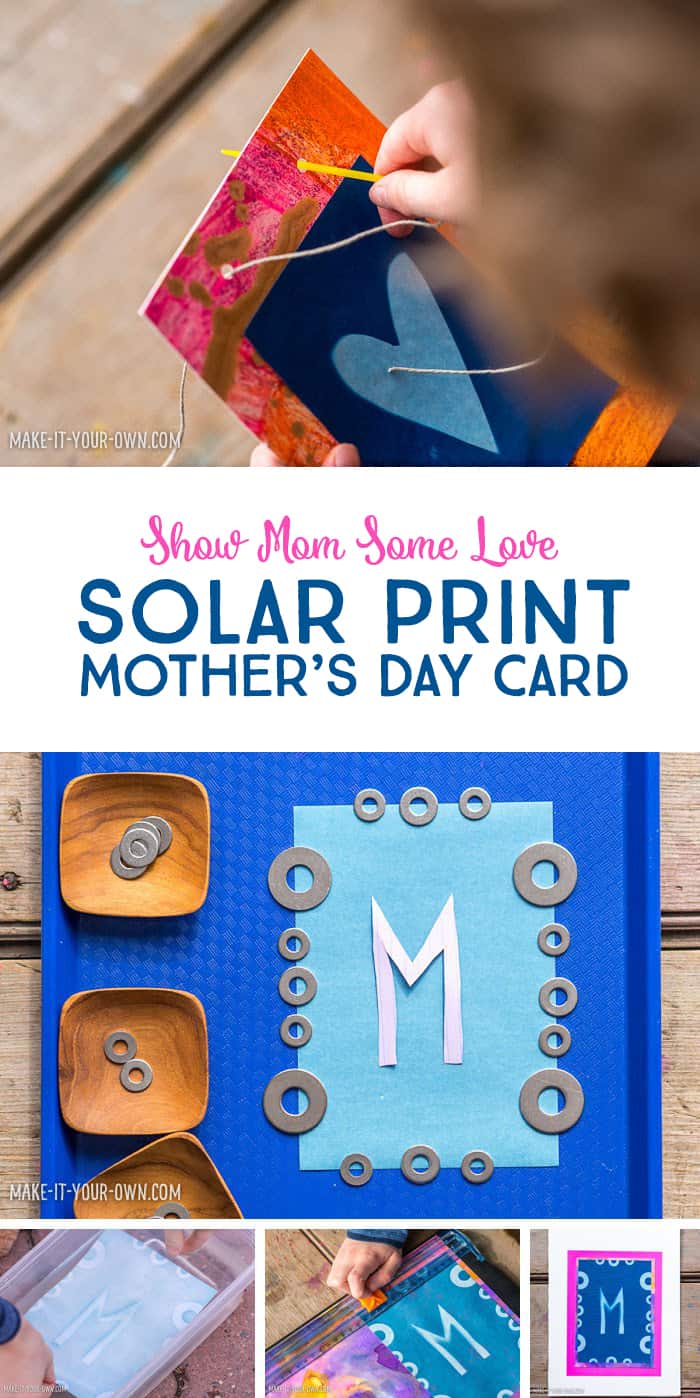
- Read the directions on your solar print art kit. They generally state to go into a darkened room (we went into a closet) to open the pouch. We then cut each paper in half and laid it out on a tray, placing the letters on top, along with the washers. If your solar print art kit has a clear plastic frame (like the kit shown in the materials photo), you can do this process in the frame as it holds the materials securely in place. Be sure to follow the directions that your kit specifies for the best results.
- Once you have all your items in place go into an area with direct sunlight. Most kits suggest 1-5 minutes, depending on the intensity of sunlight that day. Once the paper is light in colour you know that it is working. Solar print art demonstrate a chemical reaction as most of the papers are covered with a solution of ferric ammonium citrate and potassium ferricyanide which react with UV light exposure. Your letters will create a negative image, where they will stay light and the rest of the paper will turn a cyan-blue colour.
- Remove your letters and dip your paper into your water according to the product directions (approximately 1 minute). Gently lay your papers on your rags, allowing them to dry. You can carefully blot them with your cloth if need be. The colours will intensify over time. Allow to dry overnight.

- As you can see, there was some curling with our papers, which you can easily fix. Flip them over, making them flat and then apply a stack of books to them, removing the following day.
- Once flattened, glue your letters to your artwork to create a background. Smooth out any bubbles or wrinkles by applying pressure to paper with the side of your thumb, working out from the centre to the edges. Trim them with the paper cutter (this one has a hidden blade) using the ruler to make the sides even. We left a bigger border at the top of the page to account for punching the holes to lace the cards through.

- At the top of each letter card punch two holes.
- We then created the garland by lacing the cards and beads onto twine.

Here are a few tips: To make the lacing easier for younger children, use a plastic needle. An easy way to hold the letters in place is to secure them with two pieces of tape on the back. To hold the beads in place without knotting, go through the bead and then wrap the twine around, going through the bead again. We created a hanging loop at either end, hiding the knot with a bead. Lacing your beads on is perfect time to explore patterning.

Hang your garland and celebrate!
Want to simplify this process or do it in a class or studio setting? Make a card instead!
Purpose
- Developing fine motor skills (cutting, lacing beads, manipulating the paper and using the paper cutter etc.)
- Learning about creating negative images.
- Exploring chemical reactions as it relates to light exposure and photography.
- Learning about various celebrations.
- Writing for meaningful, real-life purposes.
Safety Notes
- We suggest that you wear a smock and use a craft tray to protect your clothing and surfaces.
- Use a paper cutter with care and direct adult supervision and/or guidance.
- Cord, yarn etc. can be a strangulation hazard, therefore be sure to use with direct supervision and for its intended purpose.
- Beads can be a choking hazard therefore be sure to keep them out of the reach of children ages 0-3 years of age or those that tend to put things into their mouths.
- Be sure to follow product directions.
More Handmade Gift Ideas
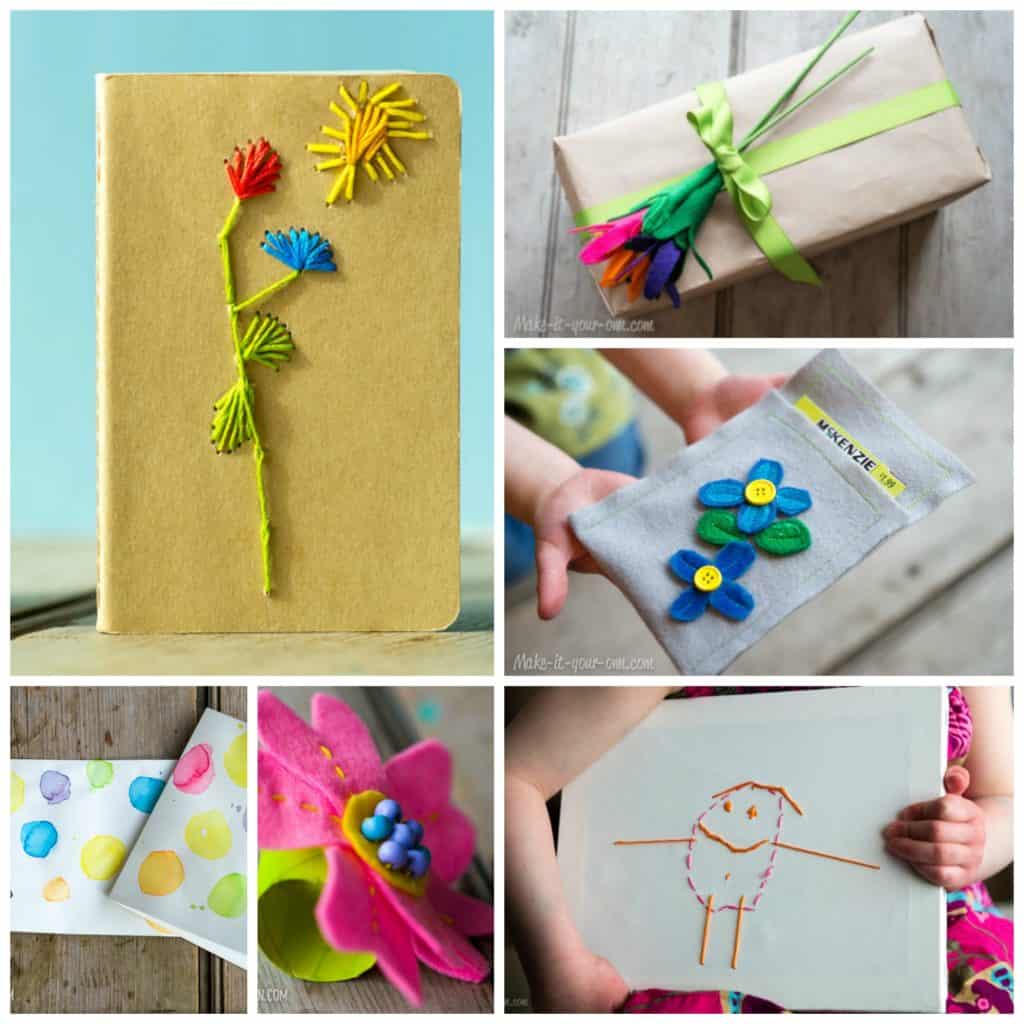
Be sure to check out more handmade Mother's Day gift ideas for kids over at Make It Your Own.
Mother's Day Gift Ideas Kids Can Make
![]()
 Make it Your Own is a place to explore both new ideas and re-envisioning others. With a background in interactivity and education, Bonnie and Gallen hope to get you and your children engaged in activities that extend the digital experience by outdoor exploration, creating etc.. Please join them and their children in collaboration.
Find Make It Your Own online here →
Blog | Facebook | Instagram | Pinterest | YouTube
![]()

