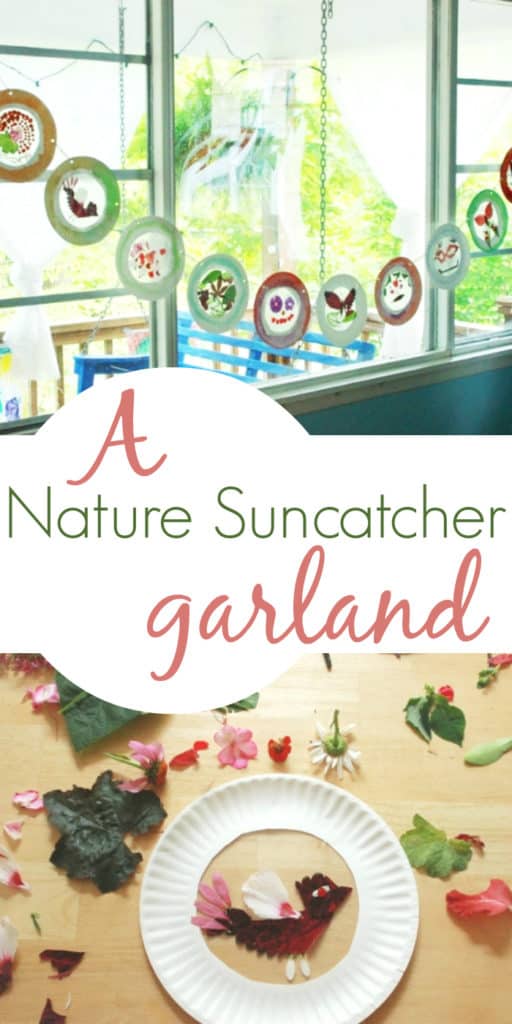
This adorable flower suncatcher is brought to you by Jean of The Artful Parent.
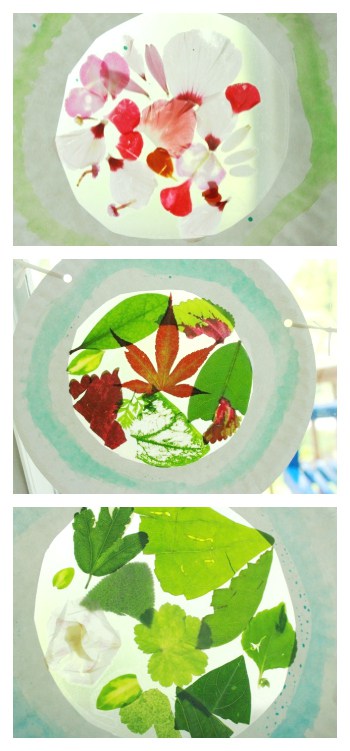
Yesterday, my kids and I made nature suncatchers with flower petals and leaves. This is by no means the first time we've done this flower suncatcher craft---it's one of our favorites!---but this time, instead of just abstract designs or mandalas, we also shaped the flower petals and leaves into realistic images.
We made butterflies, funny faces, a bird, and even a playground.
And then strung them all into a garland to hang across the front window. So beautiful!
Here's how to make one of these for your sunny window:
FLOWER SUNCATCHER CRAFT FOR KIDS
 MATERIALS
- Paper plates (the thin, cheap, uncoated kind is ideal)
- Transparent contact paper (also called sticky back plastic)
- Marker
- Scissors
- Flowers and leaves
- Watercolor paints (optional)
- Hole punch
- Ribbon or yarn
INSTRUCTIONS
1. First, to prepare the suncatcher frames (best done by adult), cut the centers out of your paper plates. Use one as a template and trace the inner circle onto the paper backing side of the contact paper with a marker.
Cut out the circles about ½ to 1 inch larger than the drawn circle to allow the contact paper to overlap the frame (you should have twice as many contact paper circles as paper plates). Pull the paper backing off of a contact paper circle and set it down on the table, sticky side up. Center a paper plate frame over the circle and press against the contact paper.
Repeat with your other paper plates until each paper plate frame has sticky contact paper in the center (and you still have as many more contact paper circles in waiting).
2. Gather flowers and leaves. Perhaps let the kids collect them from around your yard or go for a nature walk together to collect a variety.
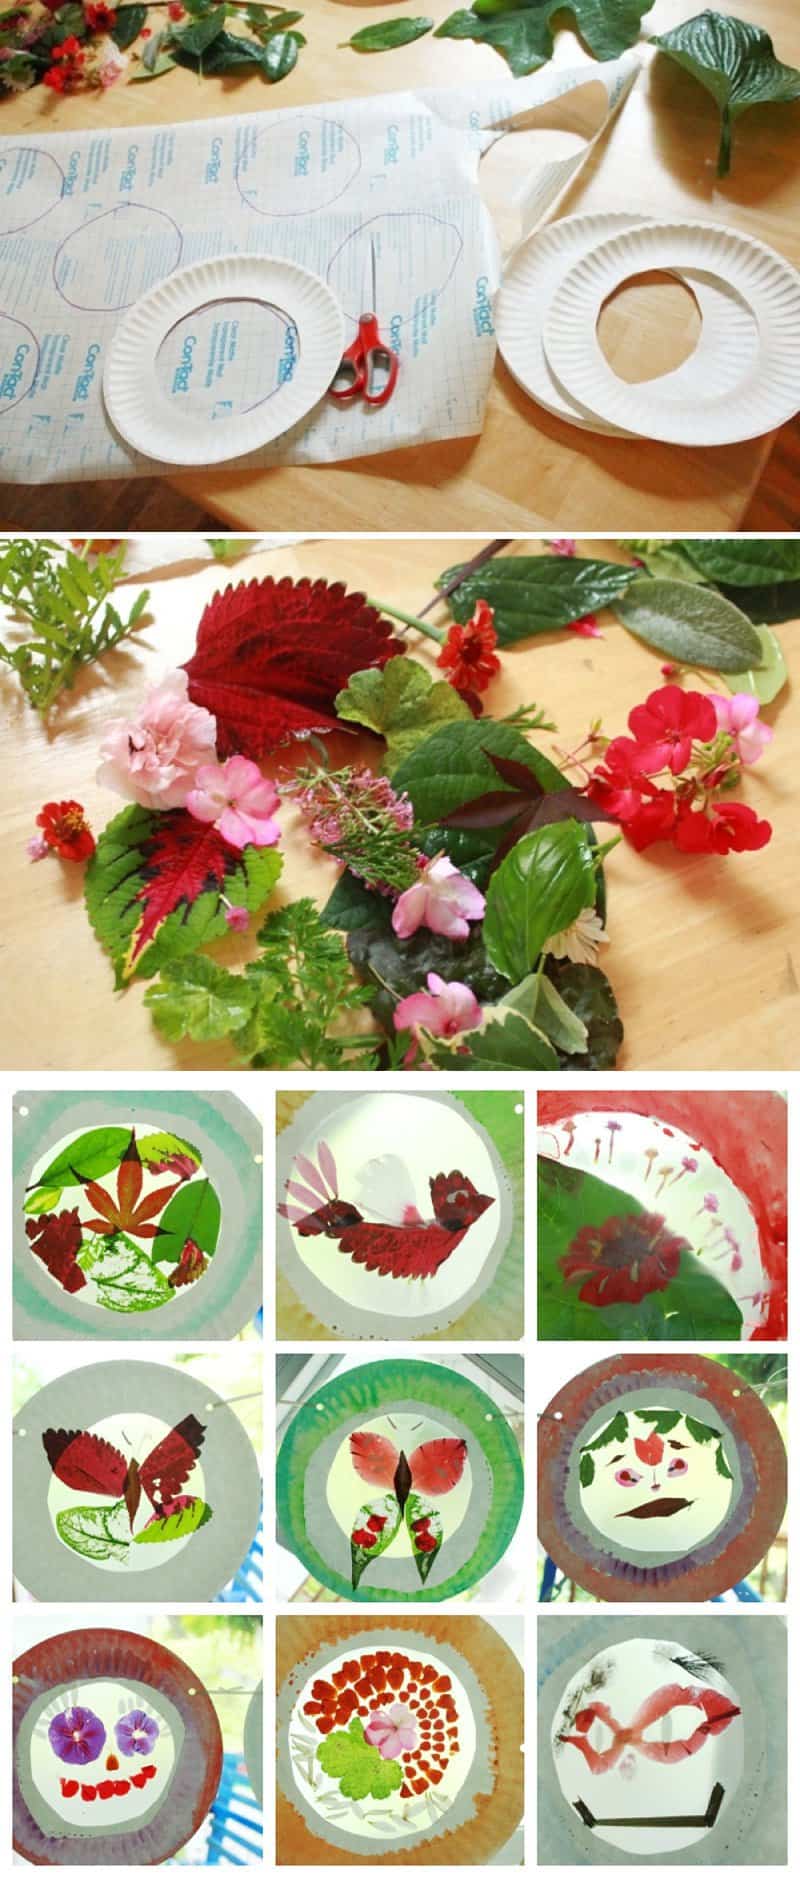
3. Press flower petals and leaves to the sticky side of the contact paper, arranging them as desired.
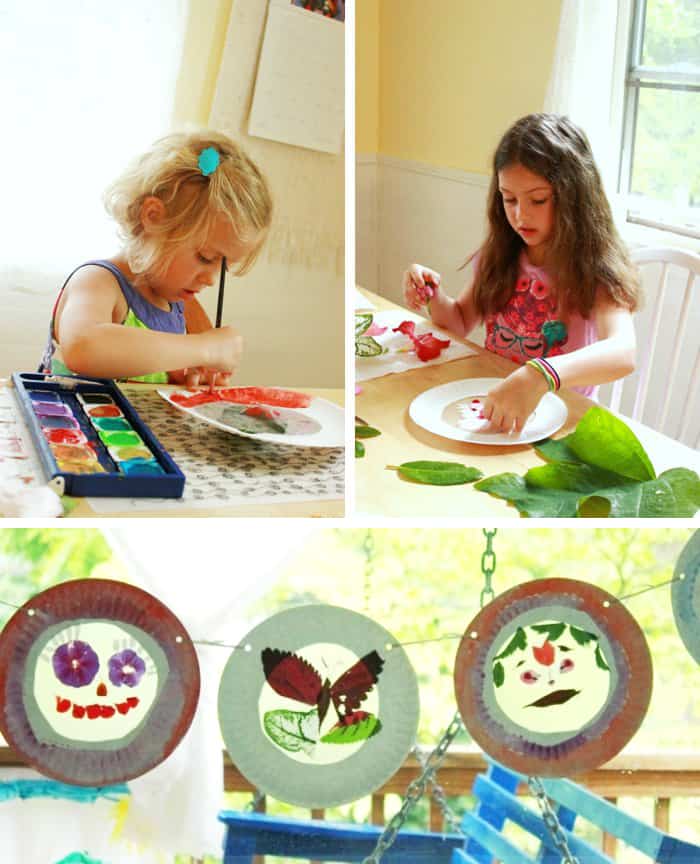
We created abstract designs as well as faces, butterflies, a bird, and a playground (a conceptual piece by the 4 year old).
Use flower petals rather than the entire flower.*
You can also use pieces of flower petals and leaves, shaping them as you like to suit your design.
My eight year old took the centers out of two flower petals to make glasses for one of her flower suncatcher people.
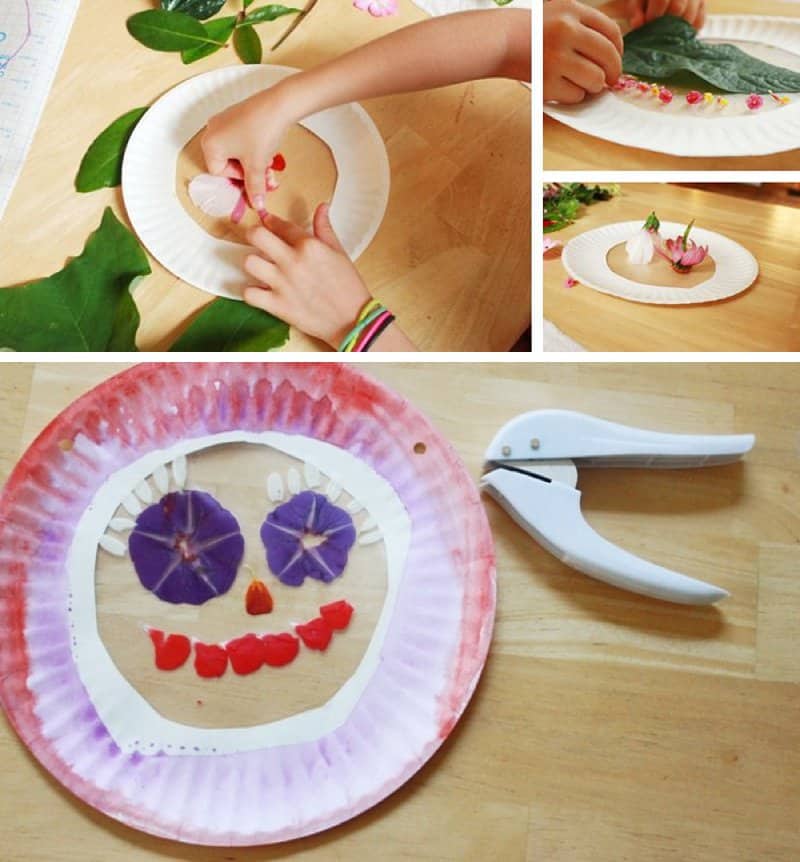
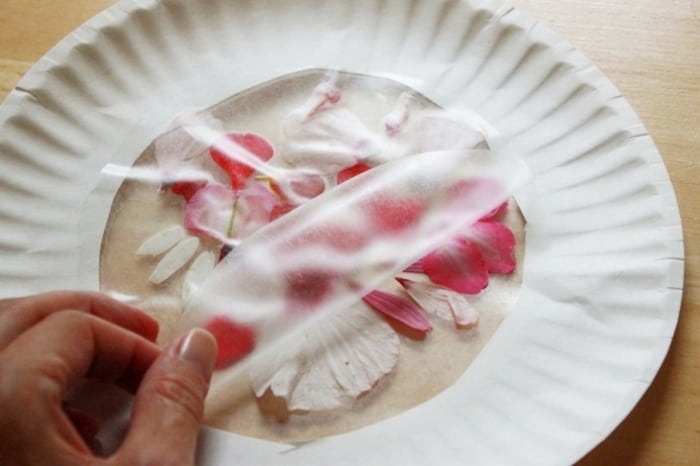
4. When satisfied with the flower design, remove the backing from the second contact paper circle and press against the nature items, to sandwich them between the two sticky sides of the contact paper.
5. Paint the frames with watercolor paints (optional).
6. Prepare your beautiful new flower suncatcher for hanging! If you want to hang them individually, punch a single hole at the top, thread the ribbon through, and tie it to form a loop.
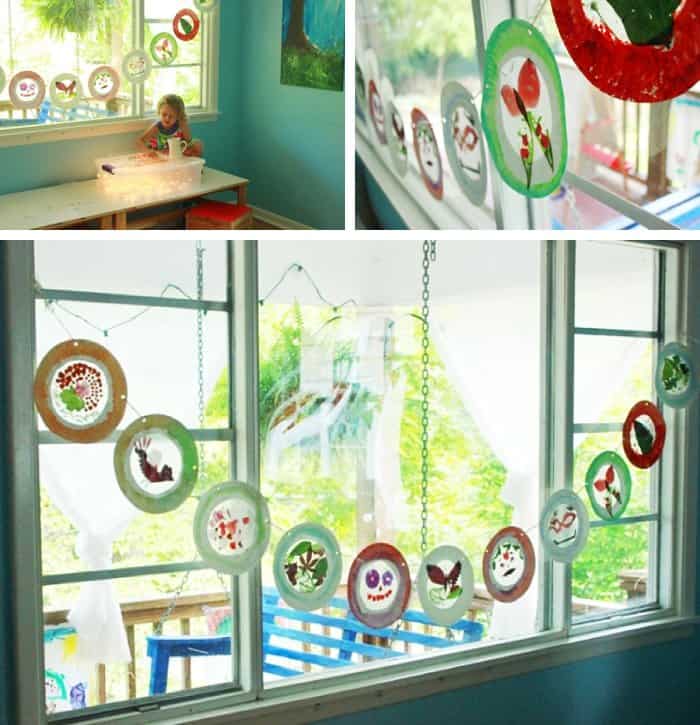
If you want to string them into a garland, punch two holes near the top sides of each suncatcher (at 10 o'clock and 2 o'clock) and arrange them in the order you'd like. Loop a section of ribbon through two holes of adjacent suncatchers and tie a knot. Continue with remaining suncatchers. Tie a length of ribbon at each end to use for hanging.
7. Hang your new suncatchers or suncatcher garland in a sunny window and admire the stained glass effect of the sun shining through the flower petals and leaves! Beautiful, eh?
*A note about the ephemeral nature of this nature suncatcher project: The flowers and leaves in your suncatchers will lose their color over time and may decay some as well. This is normal when using fresh flowers and leaves. It can be an interesting to watch and comment on the process with your kids. To minimize decay, use flower petals instead of the entire flower and keep the design as flat as possible. Older children are likely to follow this advice more than younger ones. My younger daughter wants to put entire flowers on her designs and I just let her.
![]()

Jean Van't Hul is the author of the book The Artful Parent: Simple Ways to Fill Your Family's Life with Art & Creativity as well as the chief kids art enabler at The Artful Parent. Check out her directory of Kids Arts and Crafts Activities for more than 500 fun, artful ideas for children.
Find Jean online here:
Blog | Facebook | Pinterest | Google+ | Instagram
![]()
 |
 |
 |
 |
 |
|
 |
|||||
![]()
PIN IT:
