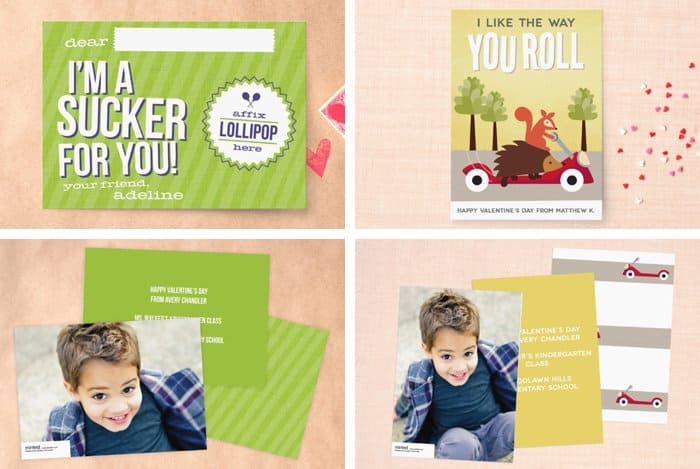
 I admit, I am not a fan of the cheap, uber-thin, gender-biased Valentine options often found at the local store. Yet, I am also not the mom who is crafty enough to sit down with her kids and hammer out twenty handmade cards either.
What's a mom supposed to do? I found the perfect go-between:
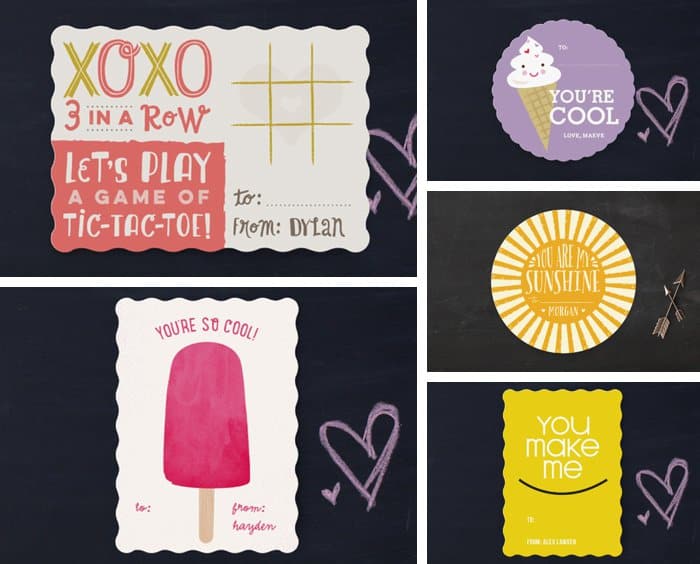
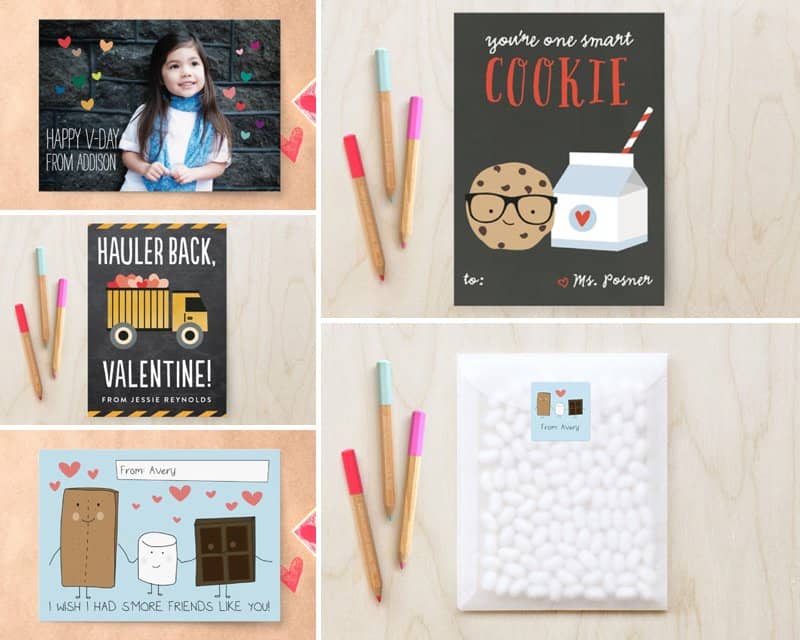
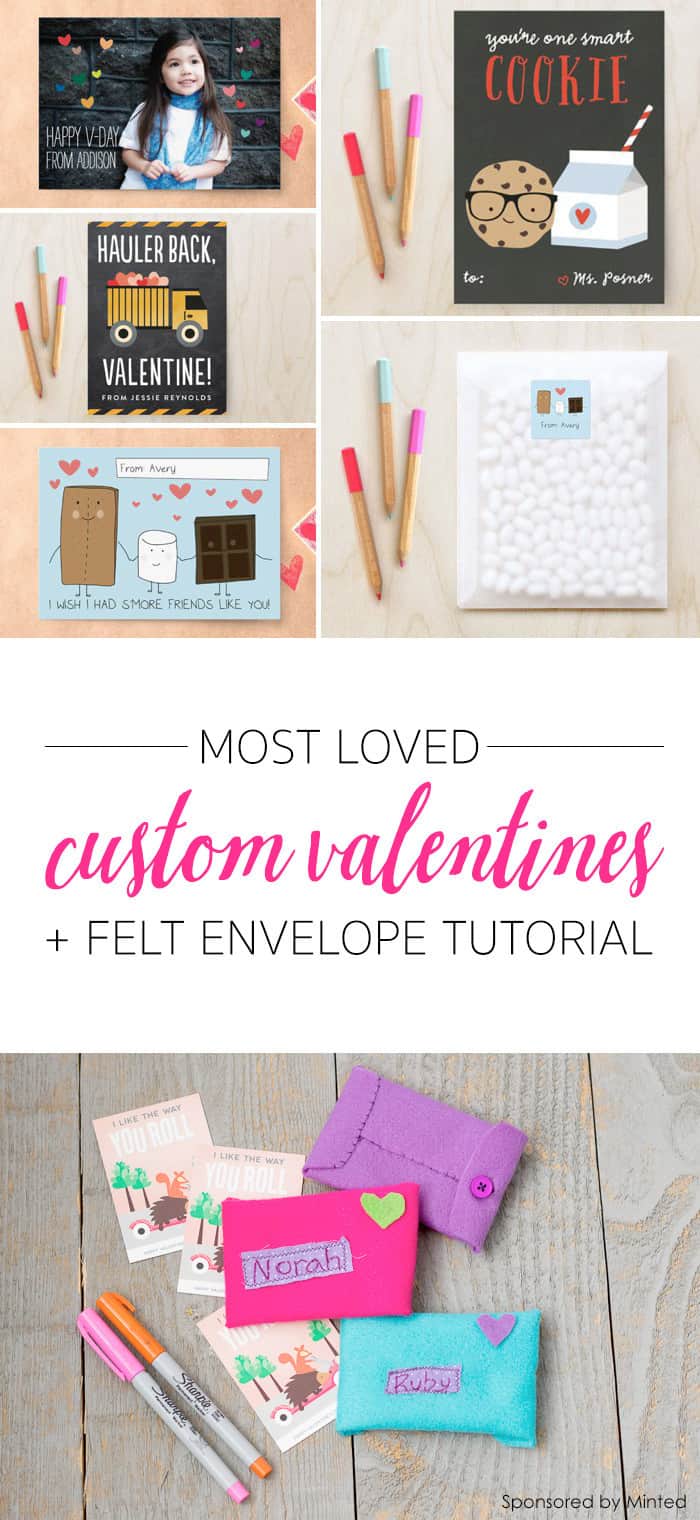
I am excited to be ordering Classroom Valentines from Minted this year. There are cool designs from independent artists that the kids can customize. Check out some of the most popular designs here.
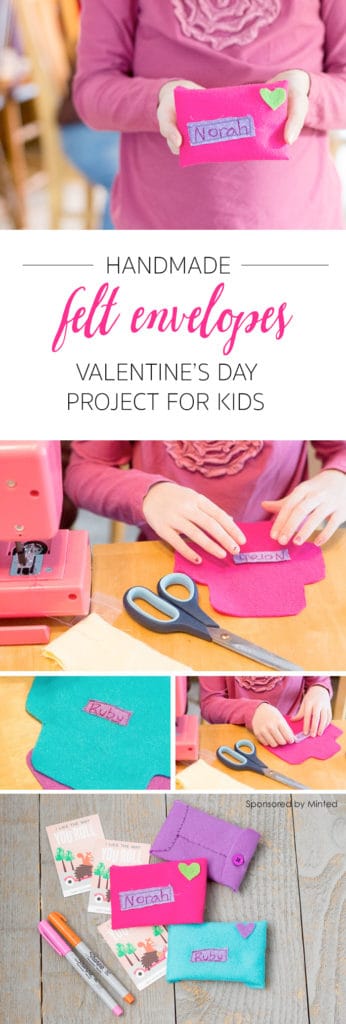
Then, inspired by Pinterest, my daughter also decided to make handmade felt envelopes for a few of her closest friends. Get the full tutorial below!
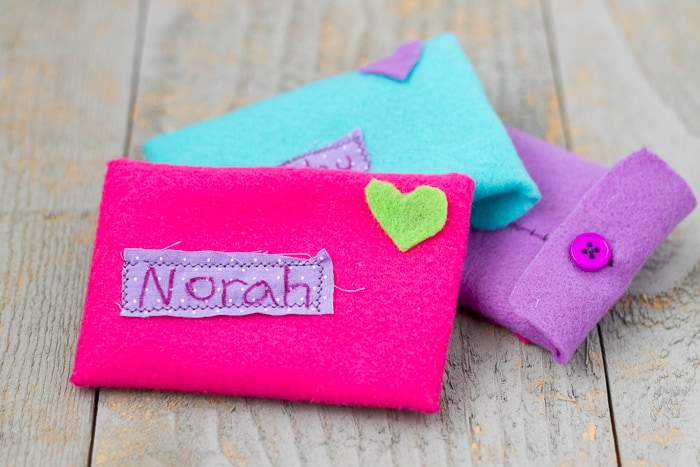
Simple Handmade Valentines Envelopes
1. Pick-up some bright felt sheets. We picked up individual colors at the local craft store. However, you can find some awesome felt samplers through Amazon Prime, too.
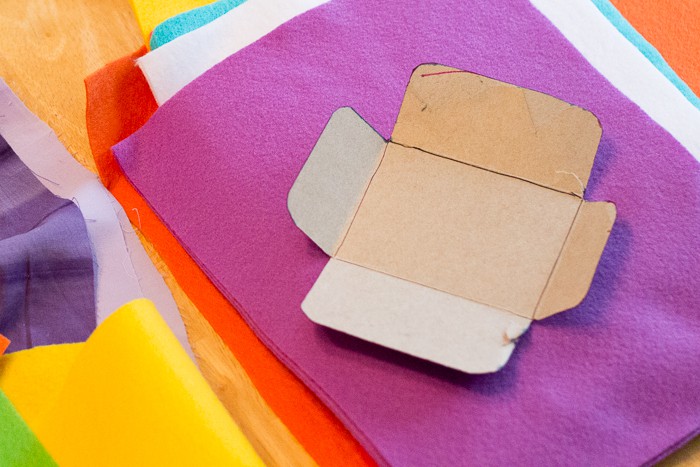
2. Create a template. We knew we were ordering Classroom Valentines from Minted, so we popped over to see what size we needed to make our template. The Classroom Valentines we ordered are 2.5" x 3.5" so we created and designed a template accordingly. Click here to download a copy of the template we used or create one using your own custom dimensions.
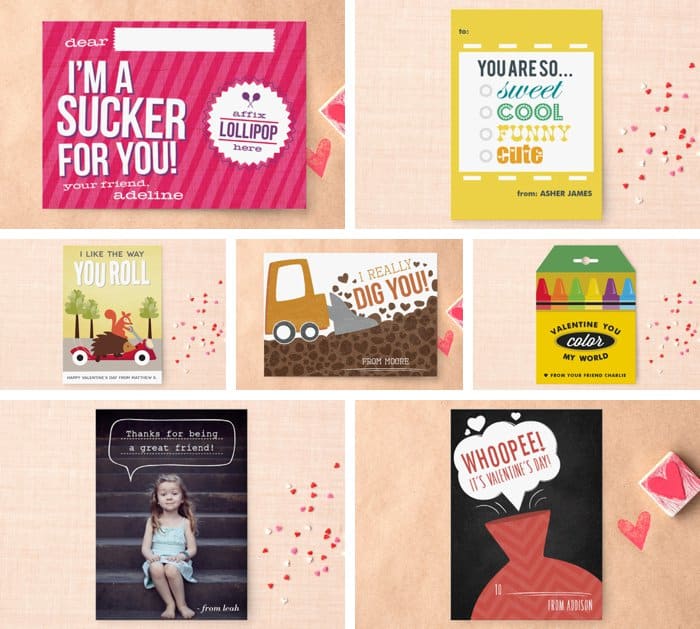
Next, go into the recycling and grab an old cereal or cracker box. Cut out a reusable template from this durable, but easy-to-cut cardboard. Use your new template to cut out the envelope shape from the felt. By the way, here are a few of my favorite Classroom Valentines designs this year:
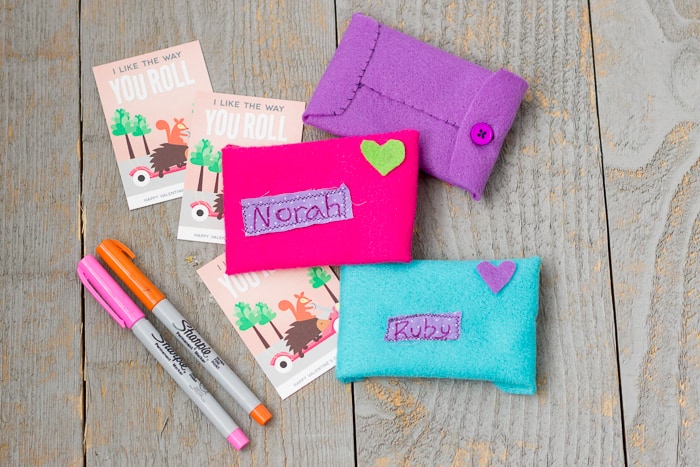
3. Add name tags. We simply grabbed some plain scrap fabric, cut rectangles, and then added names with 80's Glam Sharpies. We happened to have our ROCKING Janome Pink Sewing Machine out, so my daughter added these with the machine.
Crafter's Note: We love this Janome Pink Lightning Portable Sewing Machine. My daughter had a toy sewing machine in the past and it was a waste of money. We got this small machine when my daughter was eight and it has been great. It has a lot of nice features and is a great stepping stone to a full machine. I highly recommend it.
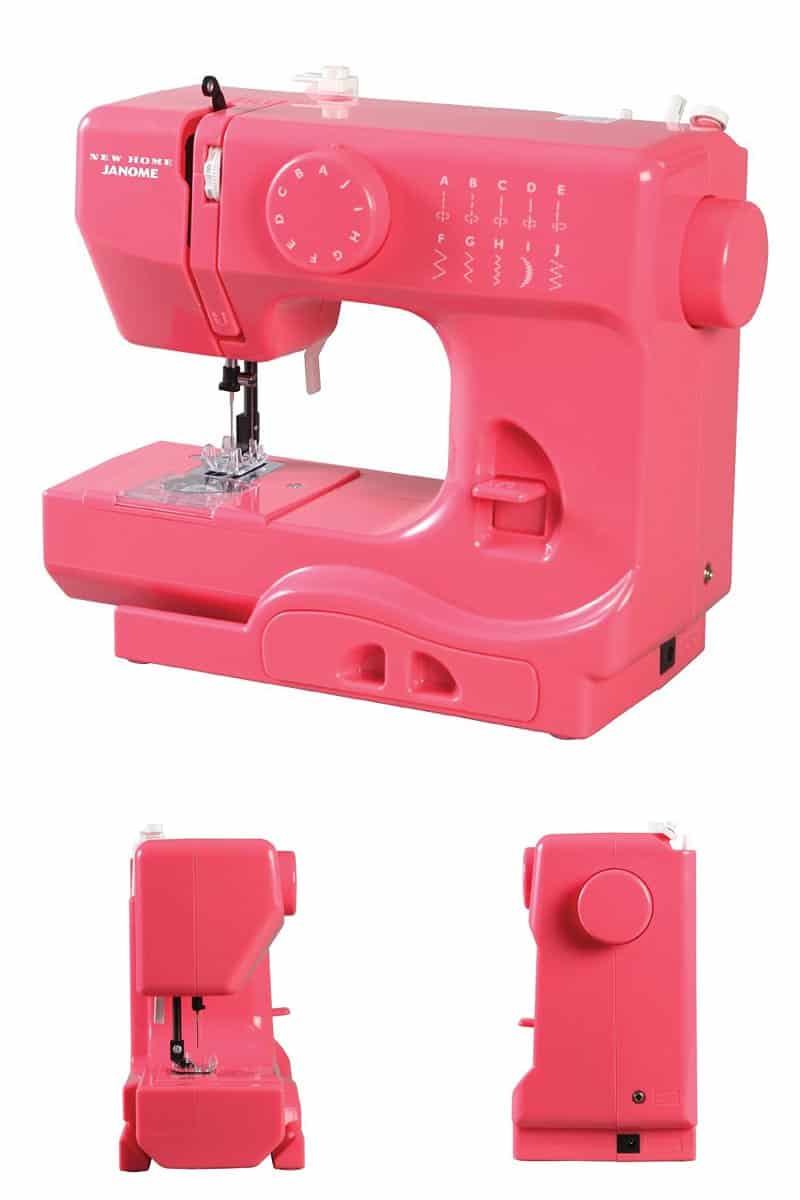 Read More Reviews on Amazon (294 Reviews) // 4 out of 5 Stars
4. Sew the flaps together. This part you will want to do by hand with your child. We started with the two longer tabs and then stitched the bottom flap up last.
5. Add a button. Of course, we want our Valentines to remain private! Sew a cute little button to the back of the envelope to ensure the envelope can be "sealed" properly. My daughter wanted to keep the project simple, so she cut a small button-hole slit on the last remaining tab.
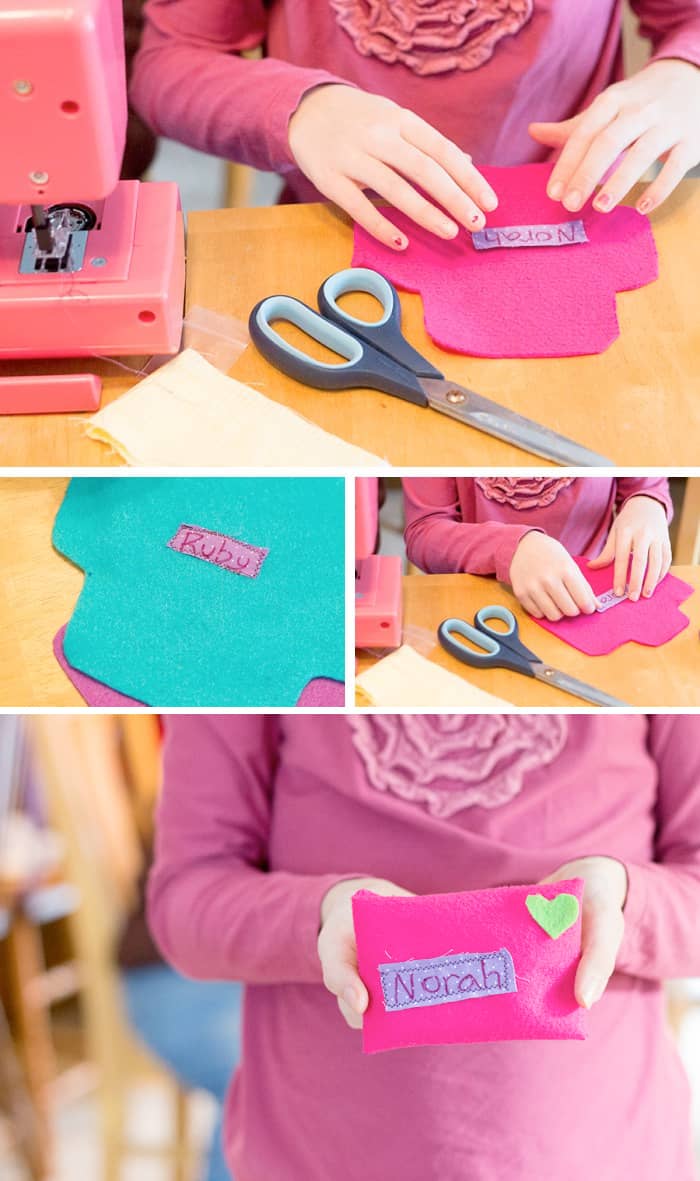
6. Add a felt heart "stamp." Every piece of mail requires postage. Cut some hearts from the scrap felt and then use hot glue to add this simple, but very important, detail.
Voila! Aren't these handmade Valentines envelopes adorable?!?
My daughter did all the stitching herself and is so proud to hand out her Classroom Valentines in these handmade envelopes this month. She is excited to have an equally cool card to put inside of it.
After a lot of hemming and hawing, she ended up selecting the "I like the way you roll" design below.
My other daughter ended up picking the "I'm a sucker for you!" design because she was excited about the prospect of adding lollipops.
What I love about Minted is all the little ways you can modify your order. For example, my daughter wanted a gender-neutral card, so we ordered the Valentine in green. I also like the different shape and pattern options available.
When the girls were in pre-school we always ordered cards with photos on the back. This is perfect for little kids who can't read yet. Now that my ladies are in elementary school, we simply went with the stripes and scooters below.
Will your little one be handing out classroom cards this year, too?
If you make these handmade Valentines envelopes, be sure to share a photo with us on Facebook. My daughter loves to see when her projects inspire other children!

P.S. This craft was inspired by a pin from the blog Clever Charlotte. Pop on over to her tutorial to see additional alternative design options. Also, be sure to pop over to Minted, they're always adding new card designs!
 |
 |
 |
 |
 |
|
 |
|||||
Disclosure of Material Connection: Some of the links in the post above are “affiliate links.” This means if you click on the link and purchase the item, I will receive an affiliate commission. I received one or more of the products or services mentioned above for free in the hope that I would mention it on my blog. Regardless, I only recommend products or services I use personally and believe will add value to my readers. I am disclosing this in accordance with the Federal Trade Commission’s16 CFR, Part 255: “Guides Concerning the Use of Endorsements and Testimonials in Advertising.”
| Pin it: | |
 |
 |

