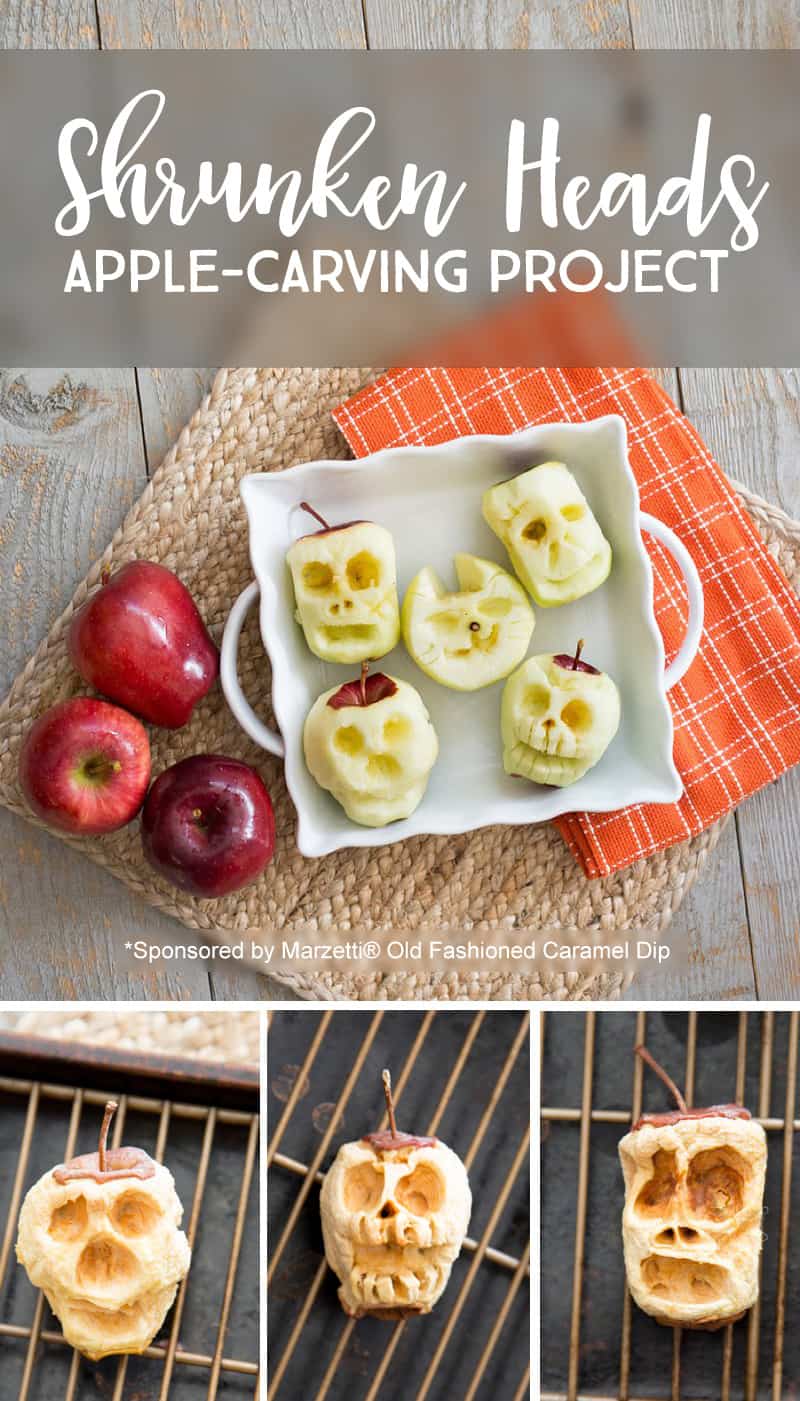
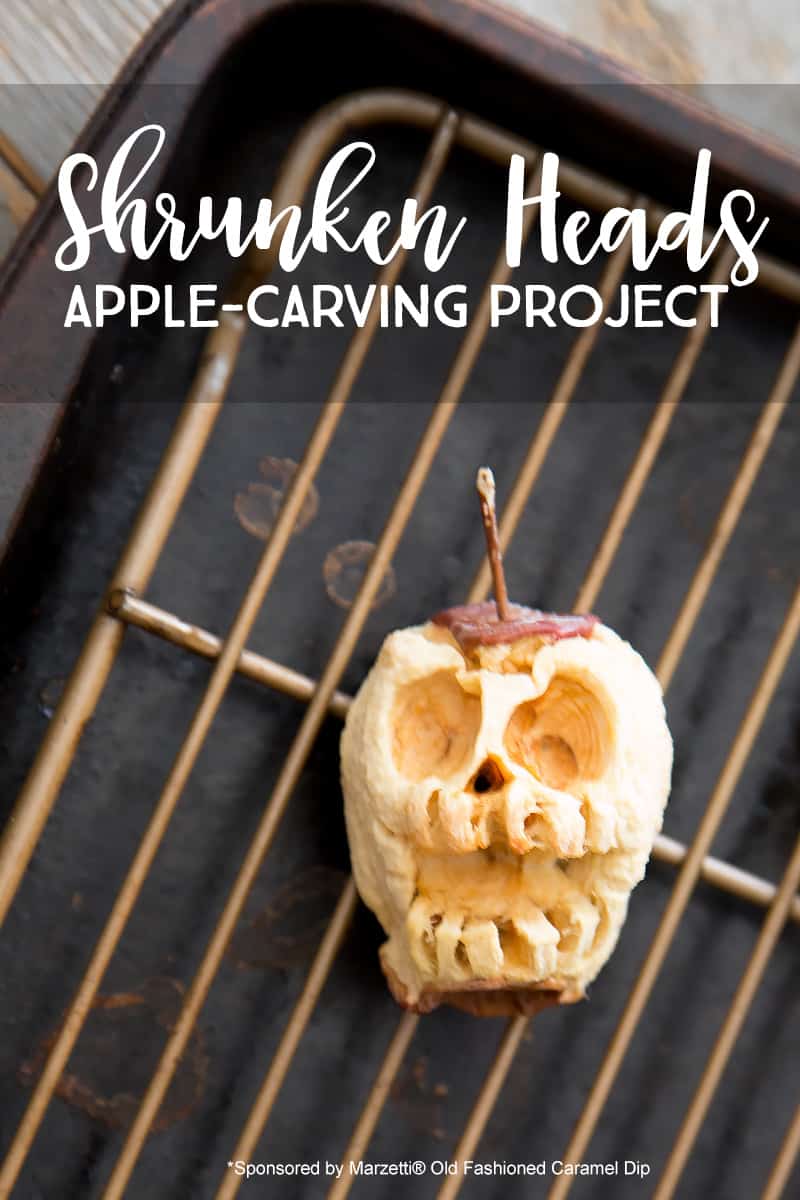
INSIDE: Learn how to carve shrunken apple heads. Start with a fresh apple and watch them transform them into irresistibly spooky shrunken heads right before your eyes with this DIY Halloween project for tweens & teens.
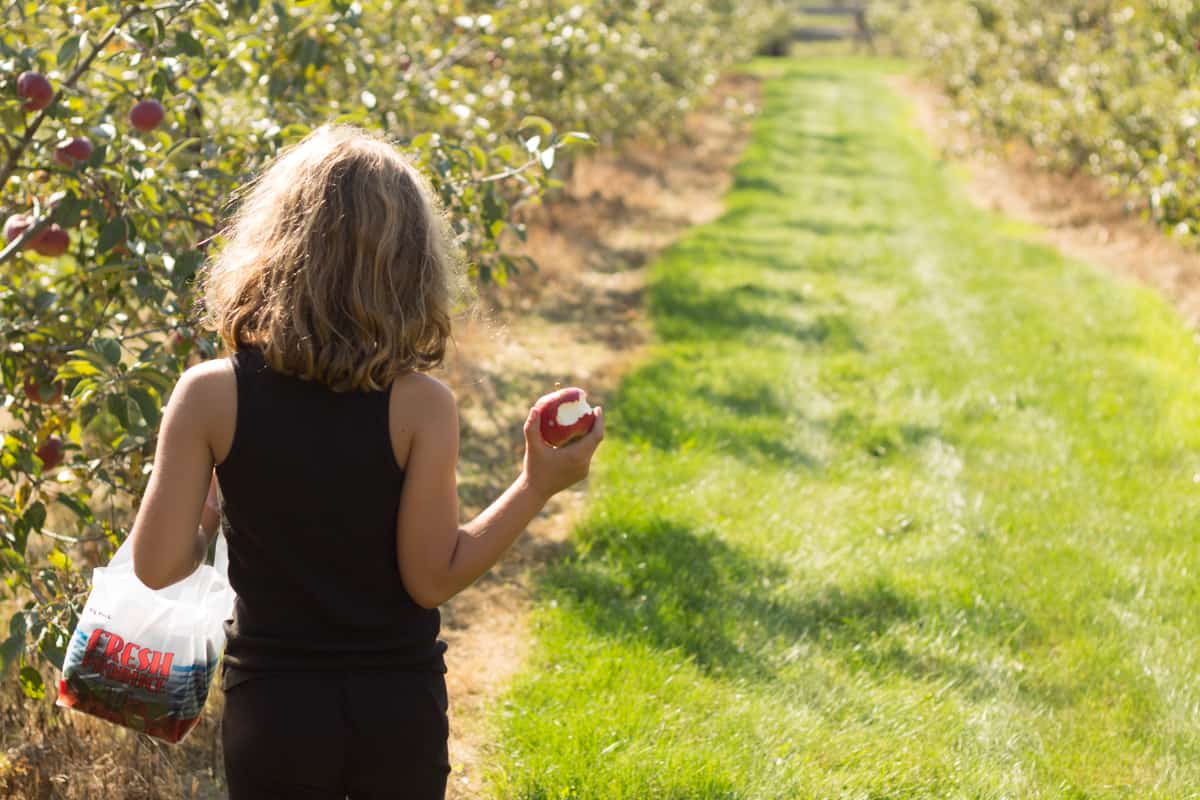
The air is crisp and fall has officially arrived.
I'm so excited to celebrate the autumn season with my family, but holiday traditions with tweens can be a delicate balance. They're at a point where they've outgrown most kids' Halloween crafts on Pinterest, yet they're still excited to CREATE.
Has your tween outgrown some of your favorite autumn traditions, too? You're going to love this project—and some of the unexpected perks that come with it!

Materials For Shrunken Apple Heads
- Red Delicious or Granny Smith apples
- Large bowl, bucket, or witch's cauldron
- Lemon juice
- Salt
- Cutting board
- Carving and peeling tools
- Vinyl tablecloth—for easy clean-up
- Time... lots and lots of time
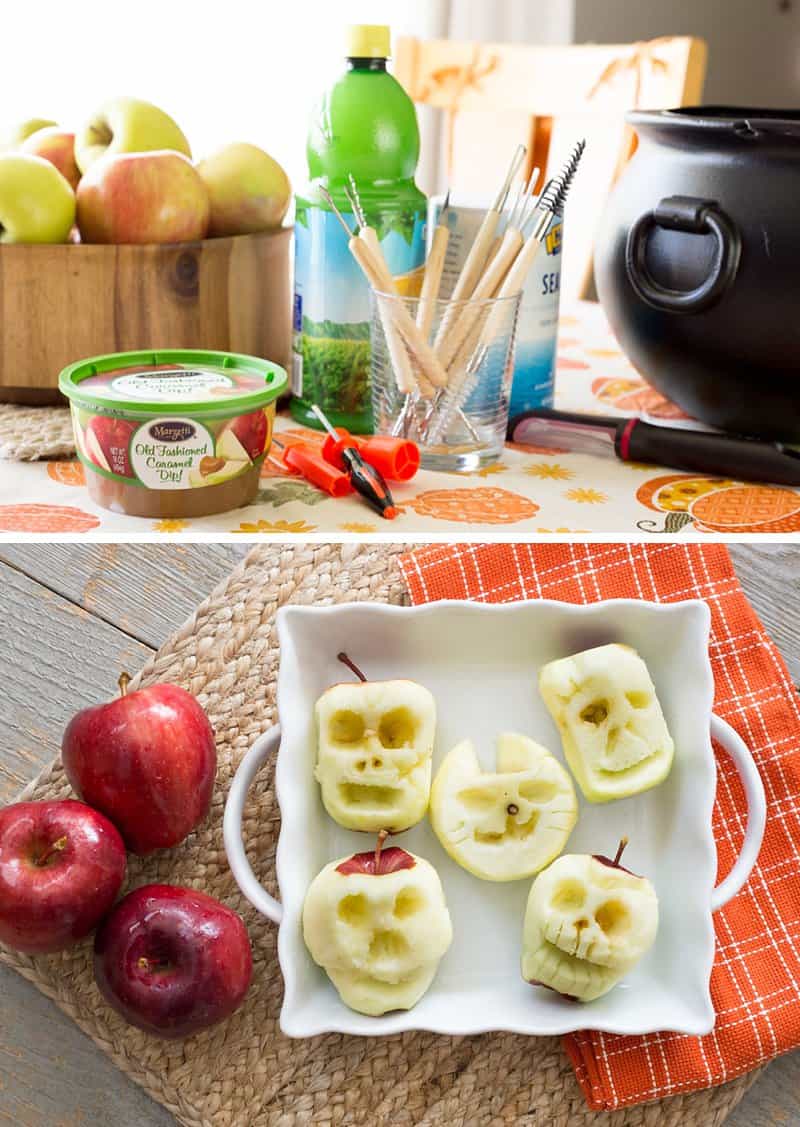
SAFETY NOTE: Please use common sense when deciding what type of carving tools to use with your family. My tween girls (ages 10 and 12) attended a Montessori preschool where they were taught how to respectfully use a knife and other sharp tools at a very young age. For this project, we used a pumpkin-carving set and a wood-handled clay toolset from our local craft store. You know your child better than anyone else; use your best judgment.
5 Steps to Awesome Shrunken Apple Heads
Now that you've got all the materials collected, here's a quick overview of the five basic steps to making shrunken apple heads:
- Create the "Magical Mixture"
- Peel the apple
- Get Carving — See photo examples and a stop-motion video tutorial below!
- Soak the apple heads
- Fully dry the shrunken heads
BONUS TUTORIAL: How to Carve Apples to Make a Shrunken Brain
Let's get started!
1. Create the "Magical Mixture."
Grab the cauldron, lemon juice, and salt. This combination of ingredients creates a Magical Mixture that will: (a) help stop your apples from immediately browning when carving and (b) later help preserve your shrunken heads.
- ¼C lemon juice
- ¼C salt
- 1 gallon of water
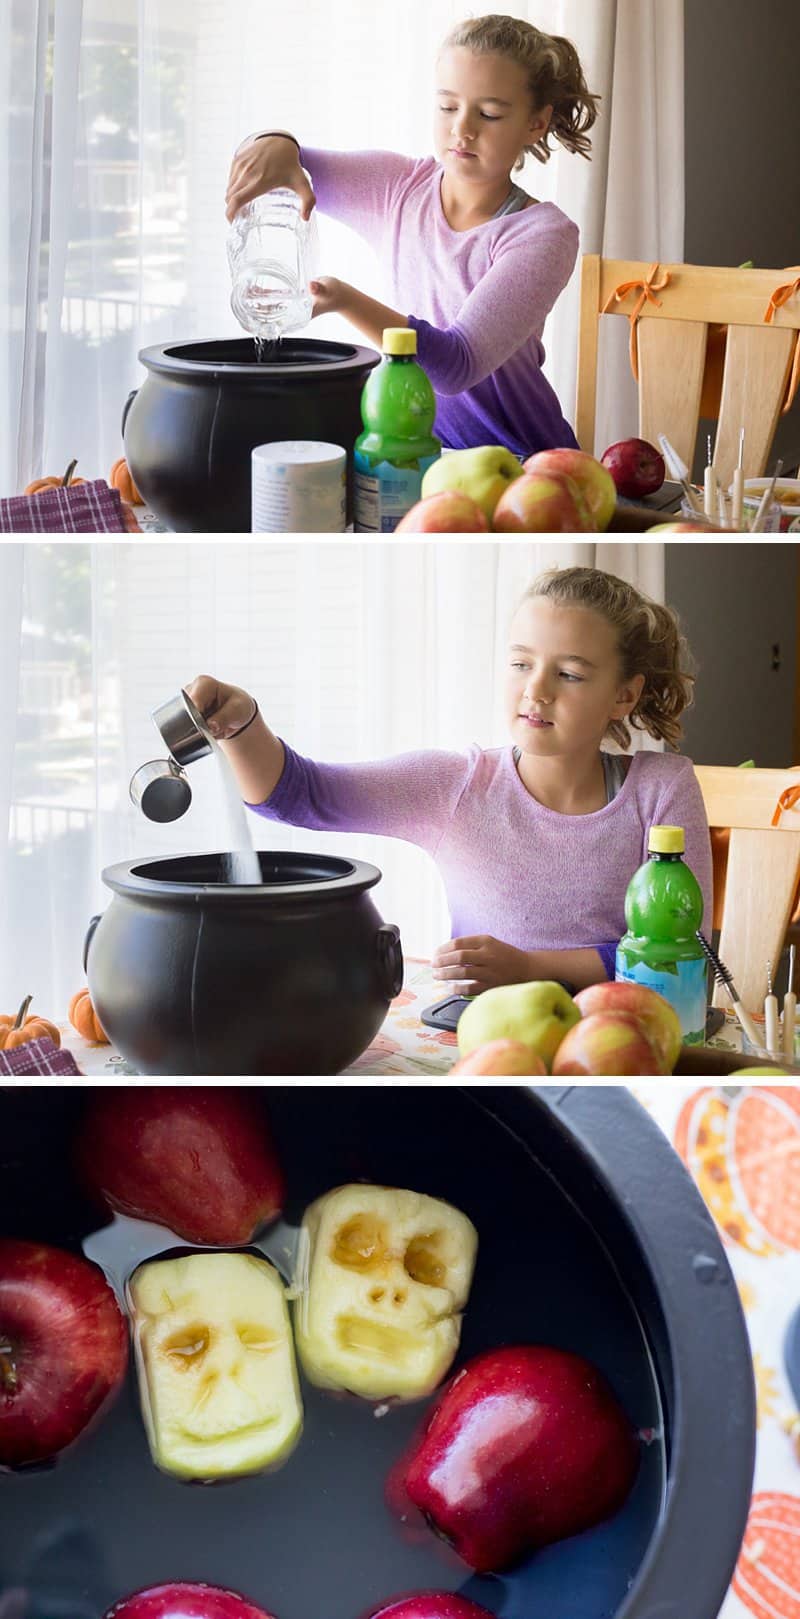
Soak your apples in the Magical Mixture for 1 hour before carving them. OK, OK... That's the official recommendation. But we snacked on apple slices and caramel dip for about 15 minutes while our project apples soaked and then we couldn't wait any longer. Our project apples did get a tad bit brown while carving, but I think they still turned out awesome.
2. Peel the apple.
Grab an apple from the Magical Mixture, dry it off, and peel. We decided to use Red Delicious apples for our project because of the natural skull shape of the apple. They're also one of the cheapest bagged apples at the grocery store if you want to be cost-efficient.
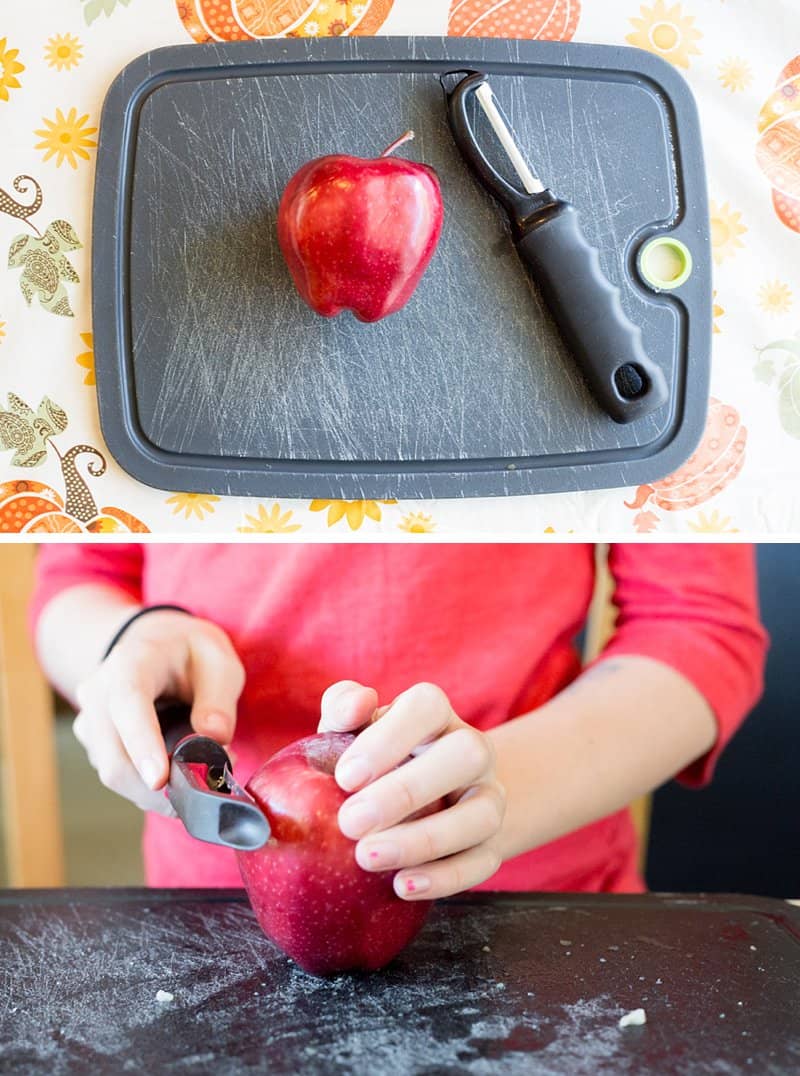
3. Get carving.
There are three important things to remember when you and your family carve apples:
- Start with the eyes. (They're the easiest.)
- Really exaggerate all the facial features. (Remember: They'll shrink.)
- You can't "mess up" this project. (Mistakes simply give your shrunken heads more character.)
Here are a few fun examples for you to share with your kids...
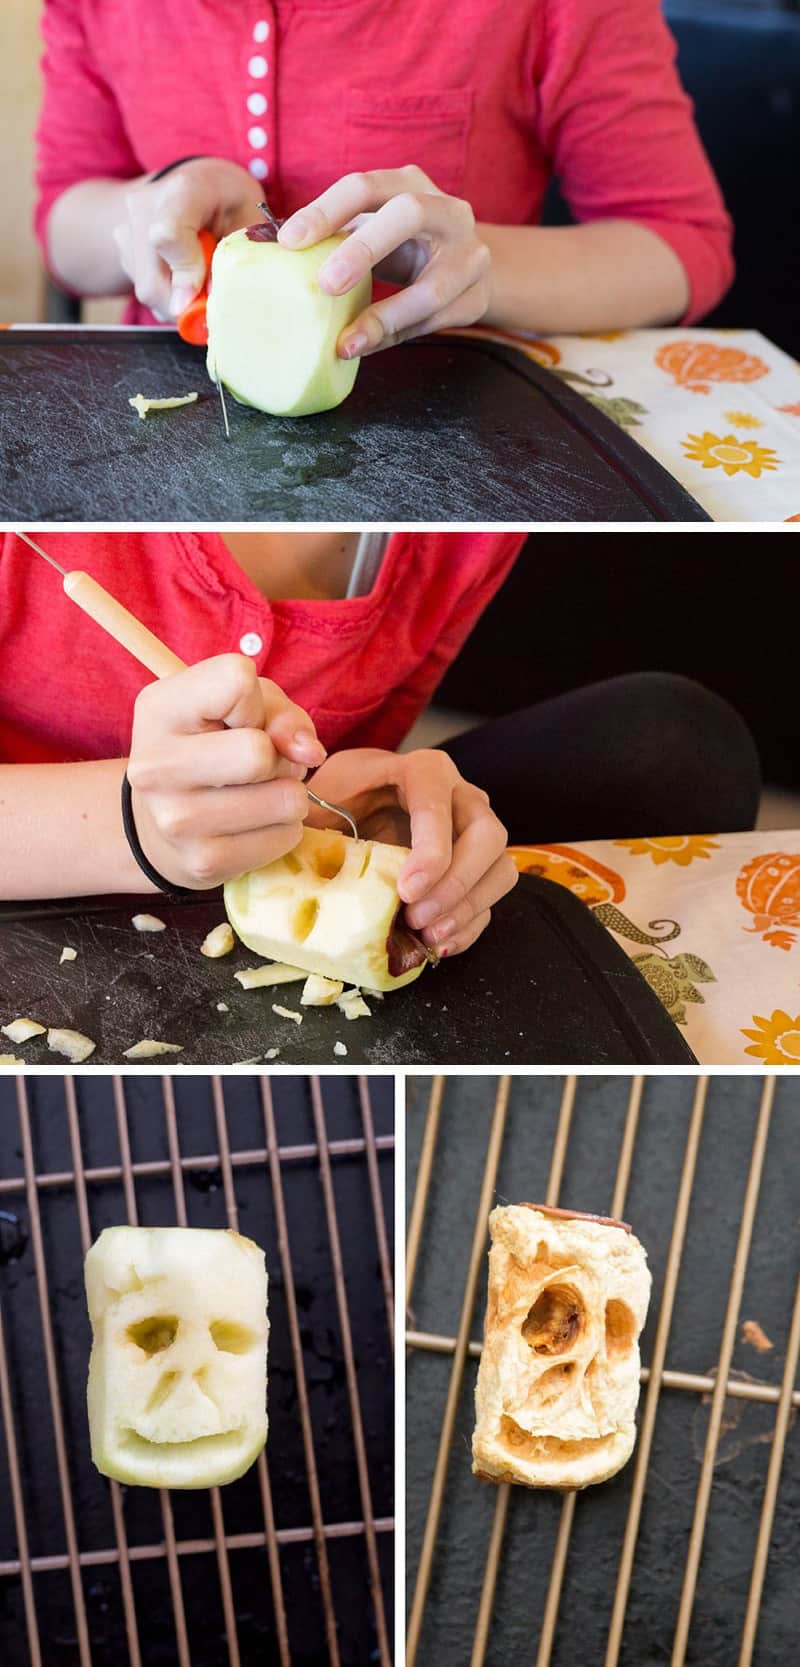
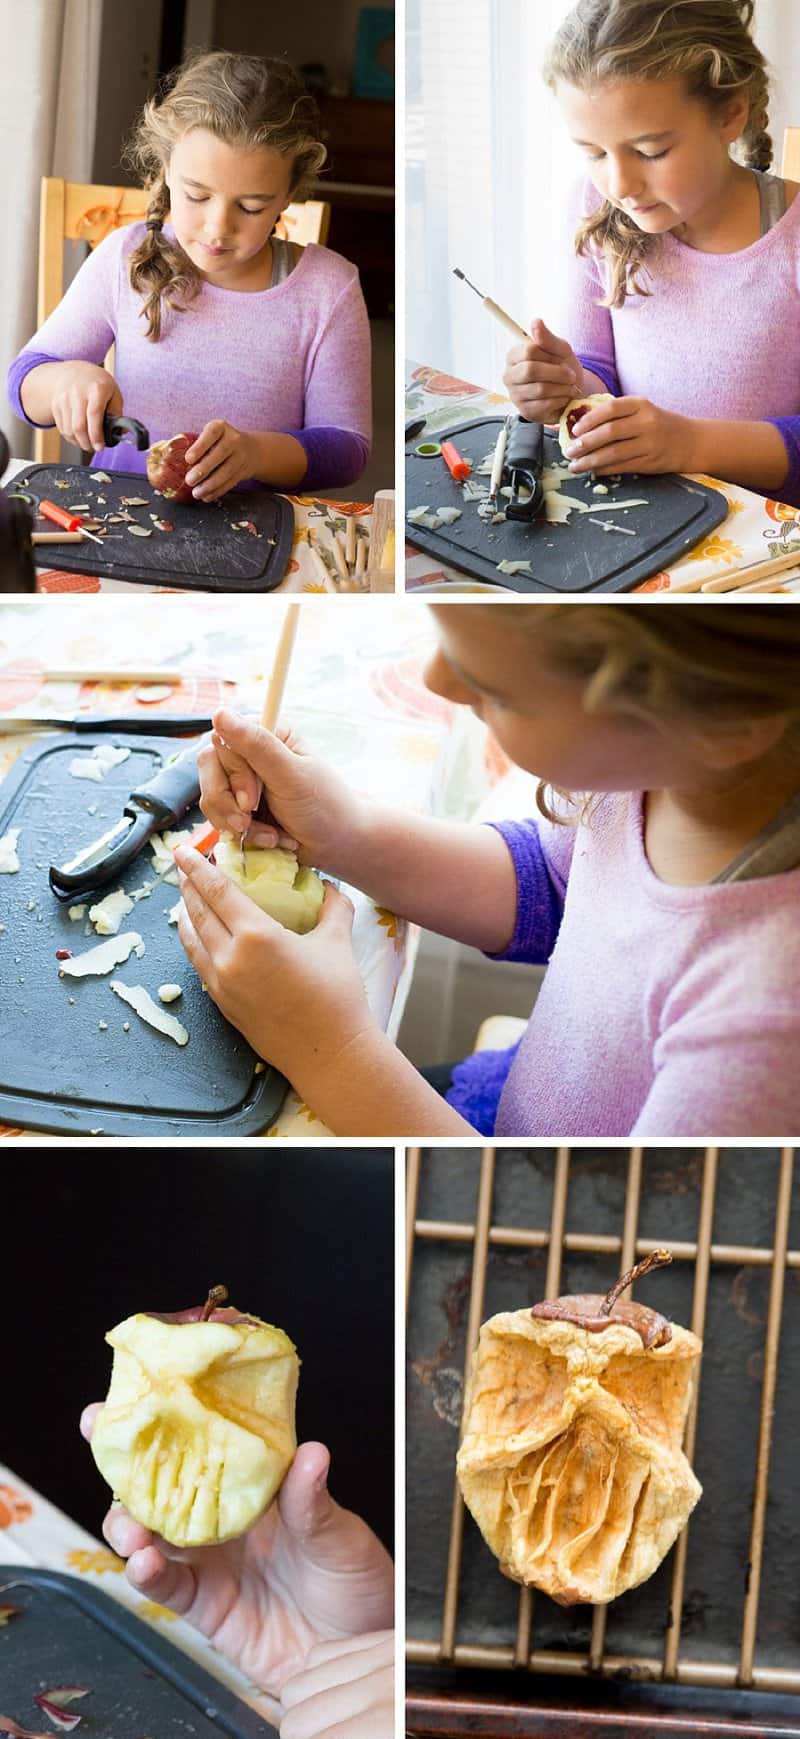
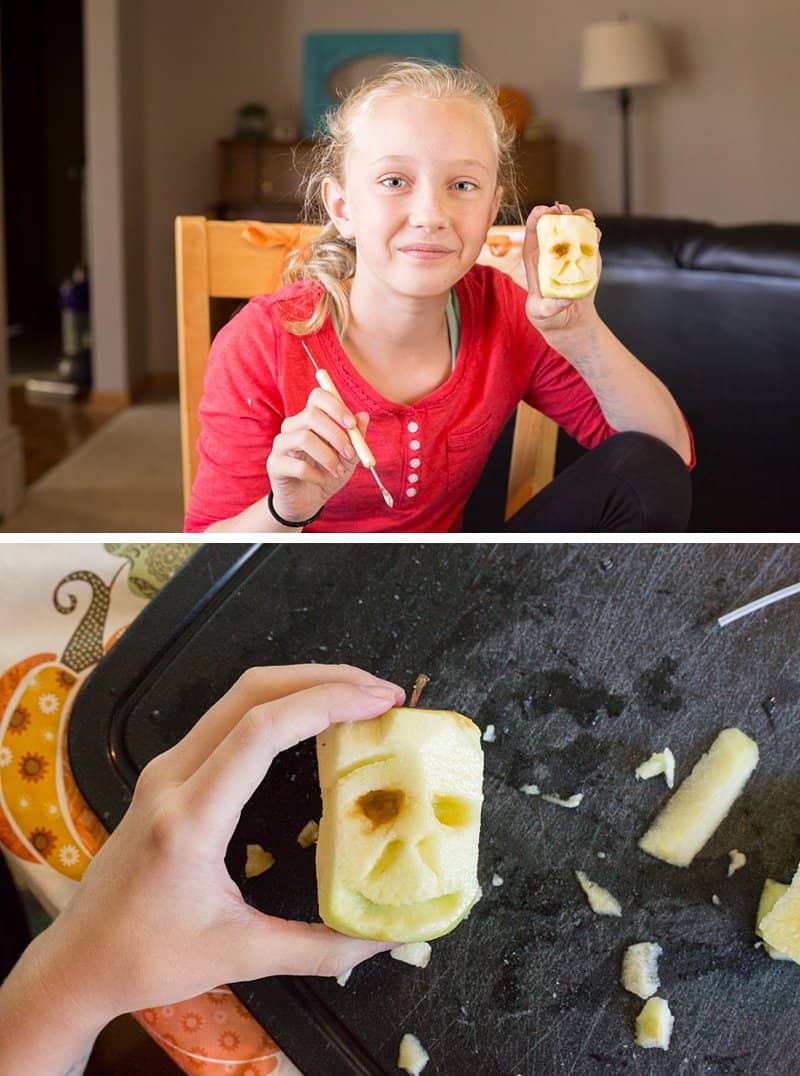
We started out with some Frankenstein-inspired shrunken apple heads. I cut the apple for the girls, giving them a more square shape to work with...
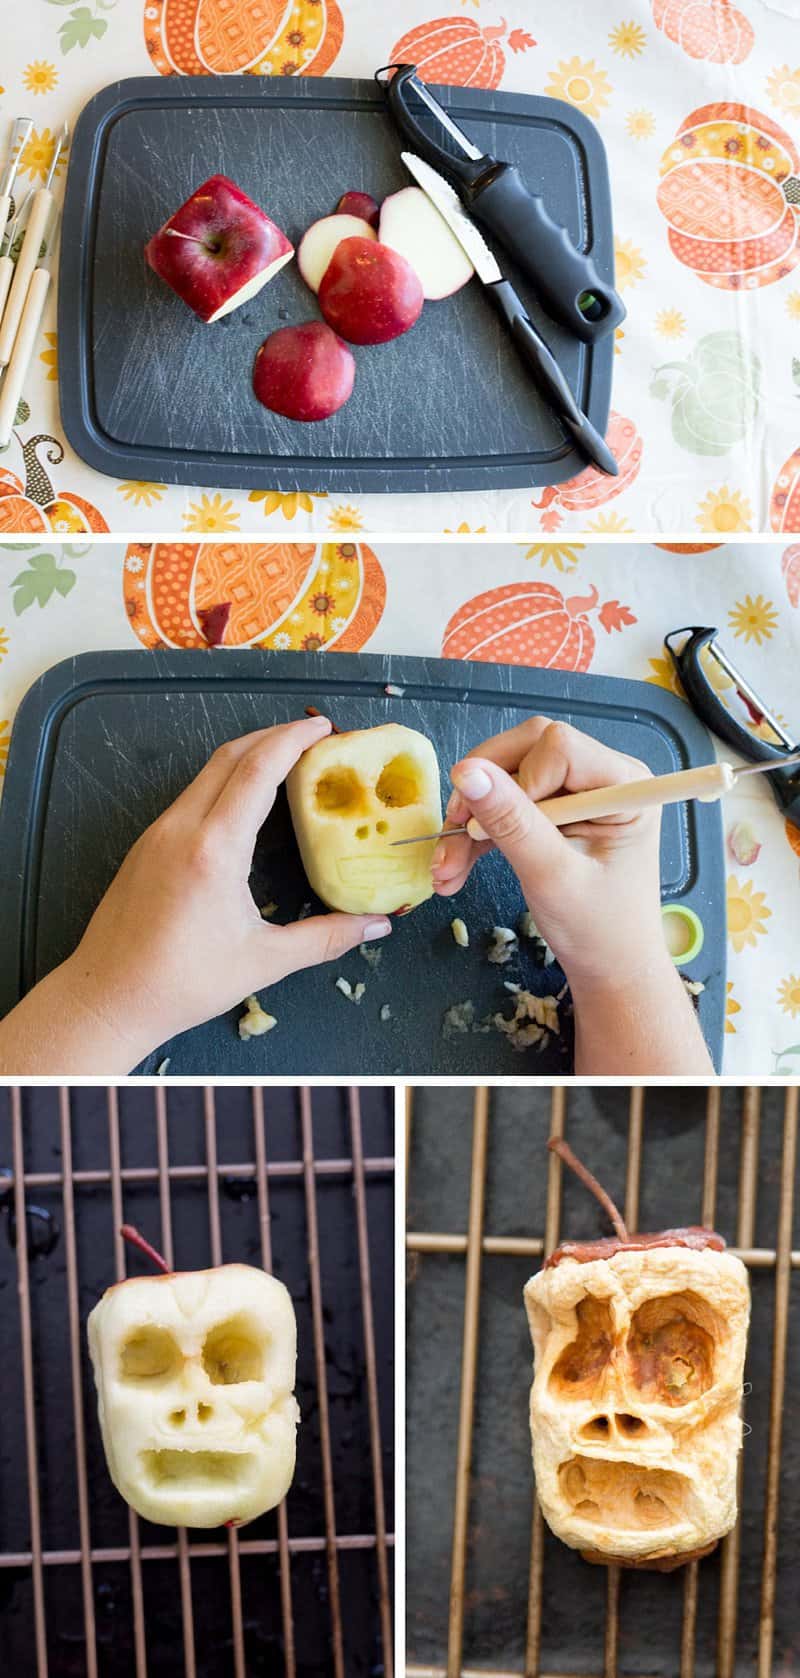
What I love most about open process-driven art projects like this is that you can see your kids' personalities shine through. One of my daughters went 100% spooky with her shrunken apple heads...
And my second daughter... Well, you'll notice that most of her shrunken heads are smiling at you.
Would you like to see this skeleton apple carved from start to finish?
Watch this cool stop motion video the girls and I made together...
While we were carving apples, we even had a little feline inspiration.
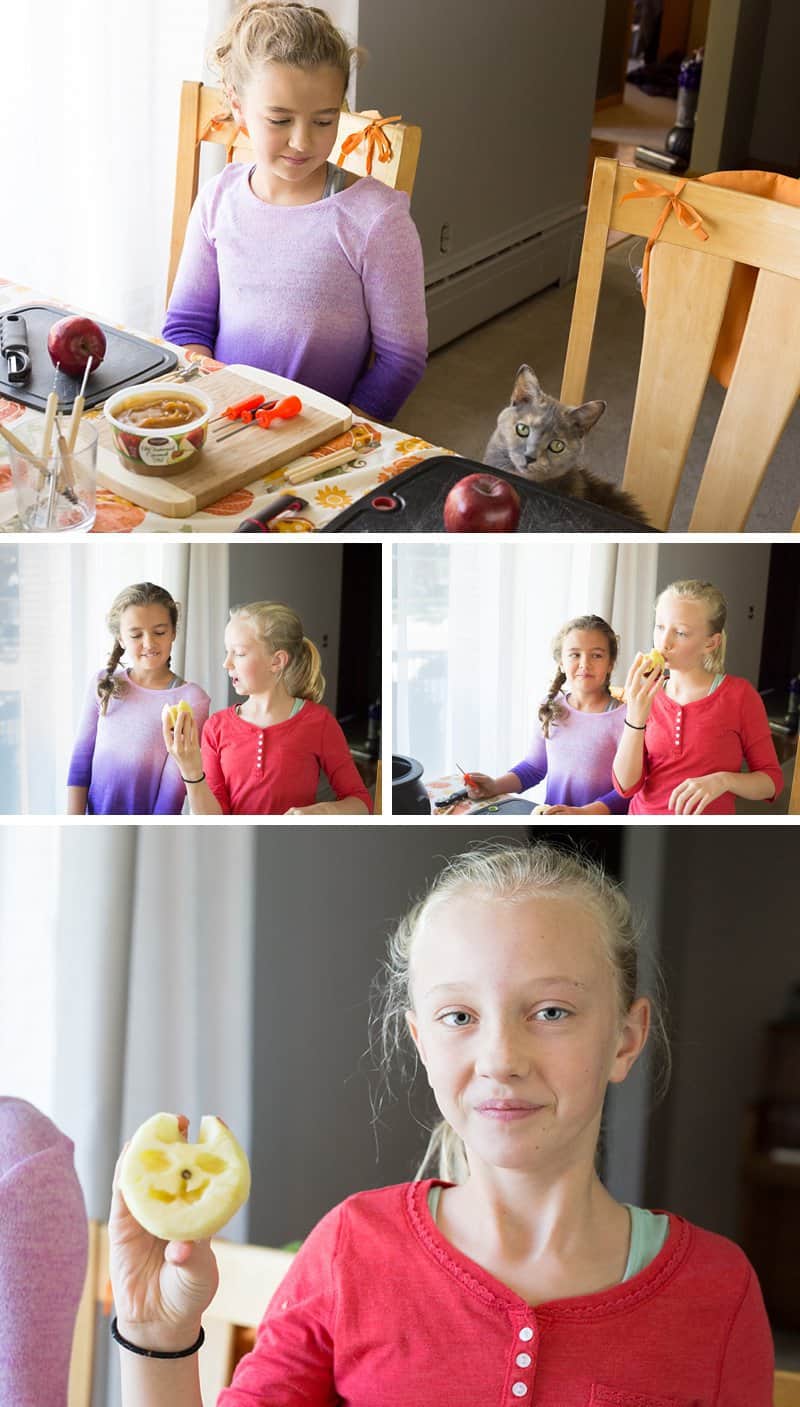
The girls and I spent a good chunk of the afternoon together...
carving...
talking...
laughing...
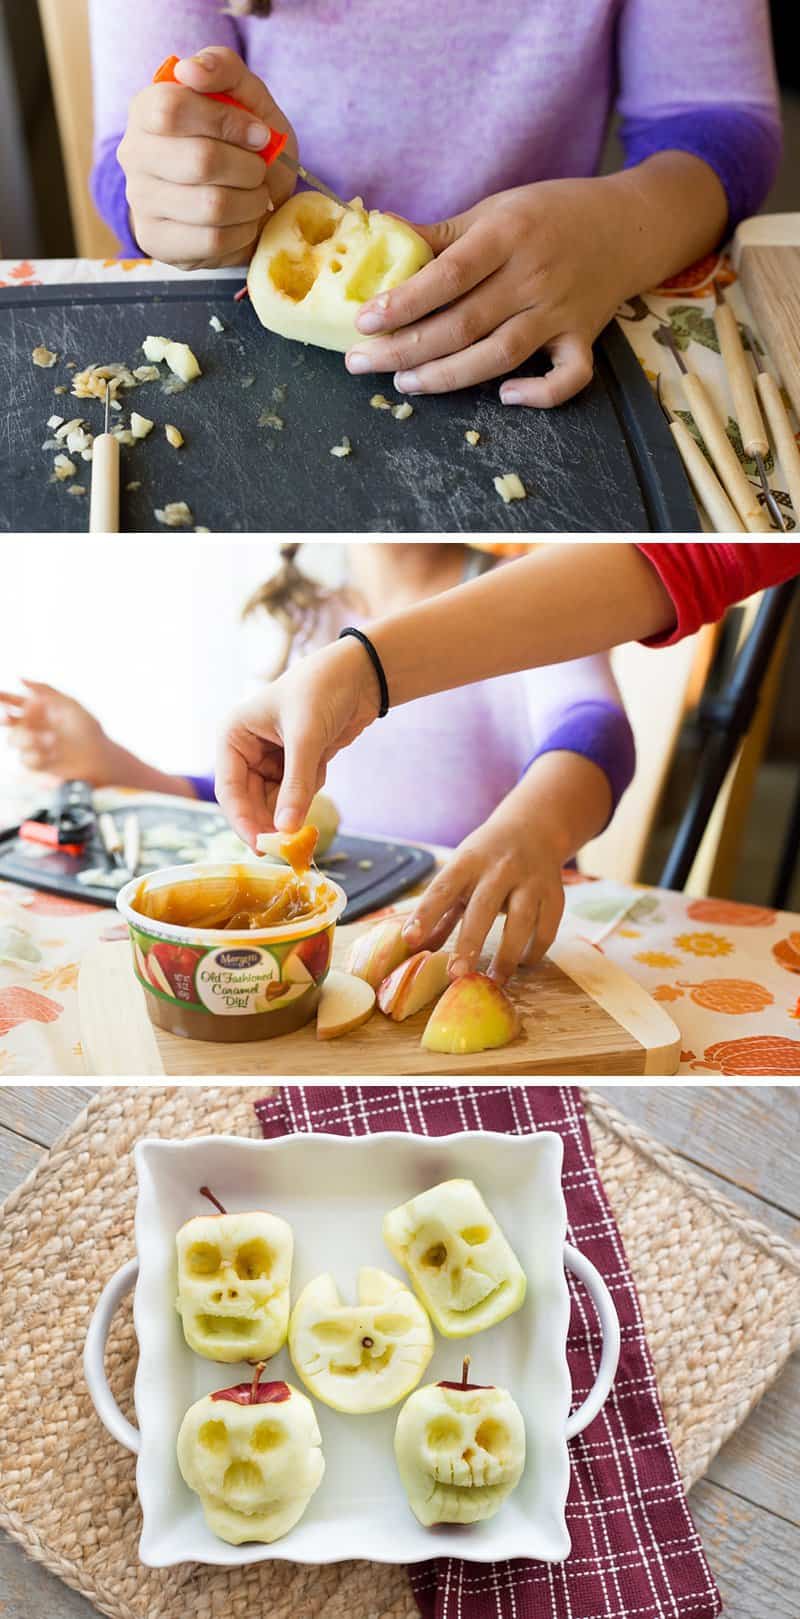
...in other words—making memories.
4. Soak the apple heads.
After you carve each apple, pop it back into the Magical Mixture.
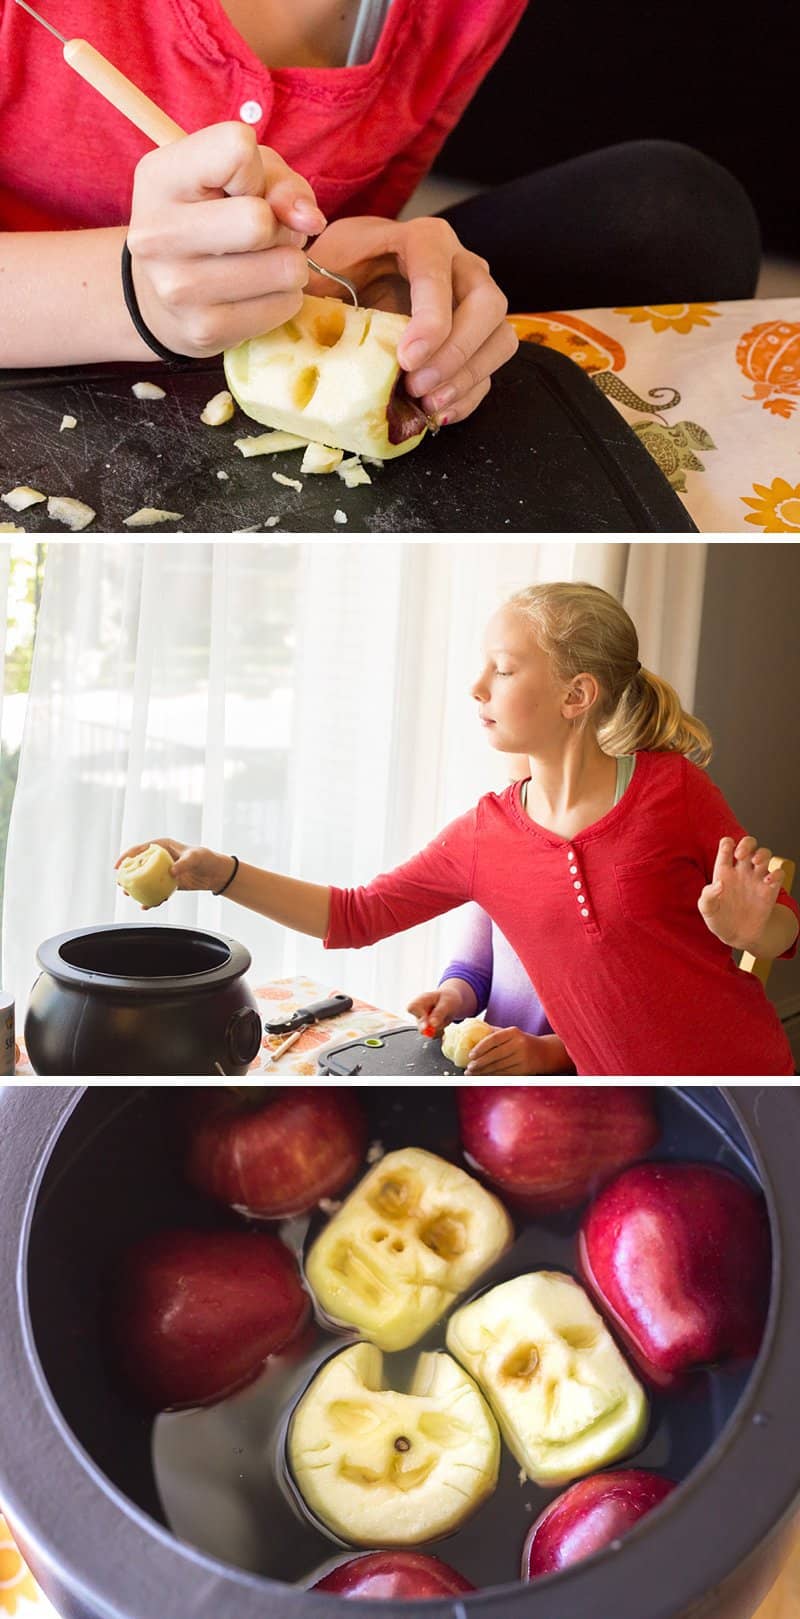
Let the apple carvings soak for about 60 minutes in the Magical Mixture. The apple faces tend to float up, so occasionally give them a stir to ensure the entire apple gets coverage so the faces get well coated in the mixture, too.
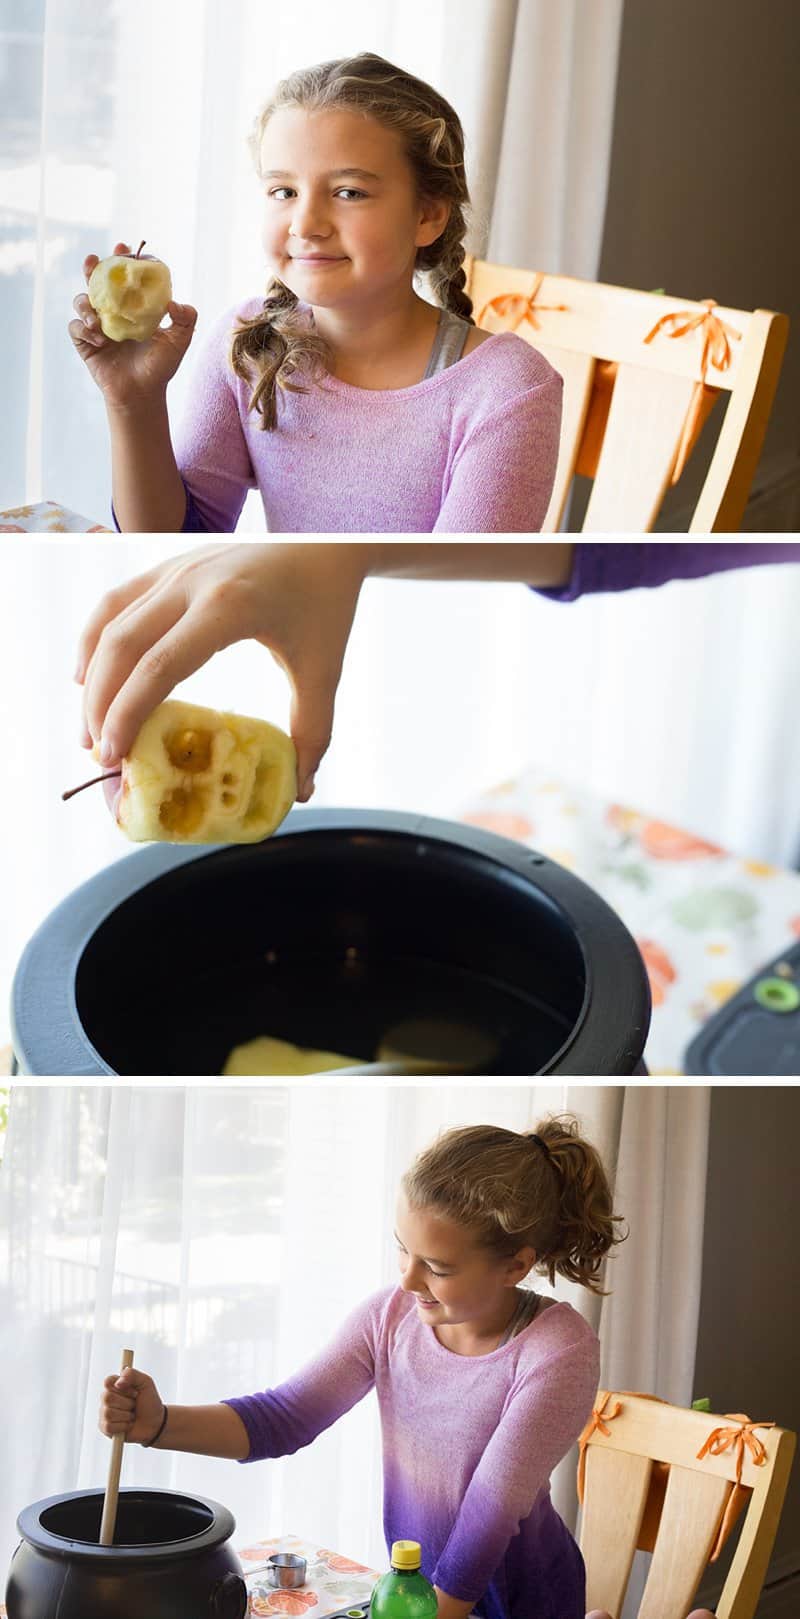
5. Fully dry the shrunken apple heads.
There are a variety of different ways to dry your apple carvings. You can take it slow and watch the process unfold over the span of several weeks or all within the course of a day.
3 Ways To Dry Shrunken Apple Heads
Here are three options:
Air Dry—Place your apples on a cooling rack or hang them with twine to allow complete air circulation. To speed up the process, use a box fan to keep the air moving. The apples will dry within a couple of weeks, depending on the humidity. Ensure all moisture is removed by baking the apples at 200 degrees for 4 hours.
Egyptian Mummification—In a large plastic bag, combine ½C salt and 1C baking soda. Toss your apple heads in and ensure they are coated in the mix. Leave your apples in the mixture for 1 week and watch as the salt and baking soda absorbs the moisture.
Speed Dry—Place your apples on a cooling rack set on top of a cookie sheet to allow full air circulation. Set your oven to the lowest temperature option (200 degrees or less) and begin to dehydrate the apples. When you leave home (or go to bed for the evening), for safety reasons, turn off the oven. Check the progress through the oven window. Do not open the oven door! Your apples will continue to dehydrate in the warm oven, even if it is off. This dehydration approach takes approximately 24 hours depending on your drying schedule.
We were so excited to see the transformation, we chose to speed-dry them and popped our apple carvings into the oven.
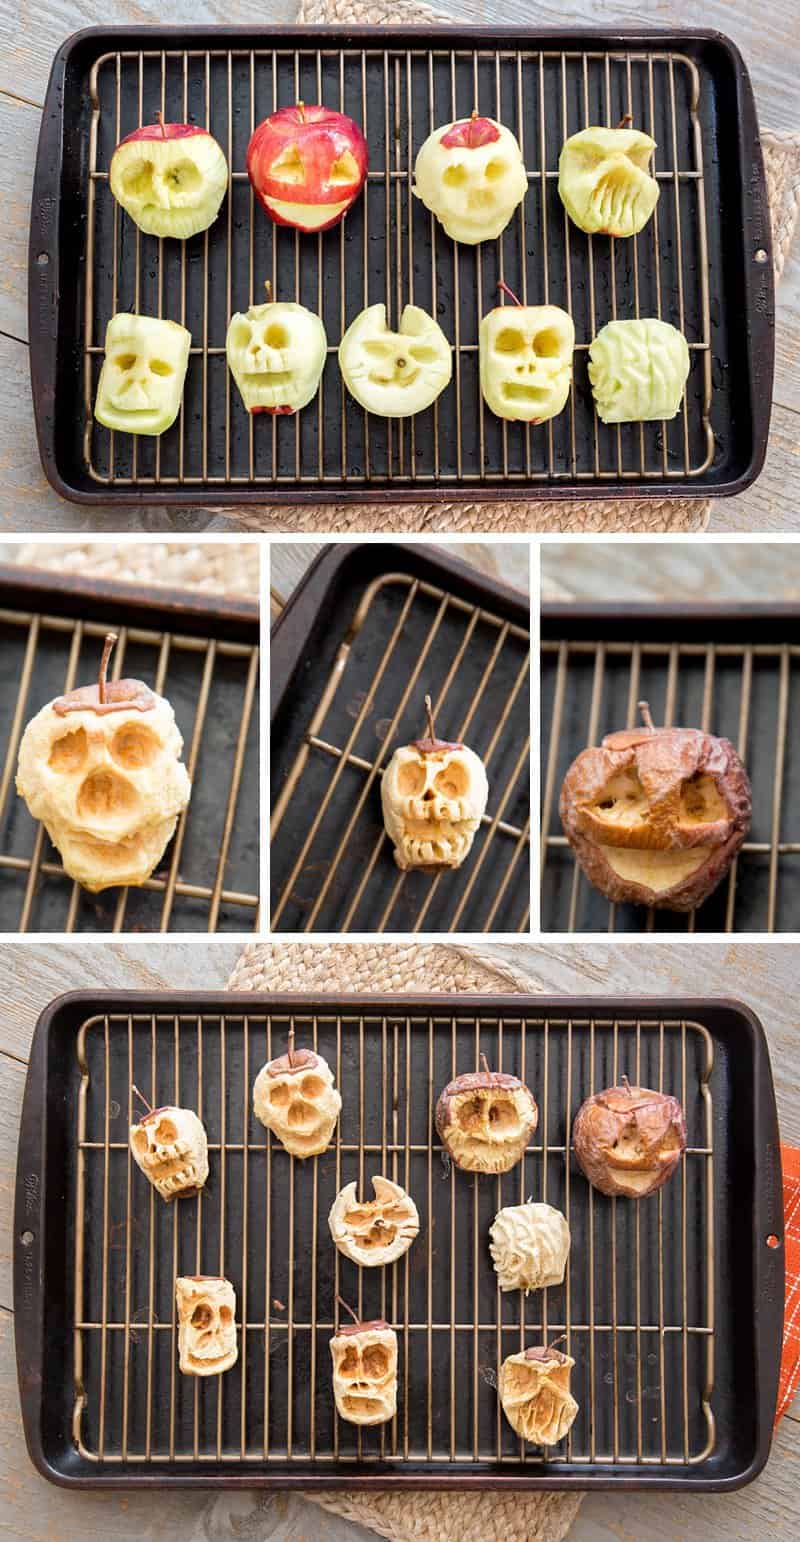
If you want to save your shrunken apple heads long-term (without them rotting or molding), ensure they are 100% dry and then spray or dip them in a polyurethane sealant. We're going to skip this step. Honestly, I want to have an excuse to make these again next year!
BONUS: How to Carve Apples to Make a Shrunken Brain
Shrunken heads are fun, but don't be afraid to get creative. The apple carving below was inspired by a stress ball.
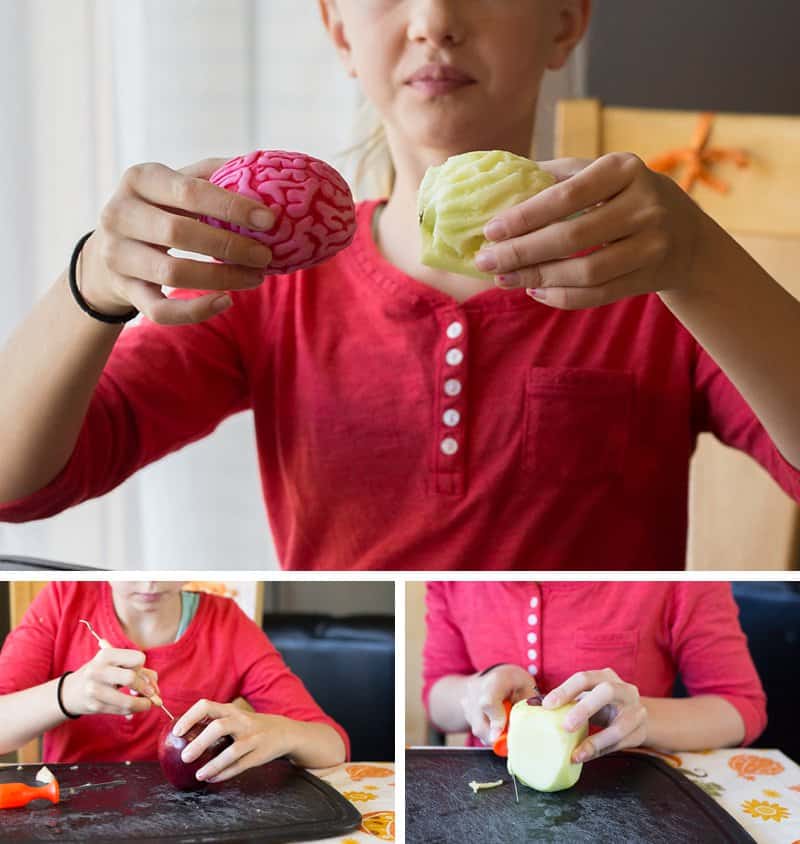
Watch a start-to-finish stop motion video and learn how to carve an apple and make a shrunken brain.
How fun is that?!?
When I was a kid, carving apples was one of my absolute favorite art projects in school. For that reason, I was so excited to share this activity with my girls. However, the memories created by our trip to the orchard and this apple-carving project turned out to be so much more than I had imagined.

I hope you will PIN THIS TUTORIAL and add this project to your autumn to-do list.
Happy carving,

Pin this project for later:
