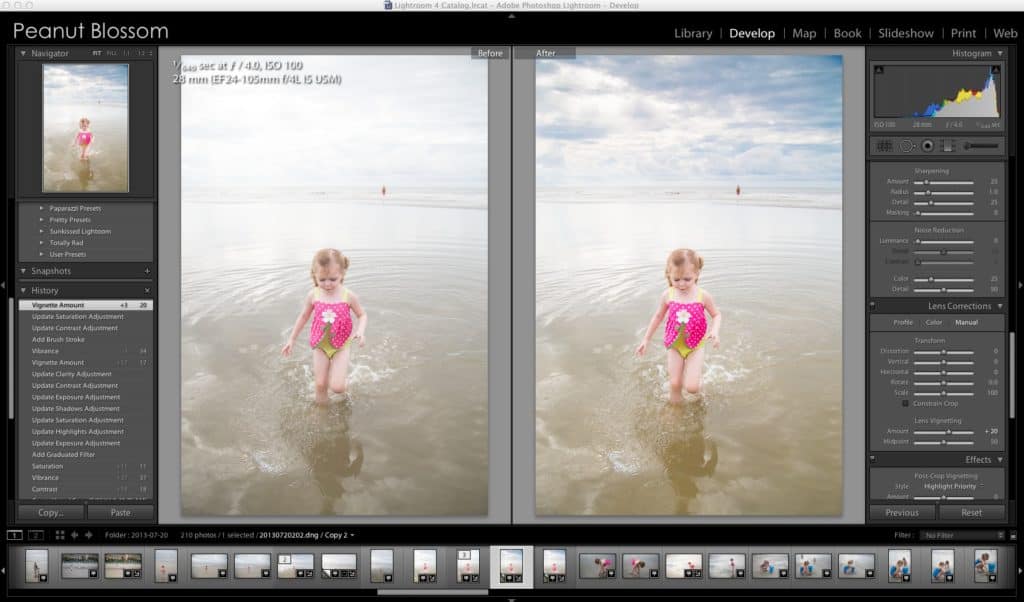
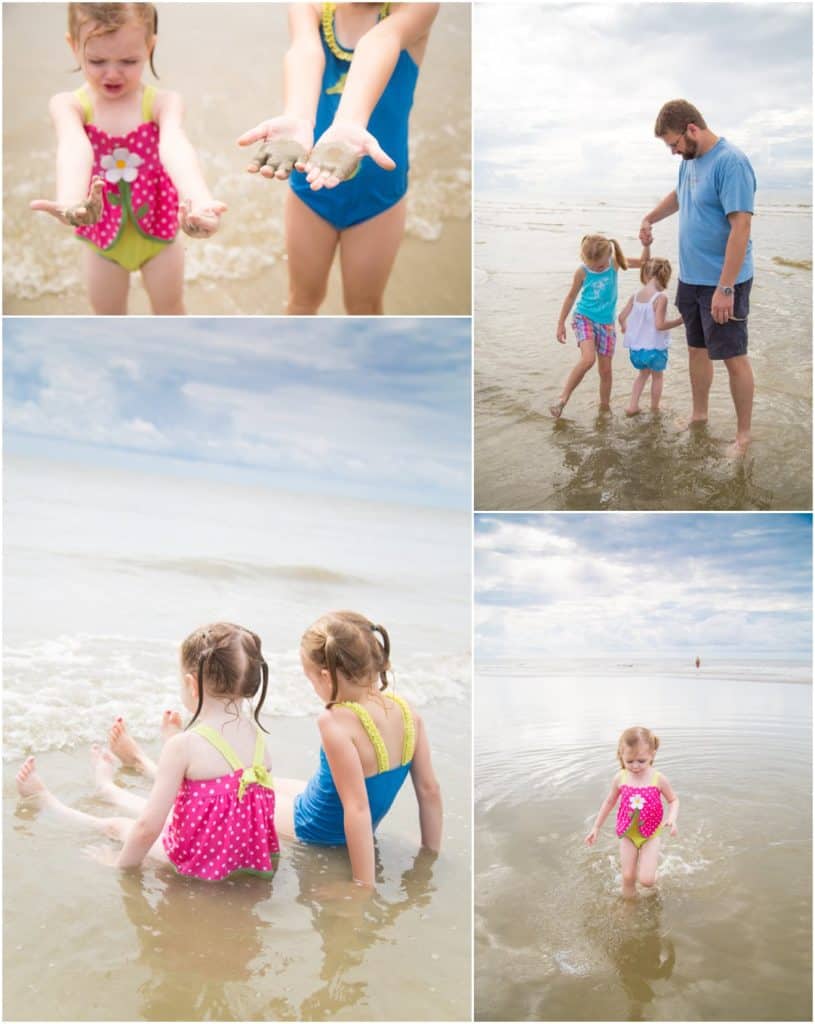
 The annual summer conundrum: Your family heads to the shore and you want to take adorable beach pictures of your little ones in the sand and surf. You quickly discover the intense reflections from the sun wash out the skies and background in your image.
Why does it feel so hard to capture a beautiful beach image that represents what you see with your eyes??
Beach photography is a camera's worst exposure nightmare. There is no perfect way to expose for such a complicated light scene without using reflectors and flash. Seriously, who wants to tote that kind of gear on a family fun day?? Even if you arm yourself with these 29 tips for beach photography, a huge part of the solution is to fix the photo with some editing once you get home.
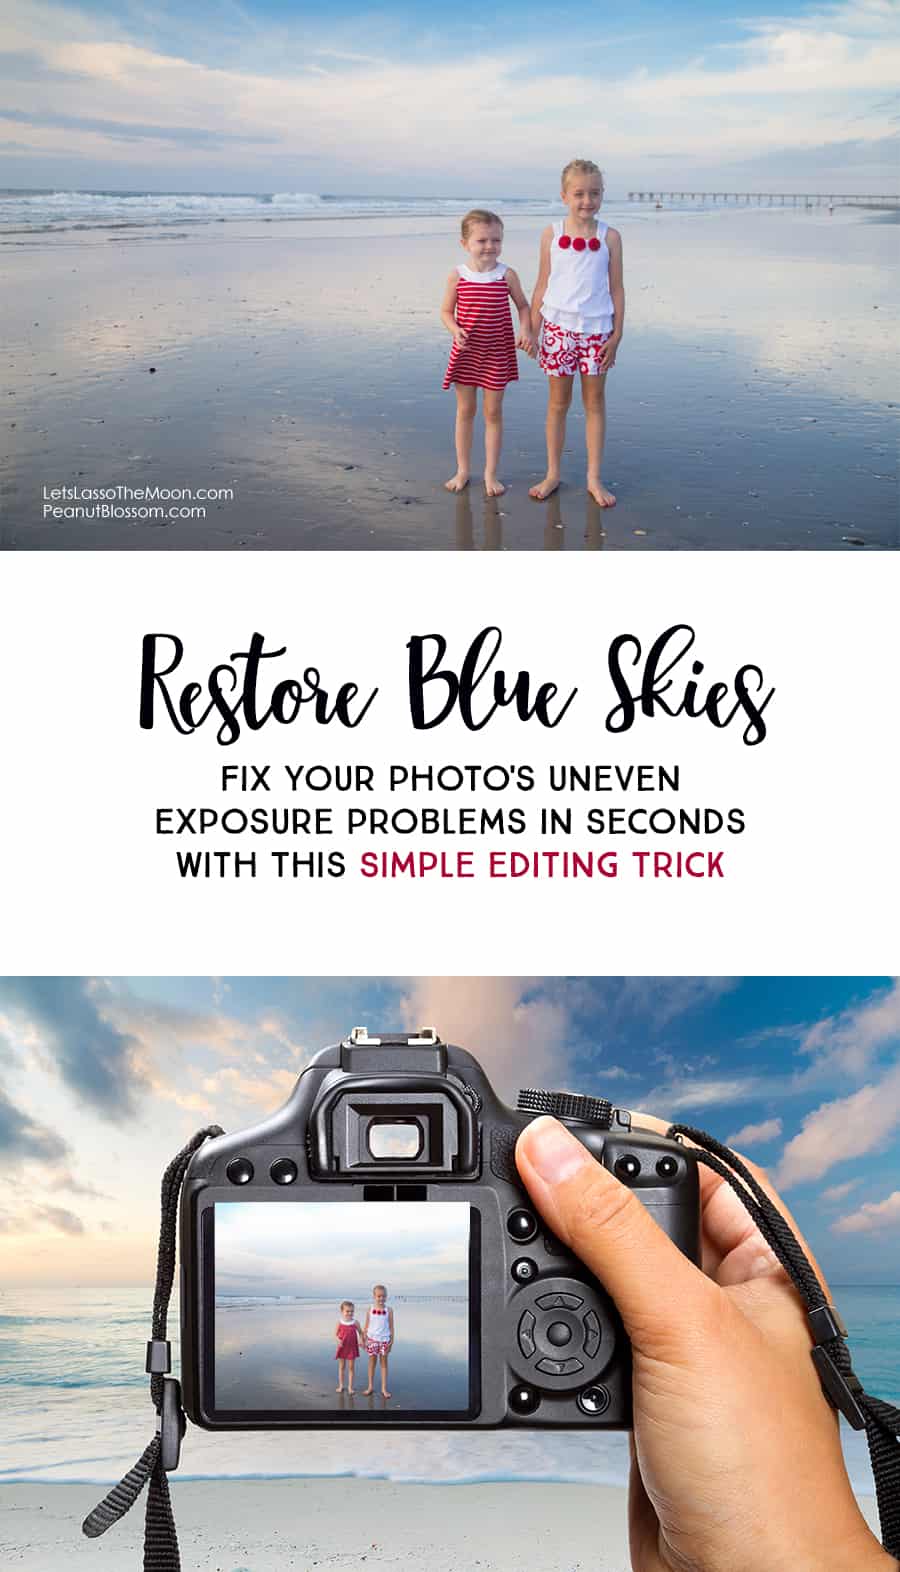
These simple editing tricks will save your beach photos in Lightroom!
How to Use Lightroom's Gradient Filter for Unevenly Exposed Photos
Set yourself up for editing success: The best thing you can do before you edit is to switch your camera to shoot in RAW before you even take your beach photos. You will have a much more complete image to work with and all of the following tricks will have significantly greater effect. RAW doesn't change how you capture the image, just how your camera stores the information it gathers when you click that shutter button. It's a simple toggle of a setting to change it.
Bonus Tip: A polarizing filter for your lens will work wonders on saving the details of the sky too. The size you need will match the number found on the inside of your lens cap. (58mm, 77mm, etc.)
Expose for your kids: Once you have your image in Lightroom, double check to be sure your kids are properly exposed in your image. If they aren't, now is the time to use the Exposure slider to fix it. Don't worry about how it may turn the skies plain white or blows out the waves in the water. Your kids are the hero of the image, they should look their best.
Add contrast & vibrancy: When shooting in RAW your image will need some help to pop. Boost the Contrast slider (usually to a value between 0 - 10) and bump up the Vibrancy (usually to a value between 0 - 30).
Bring back the clouds: By now, you likely have an image where your kids look great but that has lost a lot of color and detail in the sky. There are a couple ways to fix it, but my favorite involves adding a Graduated Filter. In the Develop mode, the Graduated Filter is the button that looks like a vertical rectangle with 3 lines running horizontlly through it.
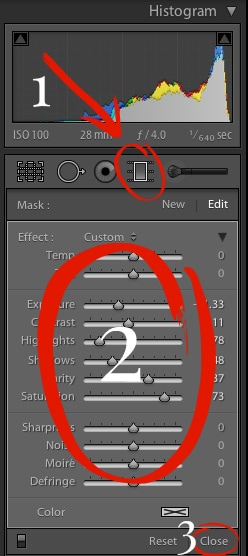 STEP 1: Click the Graduated Filter button. Mouse back over to your photo, the cursor arrow will be a plus sign.
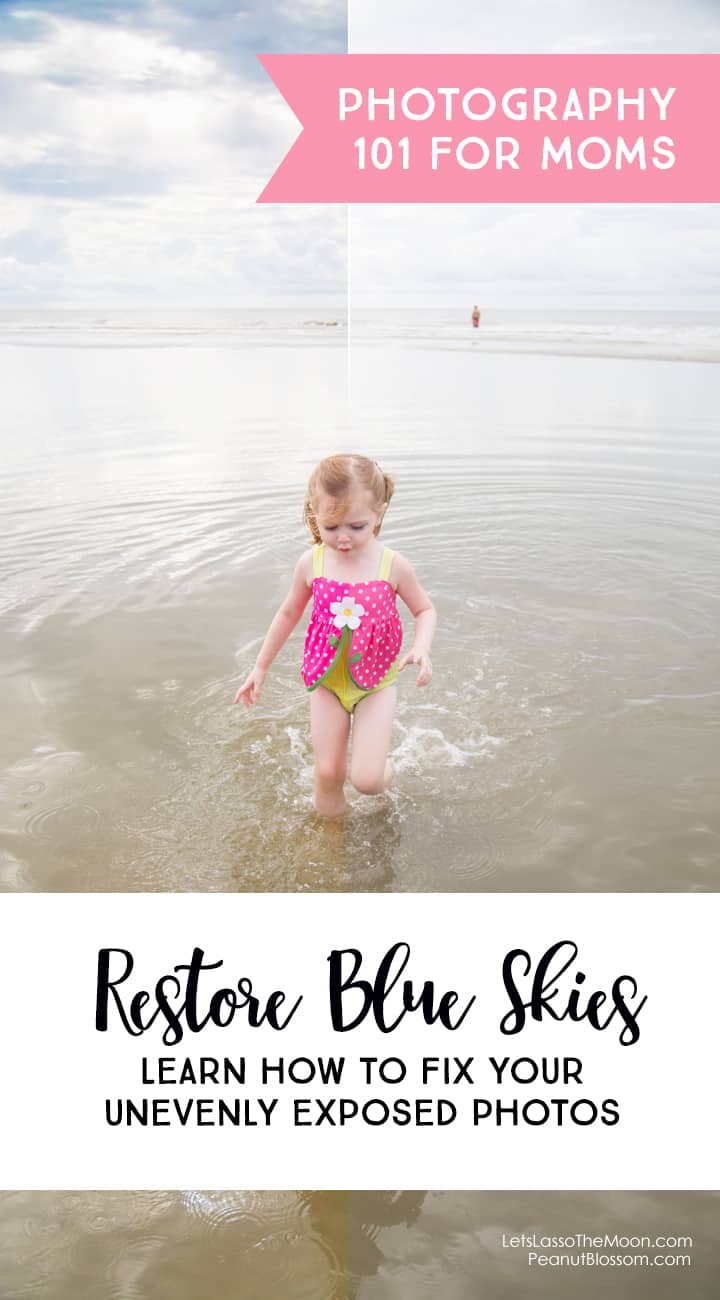
To apply the filter, click your mouse at the top edge of your image and drag it down. Release when the bottom line covers the edge of the blown/overexposed area you are trying to fix. In this example, I dragged it from the top edge to just before the top of the little girl's head.
STEP 2: With the Graduated Filter in place, adjust the sliders accordingly:
- reduce the exposure
- reduce the contrast
- reduce the highlights
- increase the shadows
- increase the saturation (but be watchful for toxic looking skies)
The amount you adjust each slider depends on the particular image you've captured. The beauty of Lightroom is that you can play to your heart's content with those sliders and they do no damage to the quality of your image file.
STEP 3: Select Close at the bottom of the Graduated Filter slider window when you have things set the way you like. Now you can continue to edit the photo as you see fit.
What I love about the Graduated Filter is that you are bringing back what was really there when you captured the moment. There are plenty of editing tricks for adding fake skies and clouds in, but I love the authenticity of this editing method even when the resulting sky isn't exactly postcard blue with white puffy clouds.
Capturing family photos at the beach has become my favorite summer pass time. If you want more tips and tricks, you won’t want to miss these helpful posts.
- 4 Fun Beach Picture Ideas You'll Be So Excited To Share
- 29 tips for Beach Photography for great ideas on how to capture the light in this beautiful setting.
- 20 priceless beach photos you will regret not taking
- How to keep your DSLR camera clean at the beach
- A no-pose posing tip for beach photography
Enjoyed this post? Be sure to follow along on Facebook where I share sneak peeks from sessions and more photography tips!

![]()
 Meet Tiffany Dahle
Tiffany believes strong families start with strong and happy mothers. Too often as women we put everyone’s needs before our own. At Peanut Blossom, she encourages you to develop everyday possibilities for stretching your creativity while doing what you do to keep that household running! She strives to help mothers and teach her own children that having kids does not mean the end of your own personal growth and learning.
Find Peanut Blossom online at: Blog | Pinterest | Facebook | Twitter | Google+
![]()

